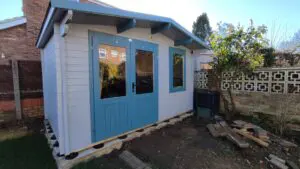
Building a useful garden room extension.
This post follows on from the main series I published a while ago and explains how I added a small garden room extension to the log cabin I constructed in our garden a few months ago. The extension is being used to store all my power tools, bike, stepladder etc which would normally go into a garden shed.
Although the main garden room was purchased from Dunster House, I couldn’t use their storage shed extension, because it was too big for our log cabin (being only 2.5 M deep) so I purchased a unit from tuin. This unit is 1.6M x 2.2M and so fits on the side wall of our log cabin.
First weekend constructing the garden room extension
The garden room extension was delivered by Tuin as a single, polythene wrapped package with all the wooden components carefully placed to minimize the package size. This contrasted with the Dunster House delivery where all the parts were unloaded separately from a truck, but to be honest, the packaging was the only area that the Tuin kit was superior to the Dunster House kit. As I’ll explain during the course of this article, in all other ways the Dunster House kit was superior.
Making a Base for the extension
The garden room extension is designed to fit to the side of an existing wooden building and needs a solid, level base to be built on. Because the unit is quite small (it’s basically just a standard 6ft x 4ft garden shed), I decided to make this from some lengths of 4 x 2 timber I had left over from a garden pergola project from a few years back.
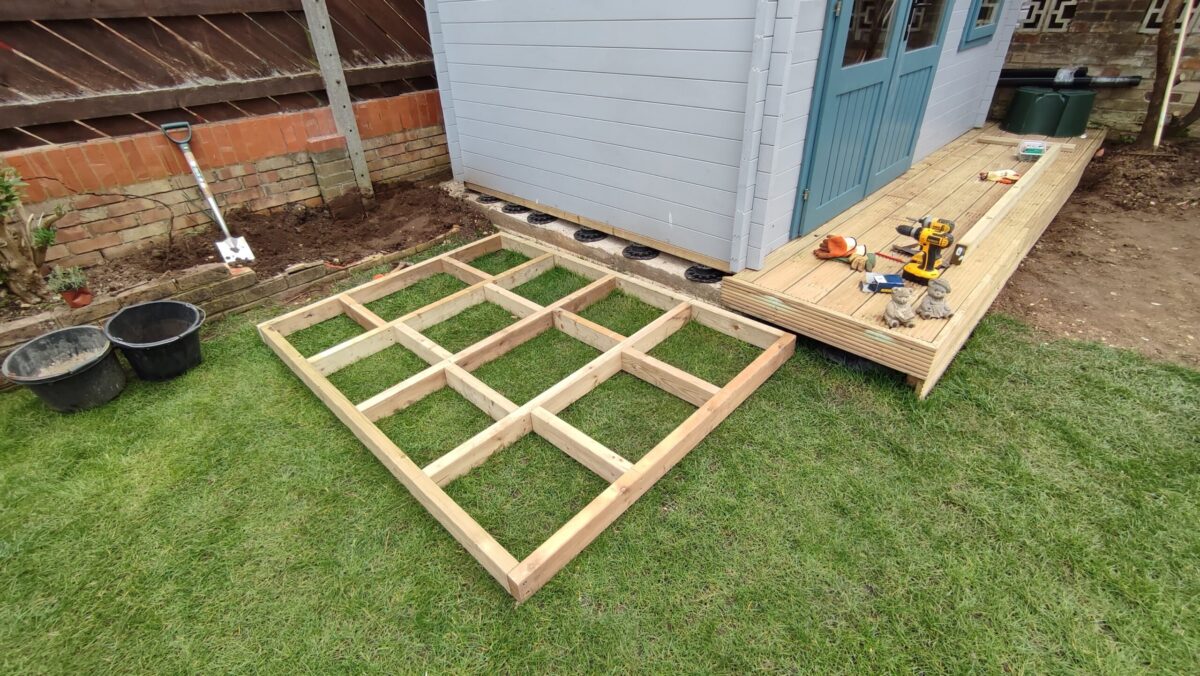
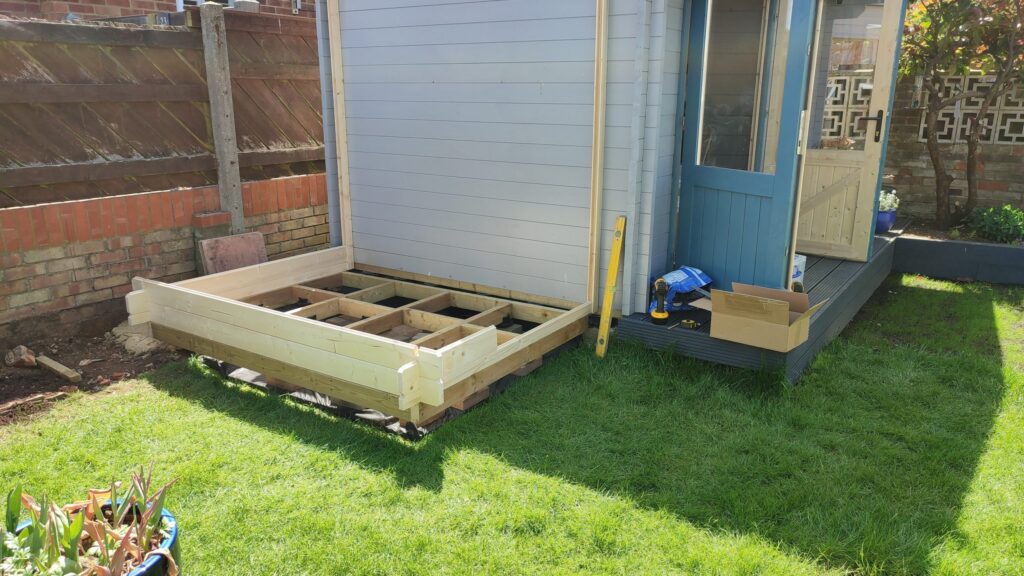
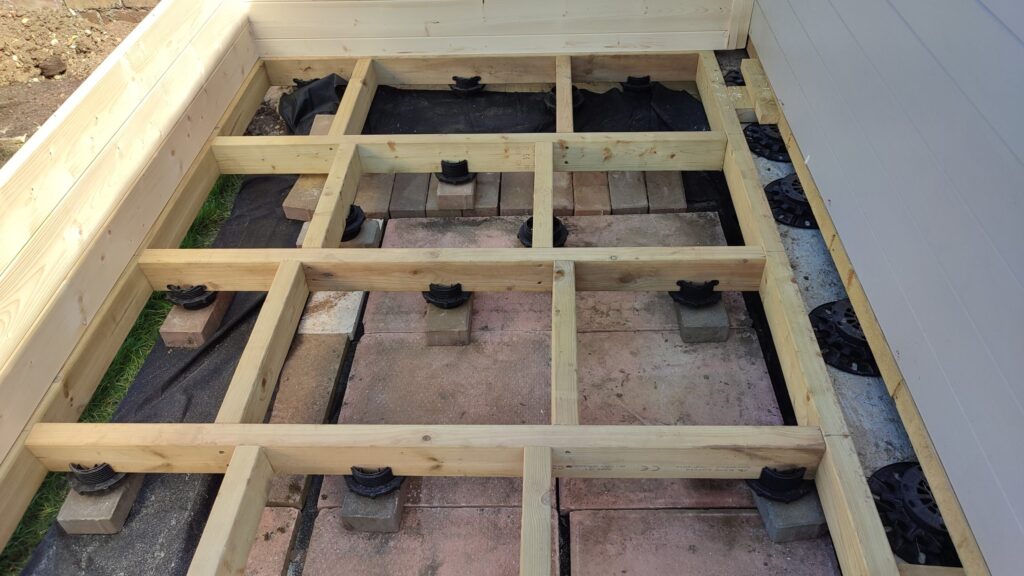
The construction of the base was quite simple – just a frame of 1.5M x 2M (which is the footprint of the extension), and then a series of internal joists and noggins for support. I constructed this a few weeks before the extension was delivered, so it was ready for the assembly.
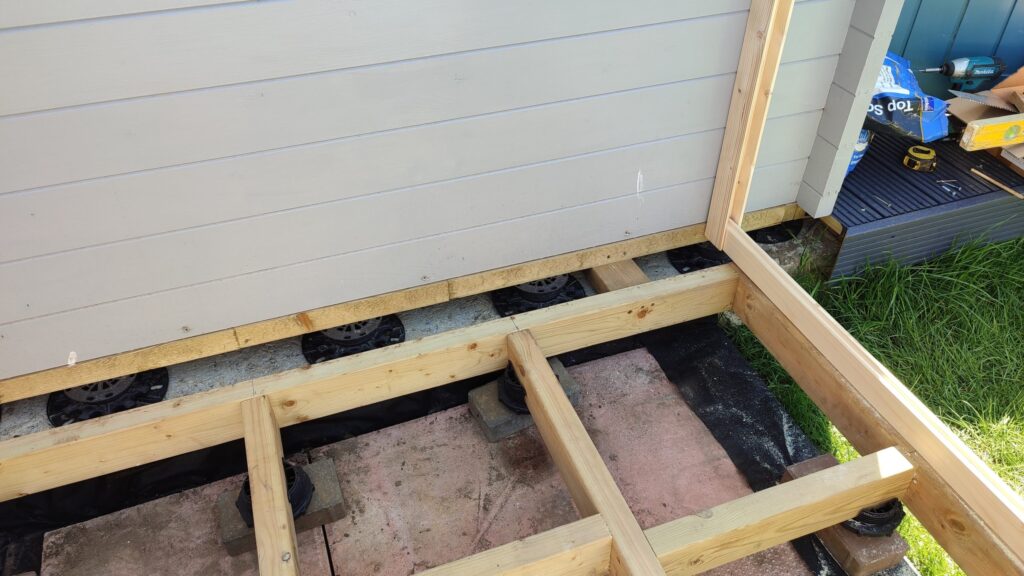
I had to demolish an old raised garden bed to fit the extension, and the photo on the right shows the frame in the approximately correct position whilst I’m removing the bed. I then raised the framework to the correct height using adjustable joist supports, similar to the ones I used for the log cabin, sitting on some paving slabs we have had lying around looking for a home for a couple of years.
Garden room extension construction
On the Saturday after the extension was delivered, I started the construction.
Although the kit is supplied with foundation beams, which are lengths of 2 x 3 timber to place the first logs down on, I didn’t use them in my situation. For a start, because I was constructing on a timber base, there was no need for them (they are designed to keep the extension logs away from any damp), and also I didn’t want the additional height they would add to the walls. In fact, in order to make sure there was no possibility of the extension roof hitting the log cabin roof, I kept the base of the extension slightly lower than the existing log cabin.
This is where I explain the first downside to the Tuin kit; the instructions supplied were almost non-existent. There are a set of plans which show how the logs go together and an inventory of all the supplied parts, but the actual construction booklet was A5 in size and consists of 4 pages of generic instructions to construct a square cabin. There was no mention of the 3 sided extension in the booklet.1
Fortunately, because I’d constructed the Dunster House kit only a few months previously, I felt I could probably work out how to put it all together, and I’m taking the view that if anything fails it will be a warranty replacement because I can’t have followed manufacturer’s installation instructions which weren’t supplied.
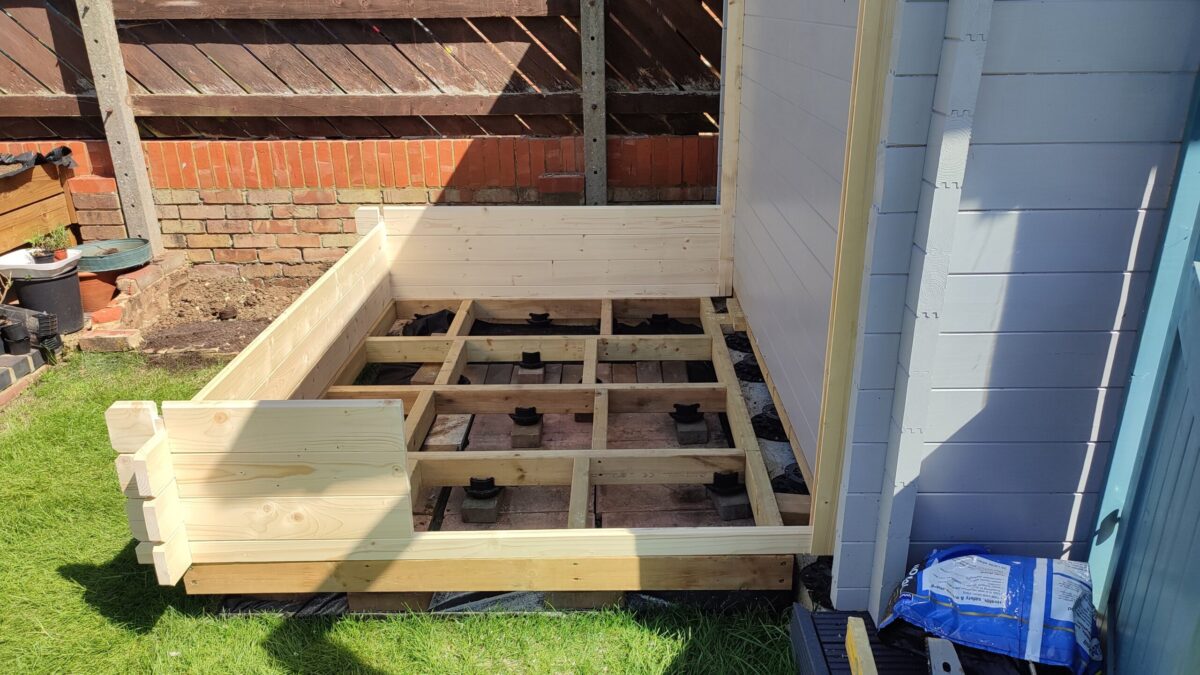
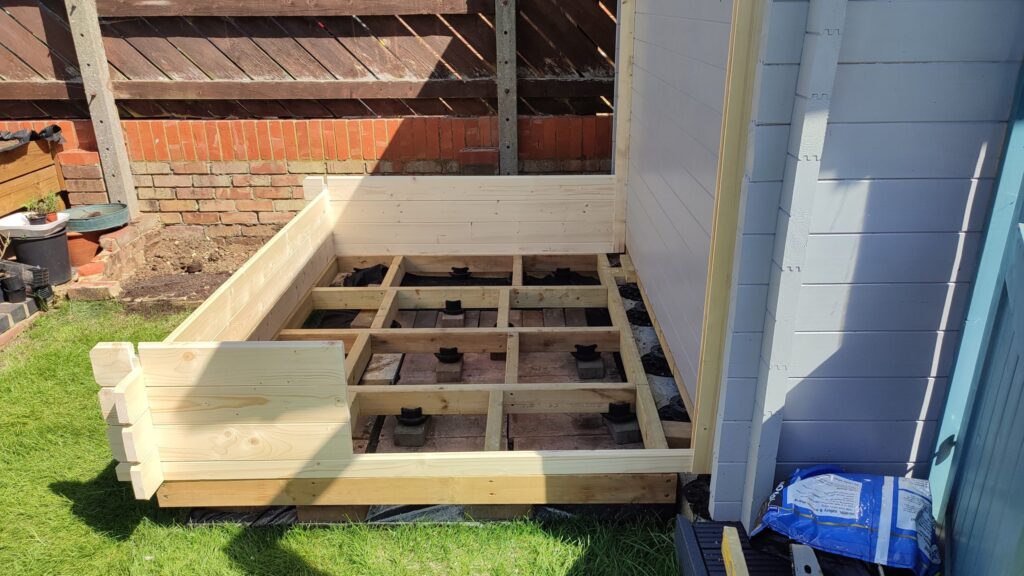
As with the main log cabin, the first job is to get the base set level and then assemble the first row of logs on the base and set everything square. Because this is an extension and only has three sides, I also had to ensure the two U channel rails, which take the ends of the logs at the front and back, were correctly positioned and perfectly upright.
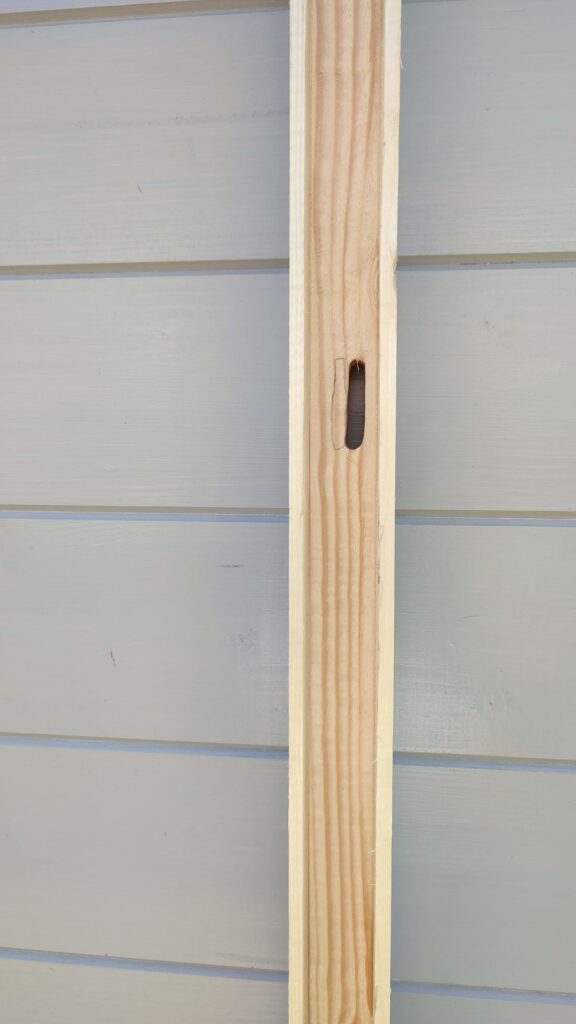
I found the two rails had been supplied without slots or fixing holes cut in, so my first job was to mill some slots in them using a palm router. I first temporarily secured them with a single screw to check they were upright, parallel and the correct distance apart, and then marked where to route the slots so I didn’t position them over a joint in the main building.
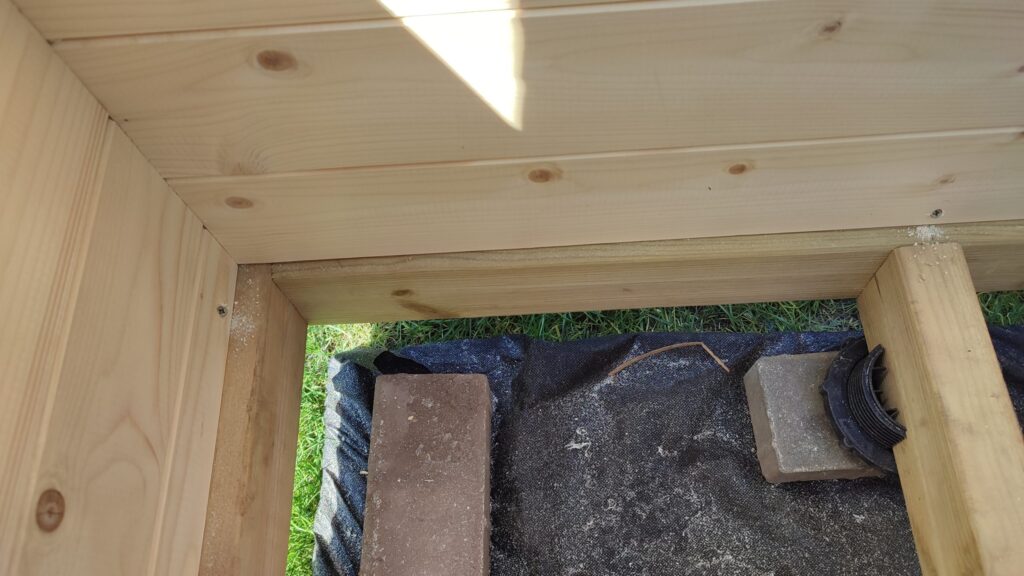
Once the rails were in place, and screwed lightly in place, I got the two half logs at the front and back, and the first side log in place and squared everything up. Because the frame I’ve made needed some weight on it to hold it down, I fitted the first three or four levels before I confirmed everything was square and level before I screwed the first log down the base (screwing at an angle through the side and into the 2 x 4 below).
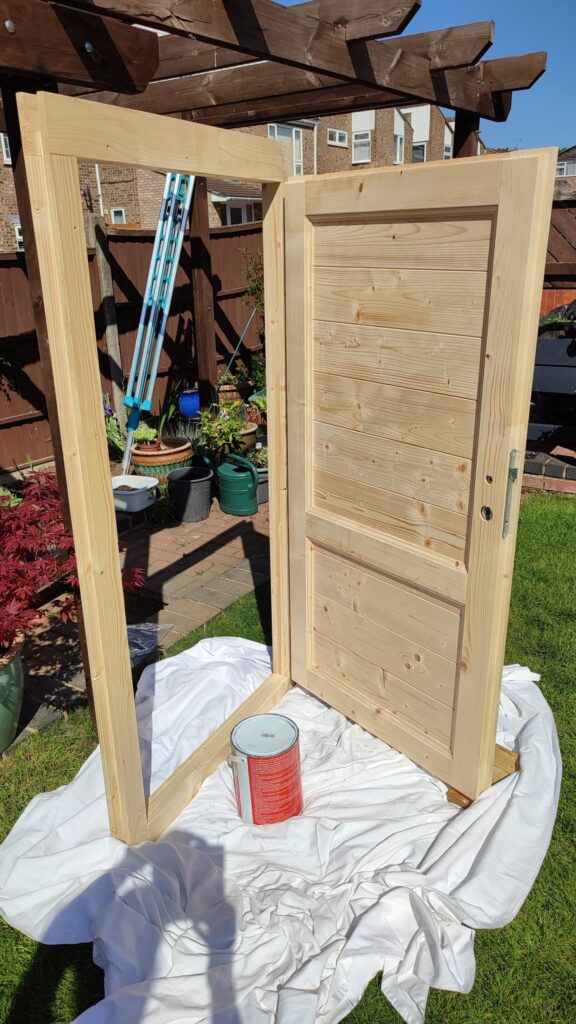
With about 5 levels of logs in place, the next job was to install the door unit, which in this kit is supplied ready assembled. I started to do that, but found a sticker on the door which said that the door should be fully painted prior to assembly into the building. So I leaned the door against the pergola and gave it two coats of Protek primer.
Once the door had dried and been added to the building, the rest of the construction up to roof level was fairly uneventful and was completed very quickly. I think that once I had the building square and level and removing the time for the door to dry, it took about an hour to build up to roof level.
At this point I found I needed to purchase some additional pieces of wood2, so I switched to adding the floor.
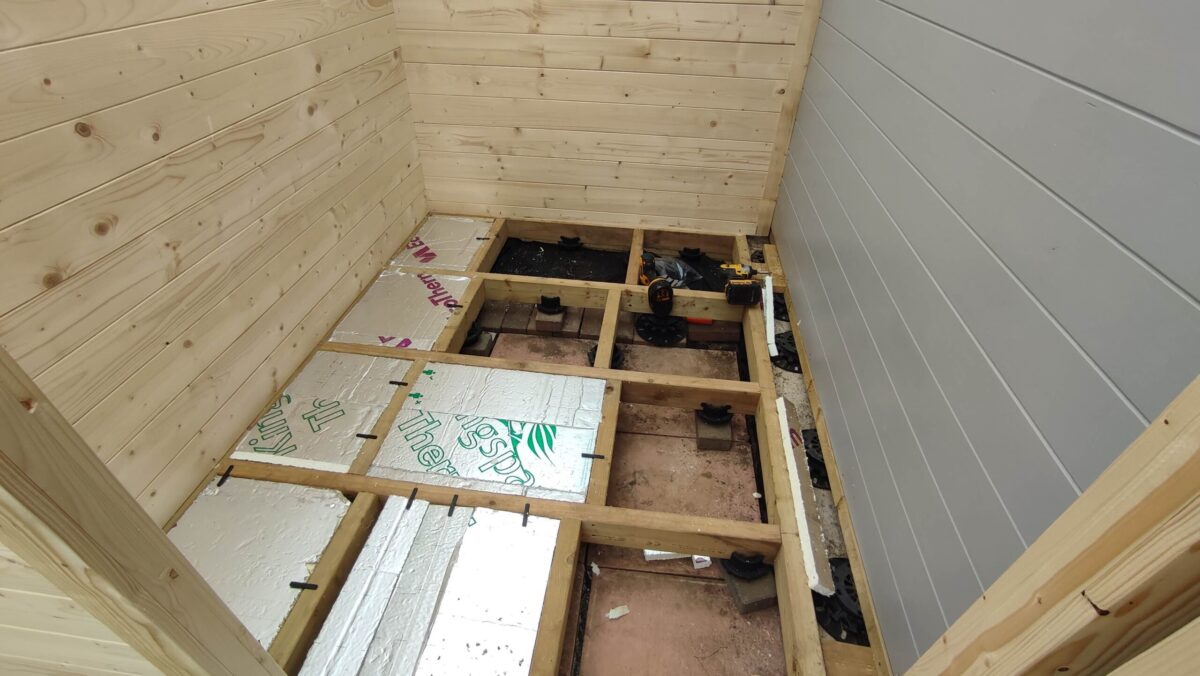
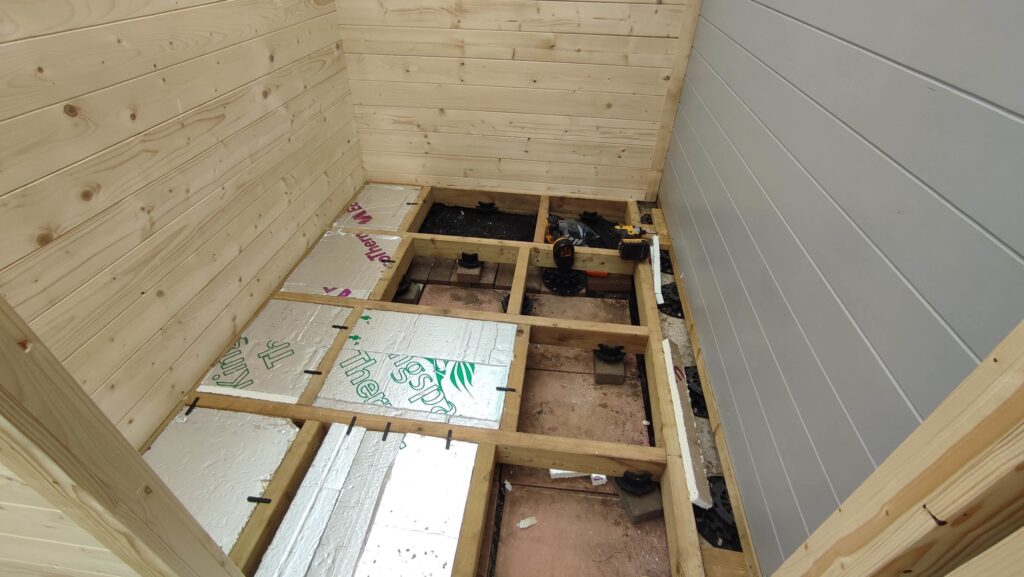
Although this is a storage extension and didn’t really need to add insulation, because I had a couple of sheets left over from the Log Cabin construction I decided to add it to the floor and roof of the garden room extension. I had a full sheet and half sheet, which I kept for the roof, and several ‘bits-n-pieces’ which I used for the floor, fitting it tightly between the noggins of the base.
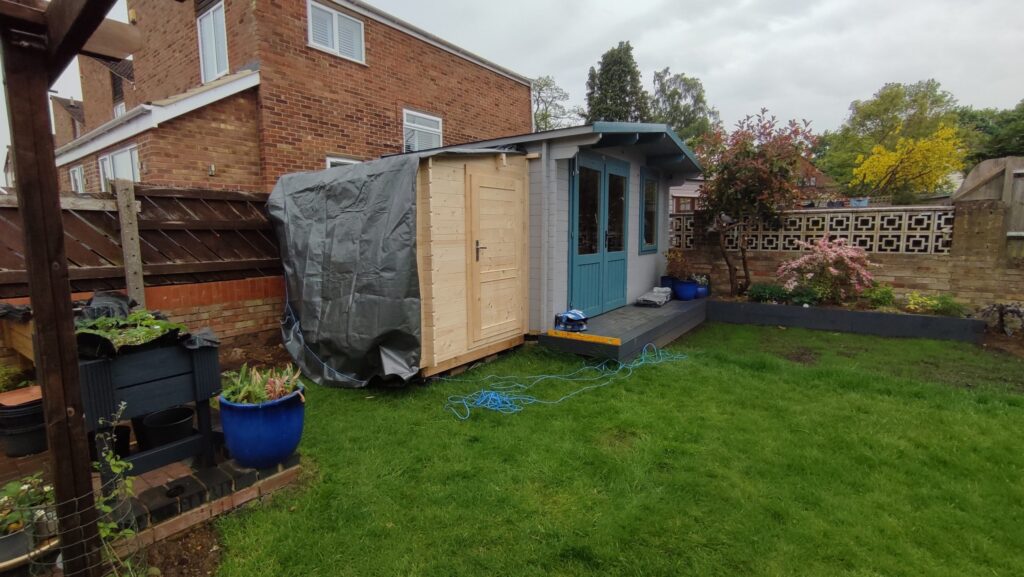
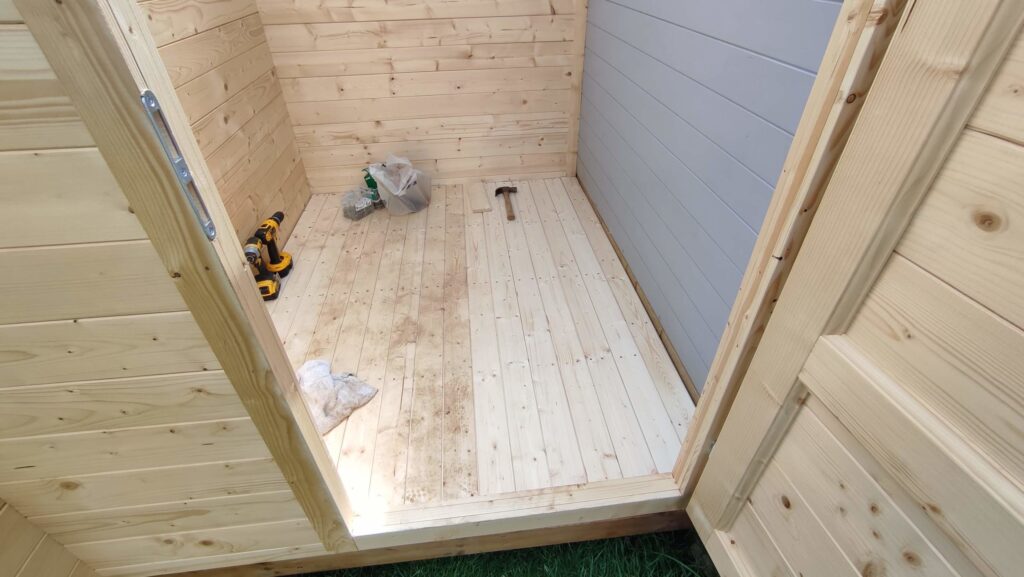
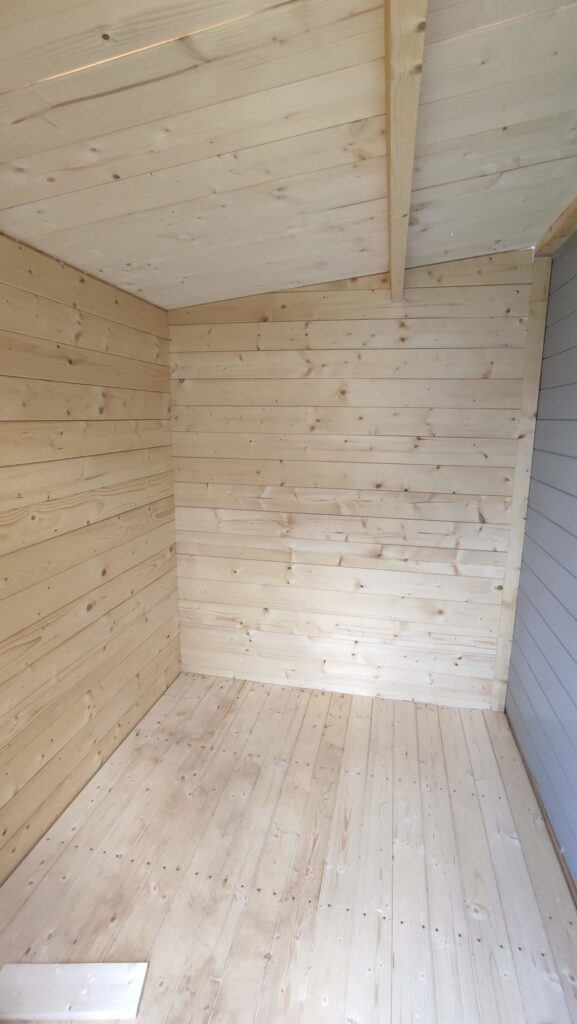
Once the insulation was fitted to the base, I used tongue and groove spruce (which was the floor supplied in the Dunster House log cabin which I didn’t use) to form the floor, nailing it into the 4 x 2 beams. I got about half of the floor completed before it started to rain, and I had to call a halt to the build, covering the part assembled building with a large tarpaulin.
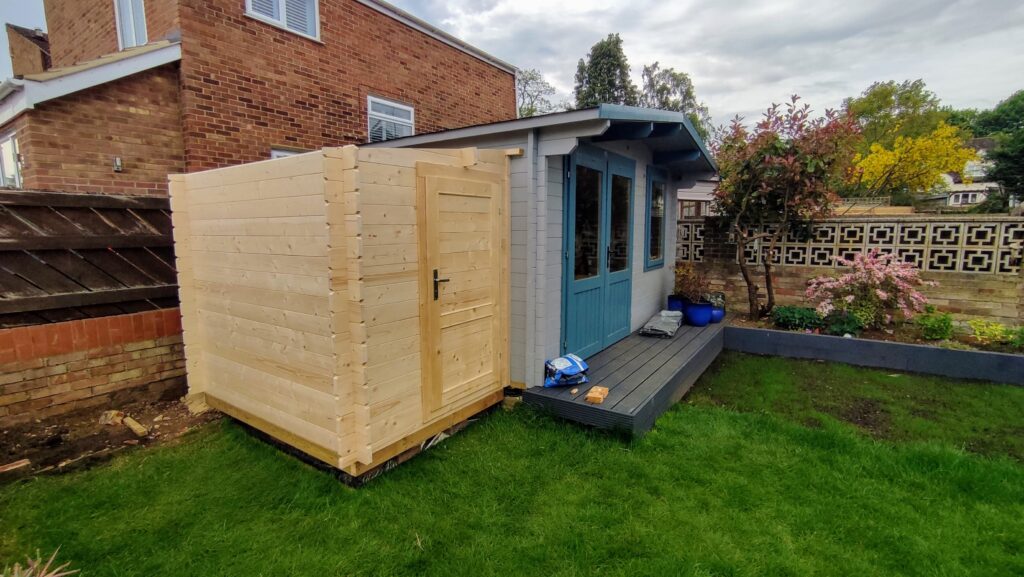
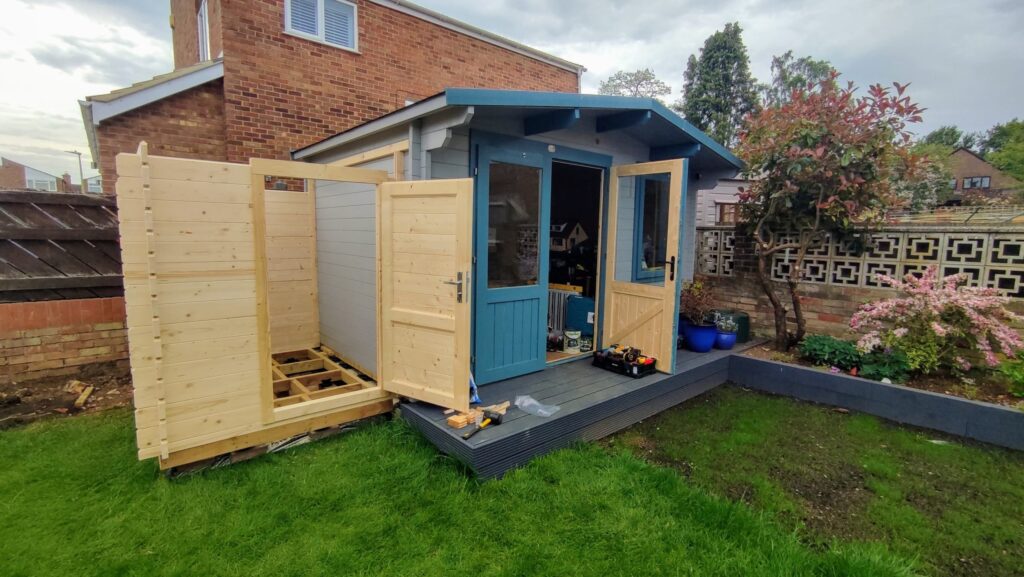
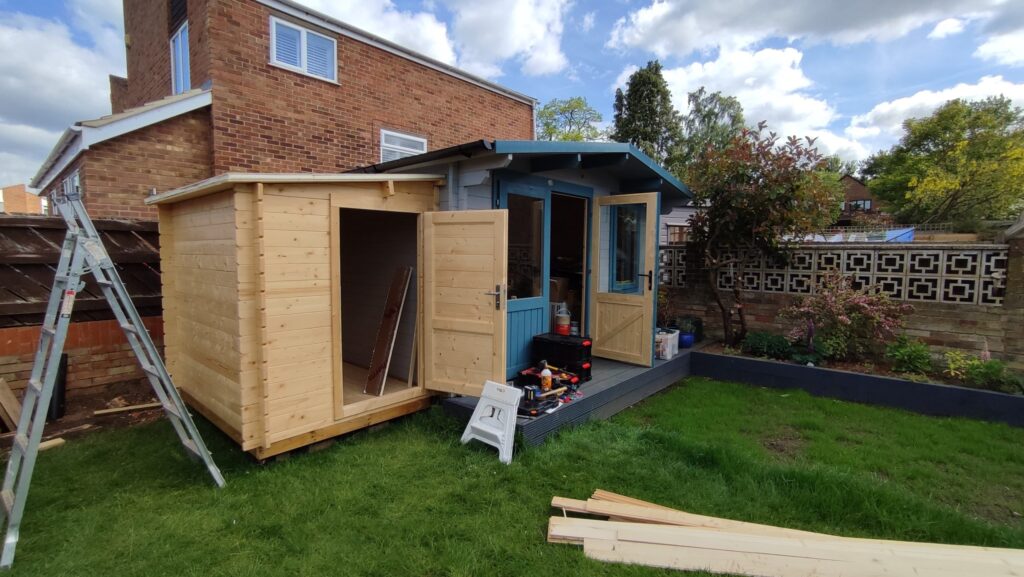
Photos of the Extension Build from first weekend
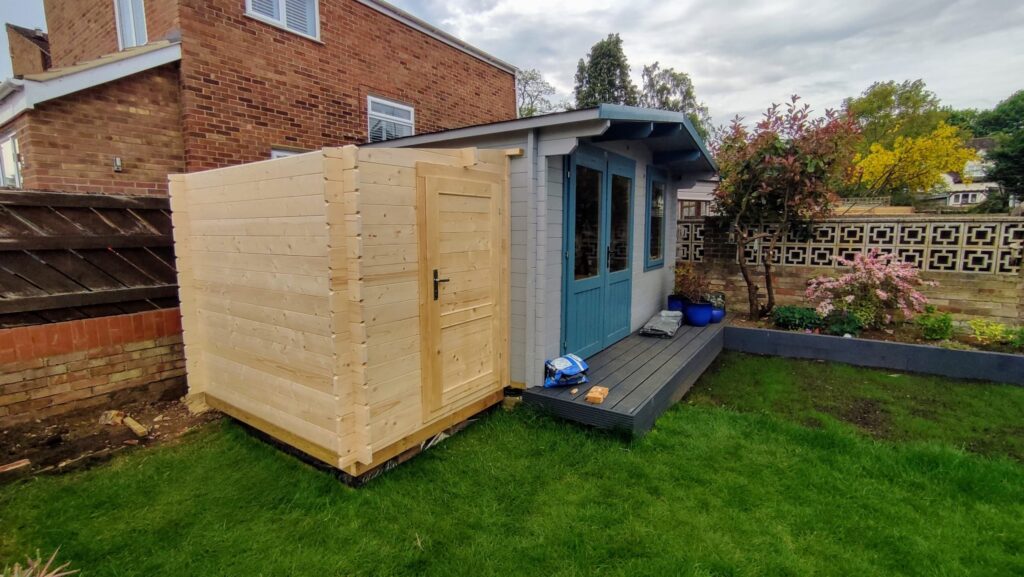
Second weekend construction of the garden room extension
On the second weekend after the extension was delivered, I got most of the rest of the work done.
The first part of the work was to complete the floor, which only took about half an hour. I then had a short list of things I needed to do before I started adding the roof boards to the extension. I’d written this list over the course of the week to make sure I didn’t forget anything.
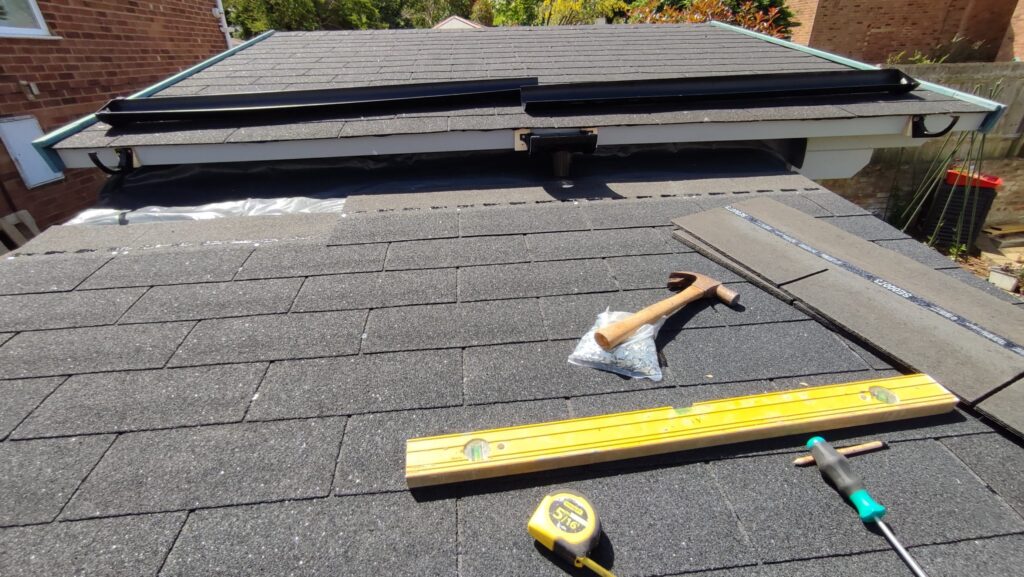
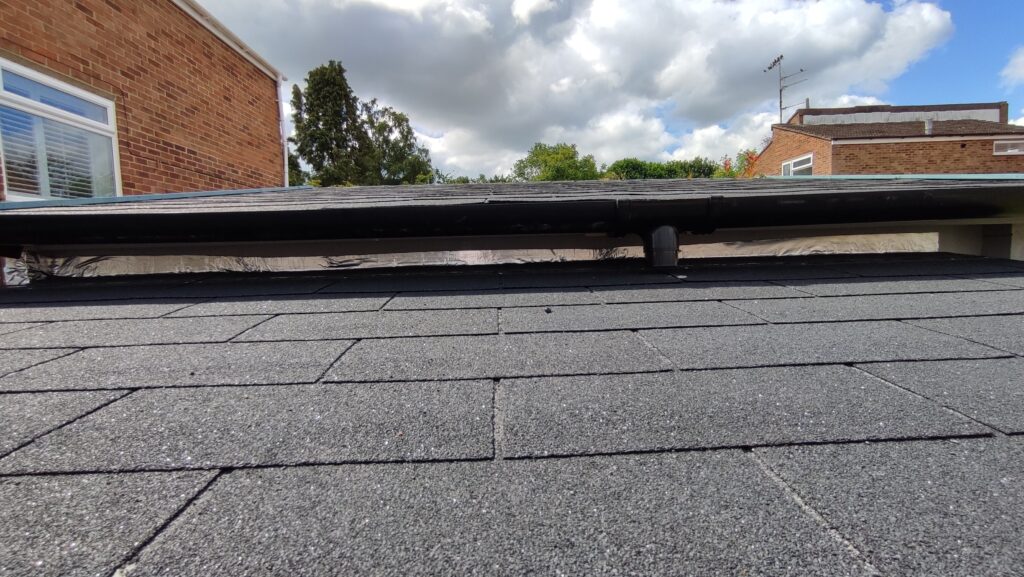
The first major item after the floor was completed was to get the guttering fitted to the main building. I decided this would be easier to do when I could get a stepladder on the floor of the new extension, rather than trying to do it later by lying on the roof. I’d deliberately left the guttering until the extension was positioned, because I wanted to decide if the gutter should vent onto the roof of the extension, or be piped behind it. It turned out there wasn’t room to add a down pipe, so I arranged for it to vent into the centre of the new roof.
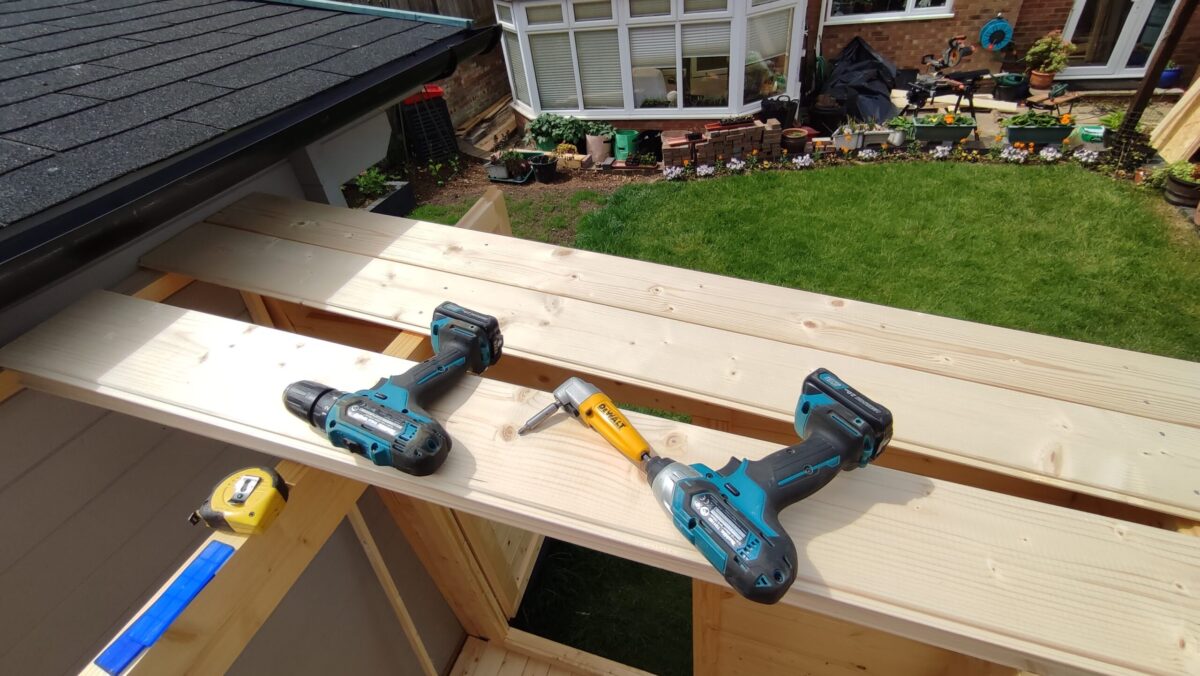
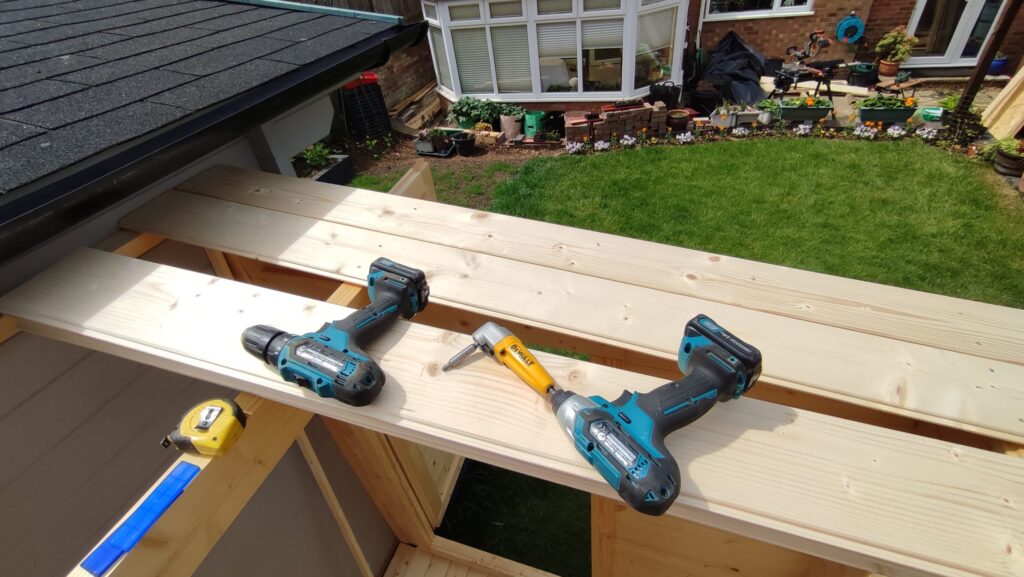
With the guttering fitted, I then planed the wall plate which the roof boards nail into, so that it had the correct angle to meet the boards, and screwed it to the main building. Fitting the roof boards was next, and for this I had to deviate a little from the plans. Instead of nailing the boards, I had to use screws for the joint with the wall plate.
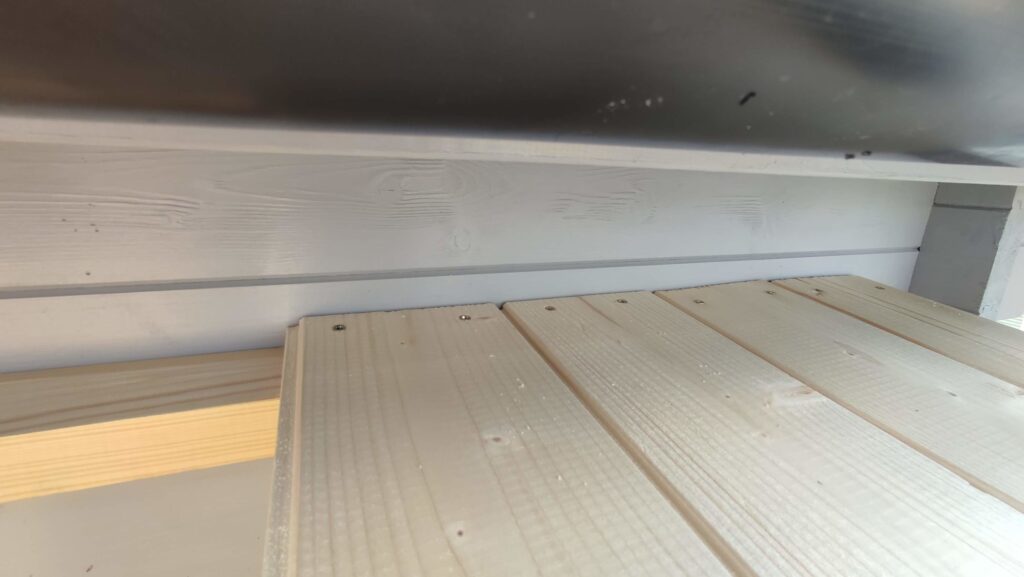
The image here shows why; it was impossible to nail the boards when the eaves of the main building were only a few inches above the boards. Instead, I pre-drilled the boards prior to slotting the tongue to the groove of the previous board and then screwed them in place with a 90º screwdriver attachment on my driver.
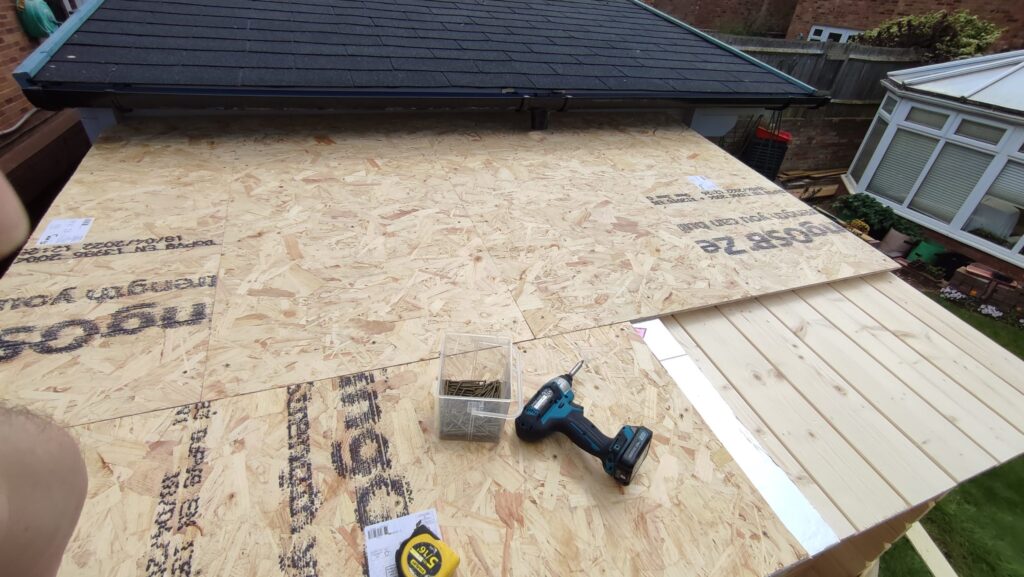
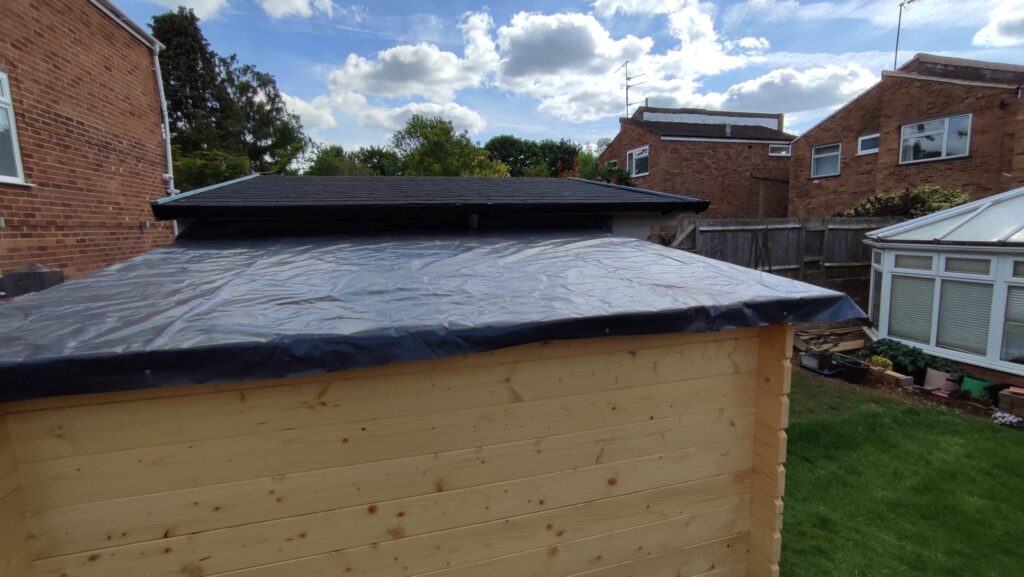
After the roof boards had been fitted, I then added a 25 mm layer of solid foam insulation and covered that with some OSB board screwed into the roof boards, sandwiching the insulation in between.
To make the roof watertight, I added a layer of plastic sheeting prior to fitting the felt shingles. I had plenty of plastic sheeting left over from the construction of the main building, so it made sense to add this layer, as I had on the Log Cabin.
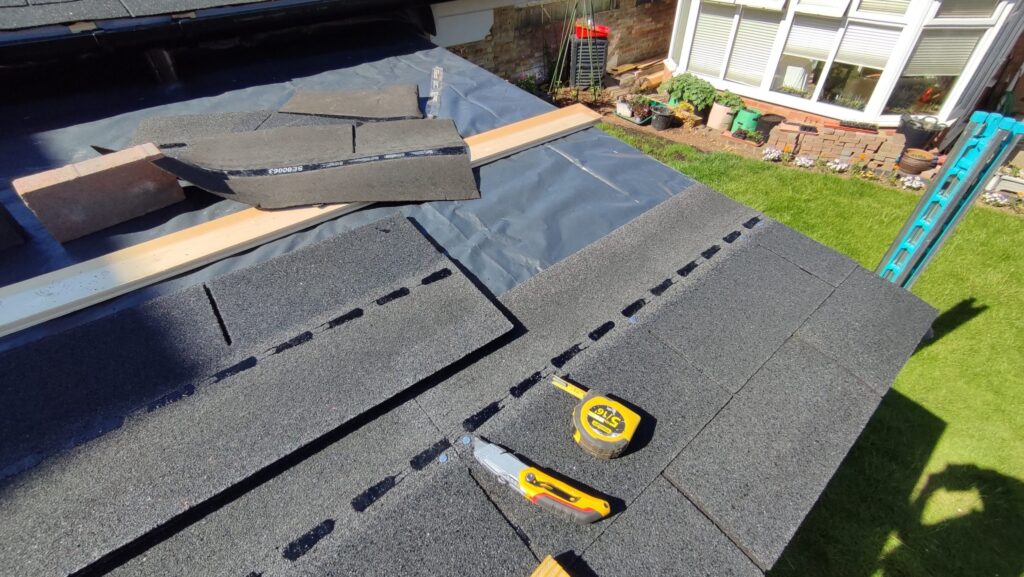
Adding the shingles was a straight forward job up to the point where the roof met the wall of the log cabin. At that point I added a strip of flashing tape to seal the joint which went up the wall and then over the plastic sheeting and under the last row of shingles.
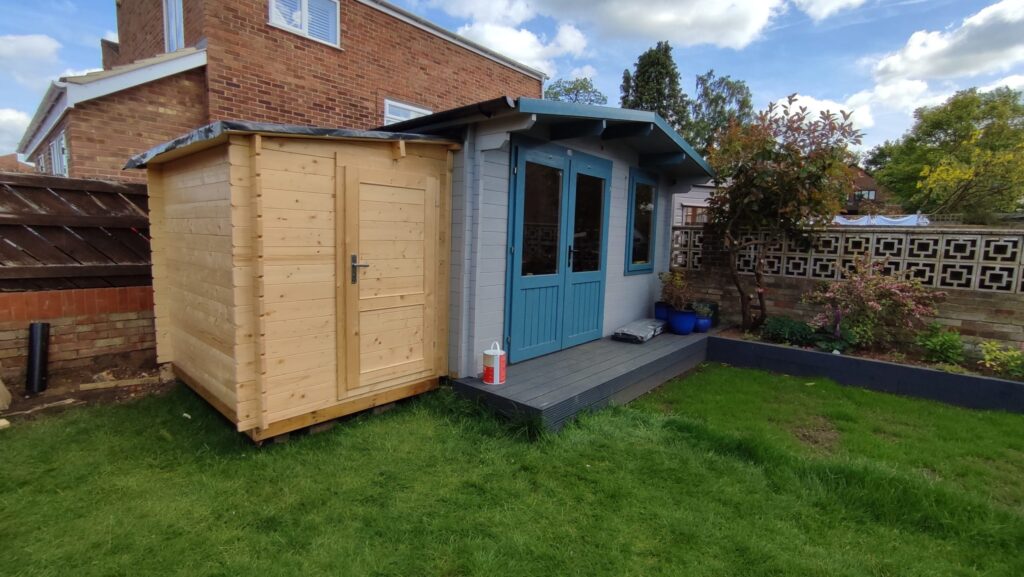
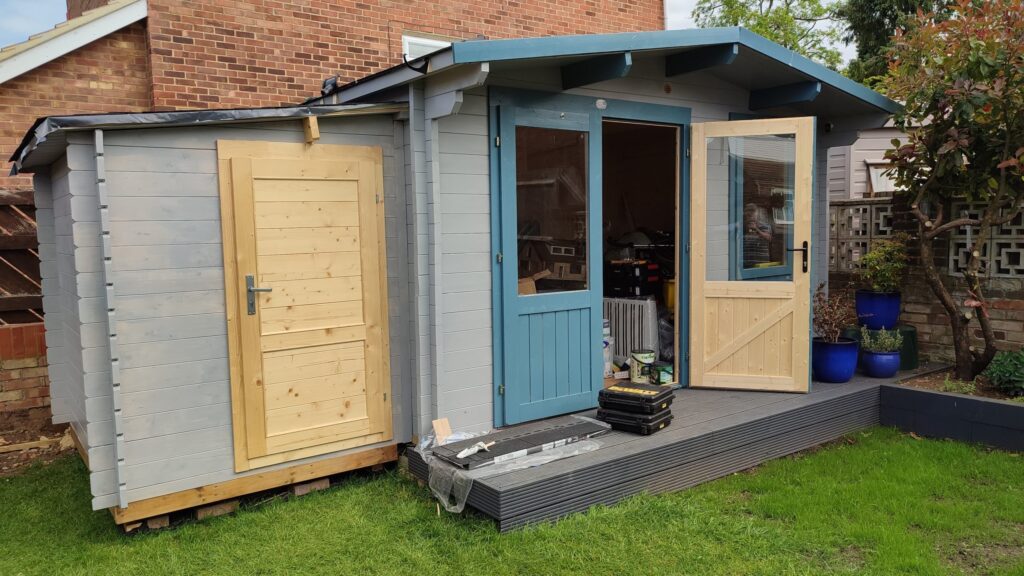
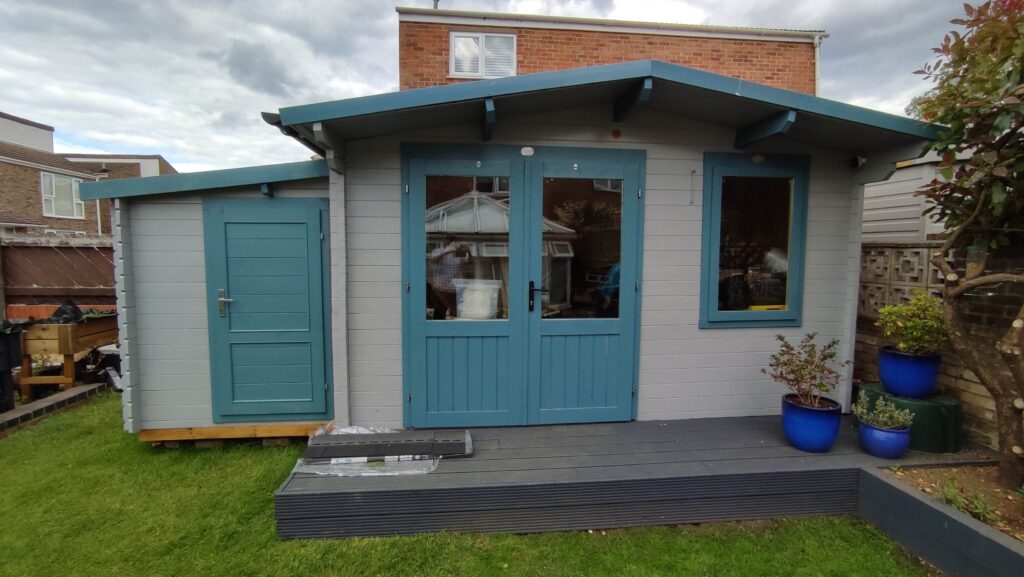
The final bits of the build consisted of the side trim and facia boards, and then I gave the building a couple of coats of the same paint I used to paint the original log cabin.
Photos from second weekend building the extension
Negative points with the Garden Room Extension
Although in the end the new extension looks good there were still things which I found disappointing with the Tuin Kit, particularly after my experience with the Dunster House log cabin kit.
- The instructions supplied – already mentioned, but they were shockingly bad
- The fact that there were no screws or fixings supplied other than the nails for the roof boards and shingles.
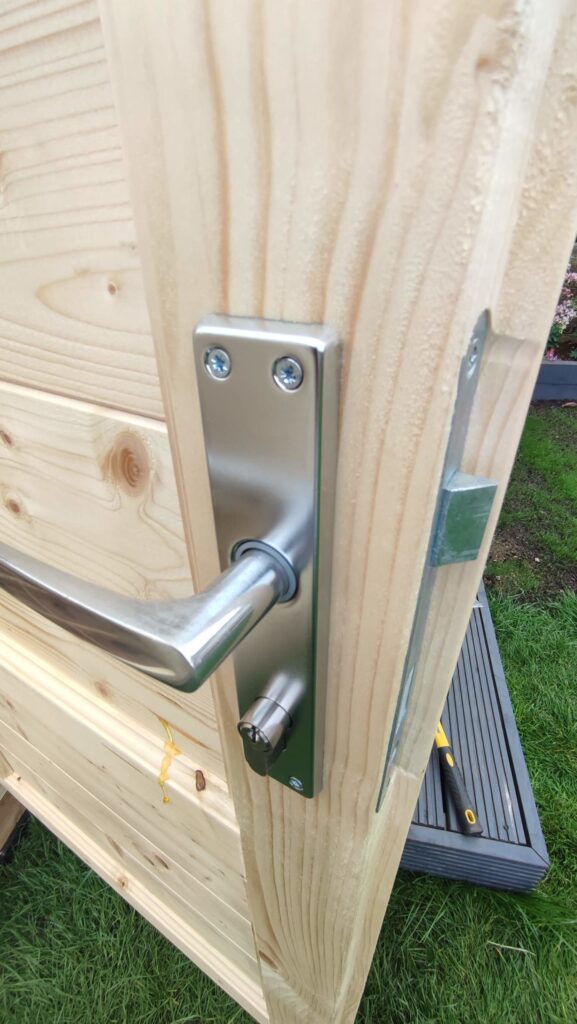
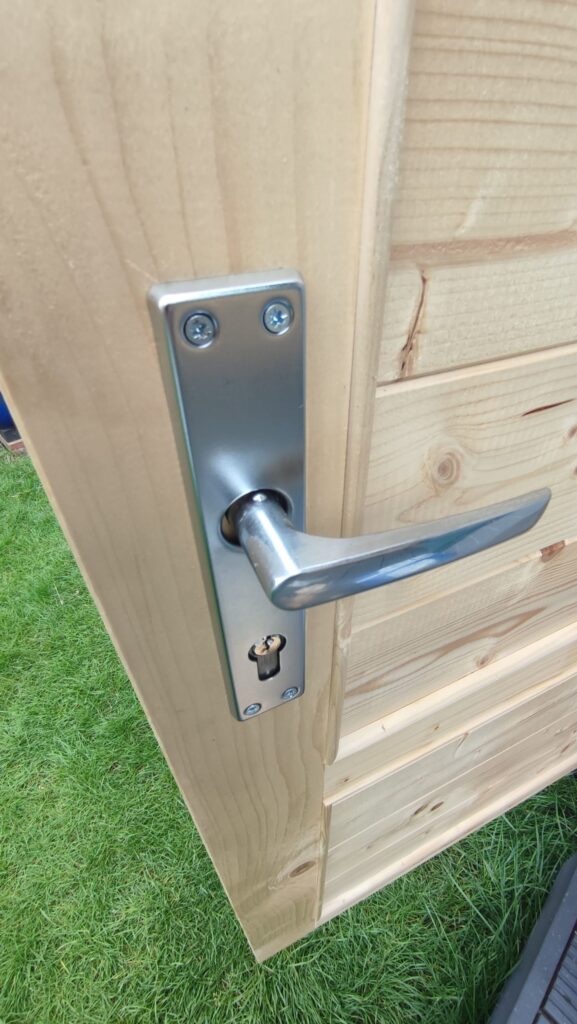
- The supplied lock needed to have a small indent filed into one of the parts to allow it to be used.
- On the log cabin build, the top log had a profile planed into it to match the angle of the roof boards. In this kit the top log is just one of the standard logs, so the roof boards interface with a milled tongue.
- The U channels which support the side walls and are fitted to the existing log cabin had no holes or slots milled into it. I had to do that with a palm router.
- There is no edge support strip supplied, so I had to purchase this separately.
However, the building is now up and means I don’t need to find room in the main log cabin for lots of power tools etc.
- I did contact the manufacturers once I’d found the instructions were so poor, but all they did was send another set of the plans which were already correctly supplied.
I’ve subsequently looked at other people’s reviews on their website, and I found several people complaining that the instructions were poor, so I suspect they simply haven’t written any full instructions. To my mind, this is unforgivable for a kit they have been selling for about 10 years. [↩]
- This is another negative contrast with the Dunster House kit. In that kit everything was supplied, but in the Tuin kit I found I need to purchase additional lengths of wood to strengthen the roof board edges and strengthen the side walls where the roof boards are nailed [↩]
