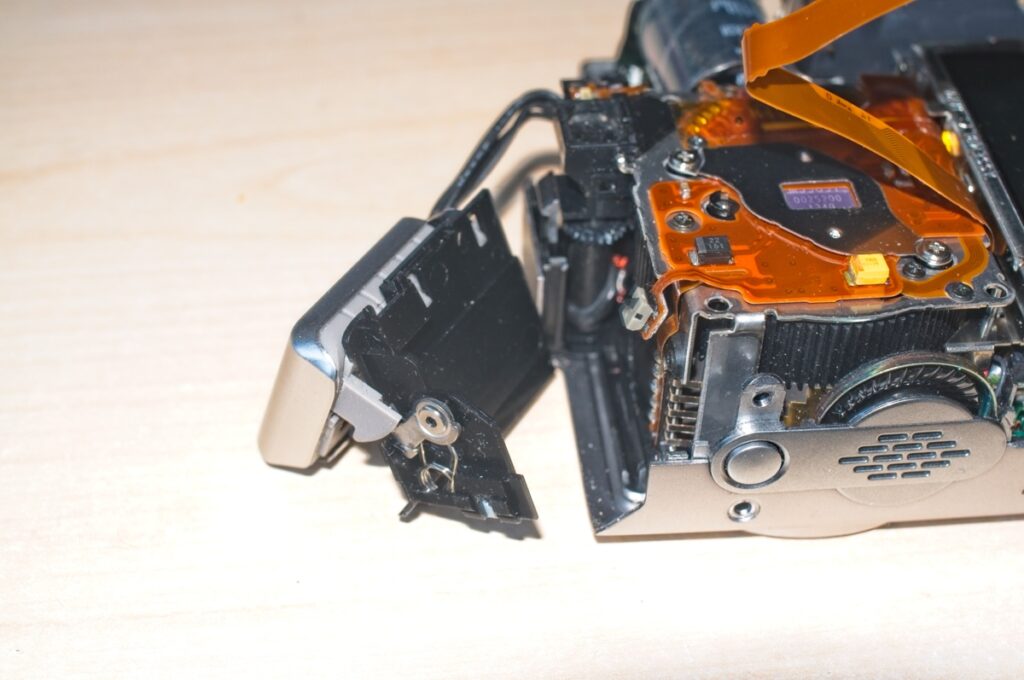
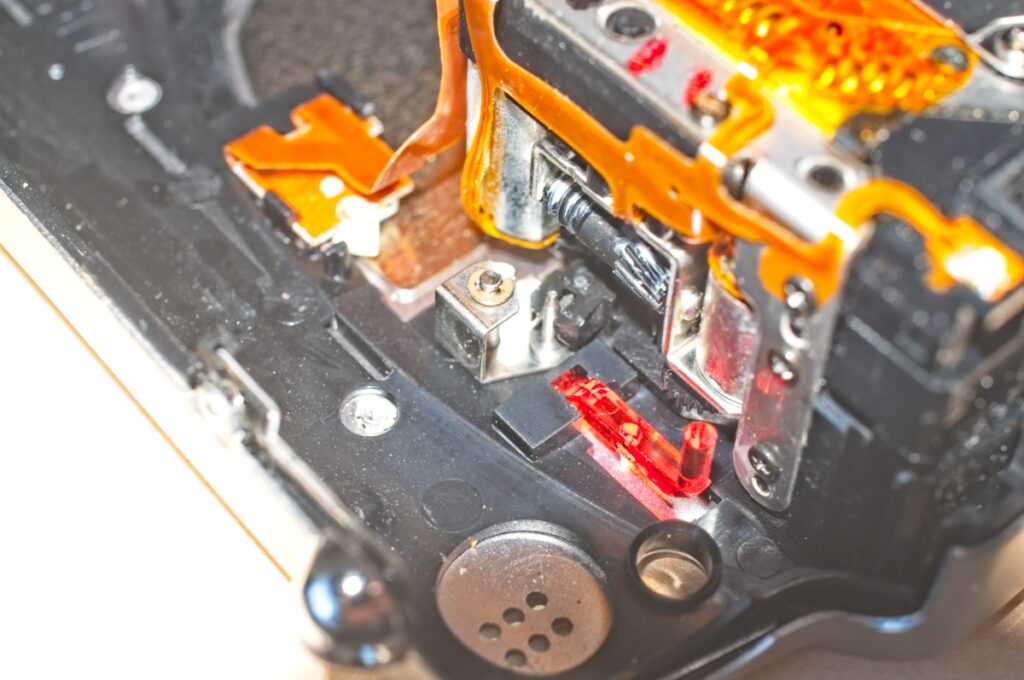
This post is going to take the form of a pictorial guide to removing the case and main board of the Fuji Finepix 4700 zoom camera.
Introduction
I've recently renewed my interest in vintage photography, particularly digital vintage photography, and so when I saw a Fuji Finepix 4700 digital compact camera for sale, advertised as not working, I decided it would be worth the £4 or so it was being sold for to see if I could repair it.
The actual fault reported was that the camera would not turn on, so I thought it likely that the problem would probably be quite easy to fix - perhaps a broken solder connection or possibly some corrosion on a battery terminal. As it happens, when I got the camera and stripped it down it turned out to not be so simple, and I haven't yet discovered what is wrong, but I thought it would be worth recording the steps I took to get the camera apart in case anyone else needs to do the same.
Fuji Finepix 4700 dismantling procedure
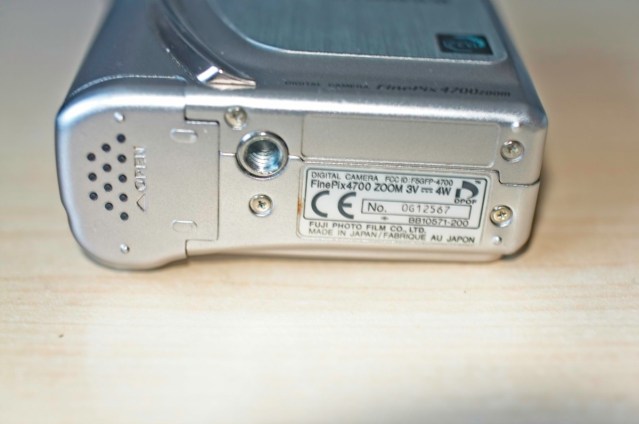
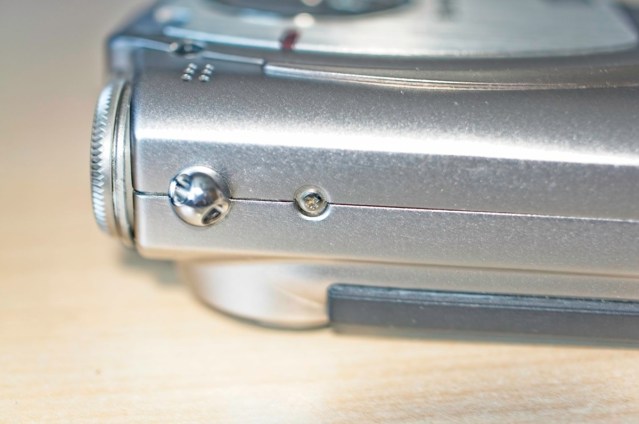
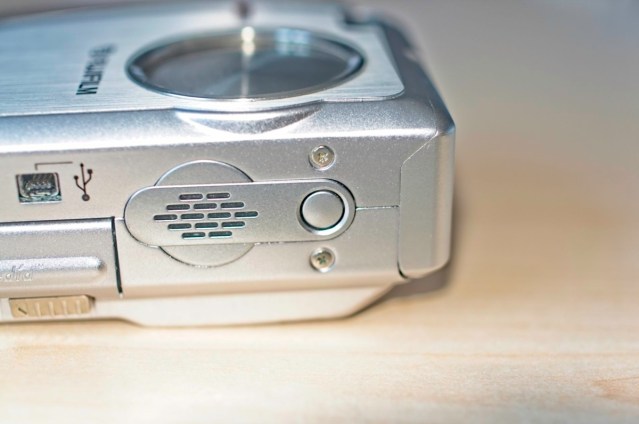
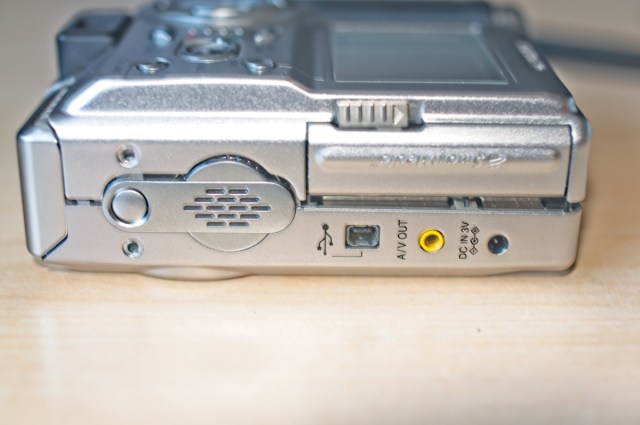
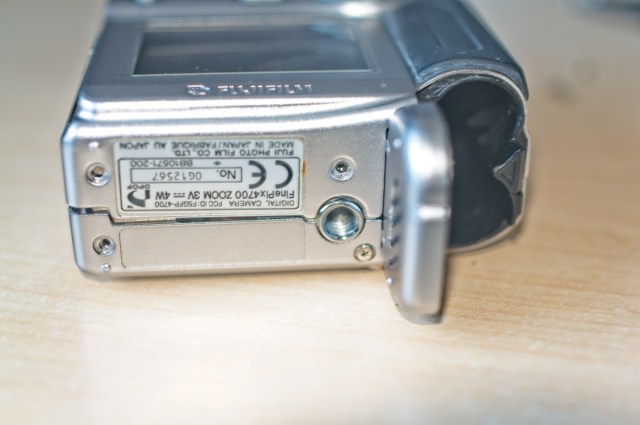
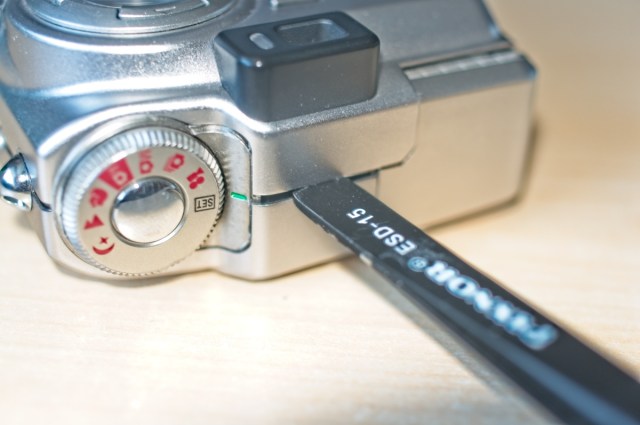
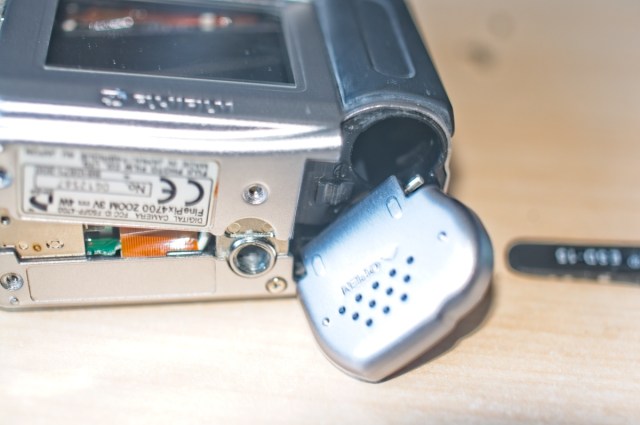
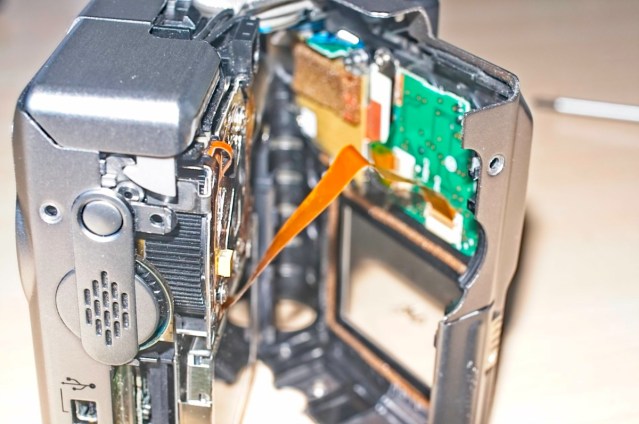
The images below will show the procedure I used, and I've also written the description below and included pointers to particular areas where care needs to be taken. I should just say that the images were taken under less than ideal conditions and some of them are a bit blurry - I hope that it's still possible to see the essential parts of the procedure.
Images of Dismantling procedure
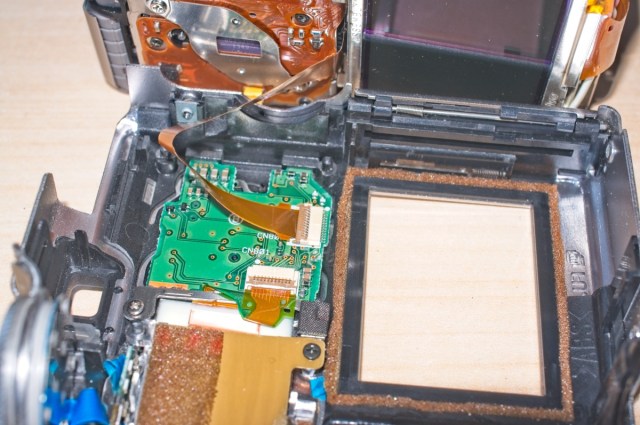
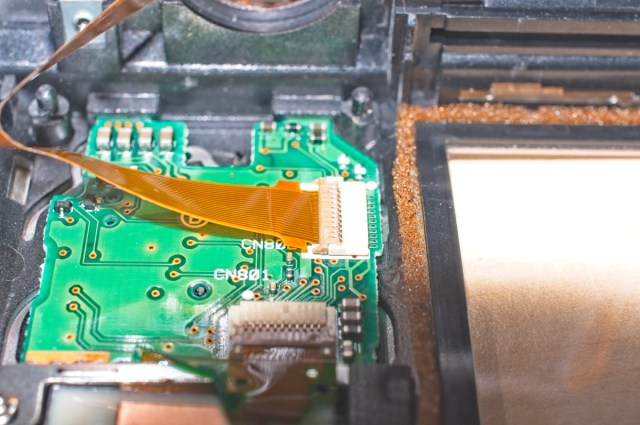
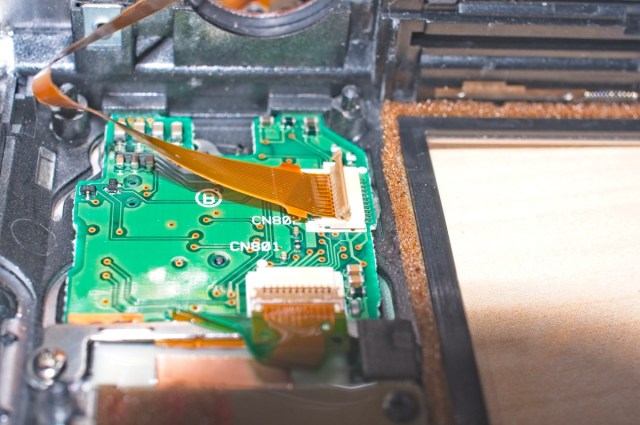
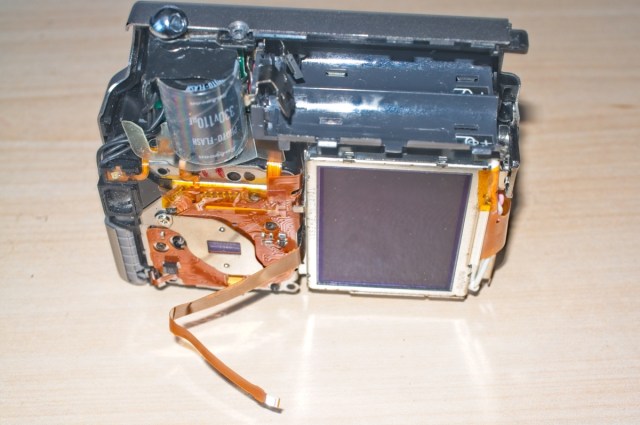
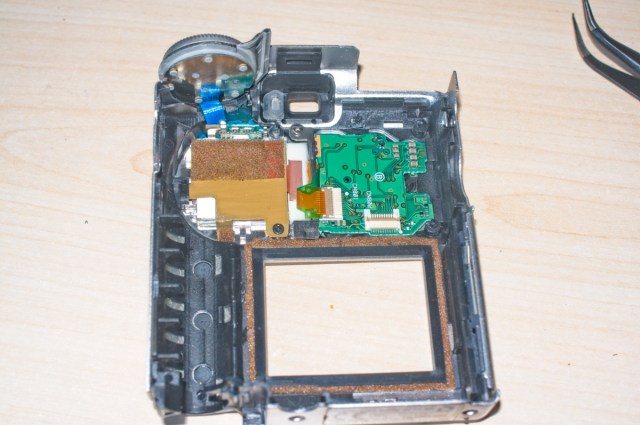
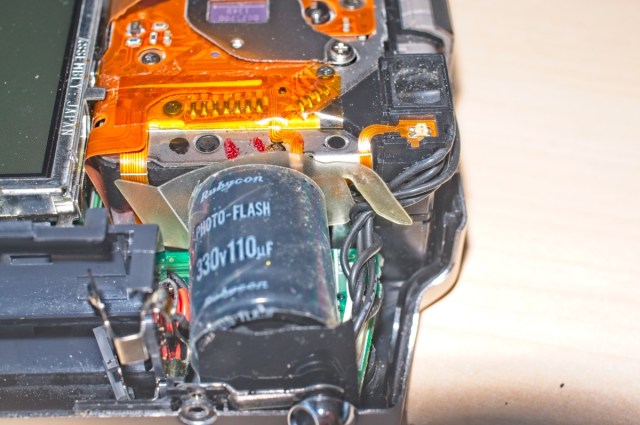
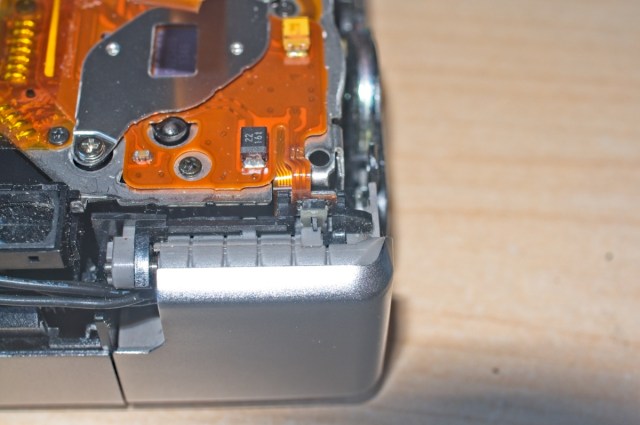
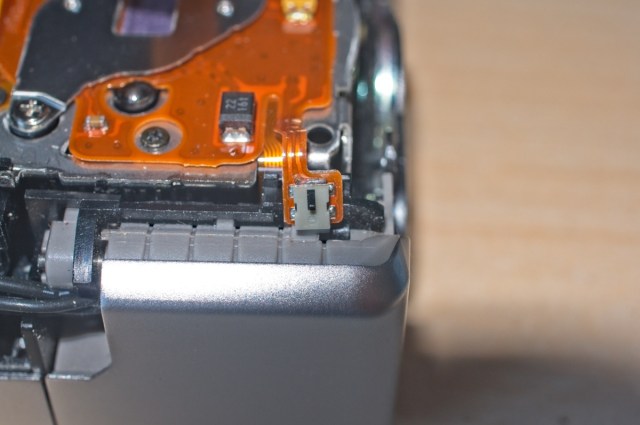
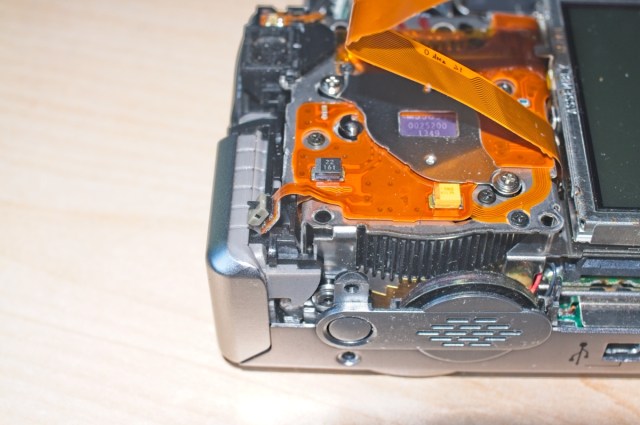
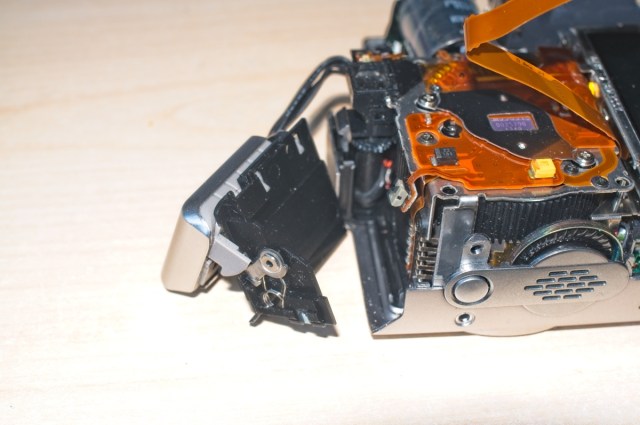
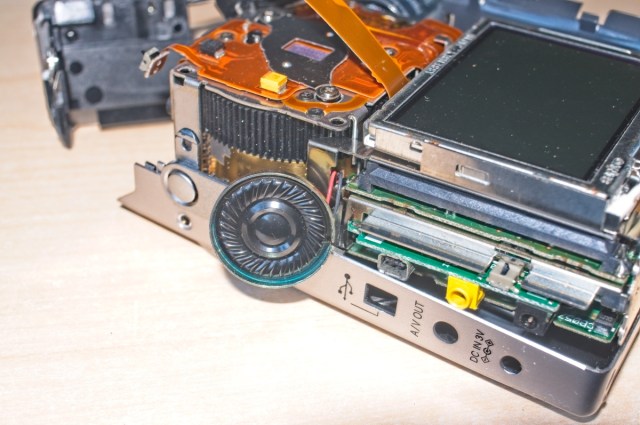
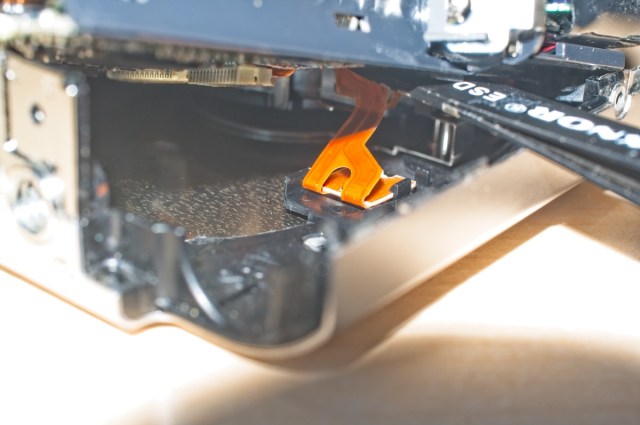
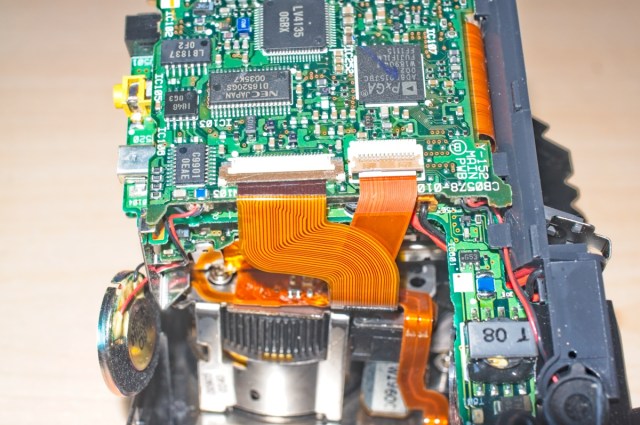
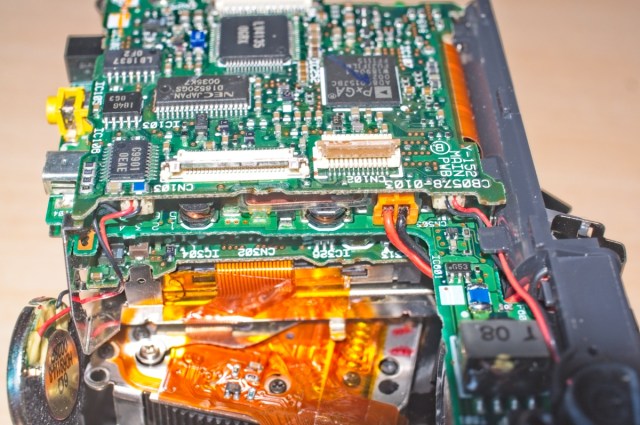
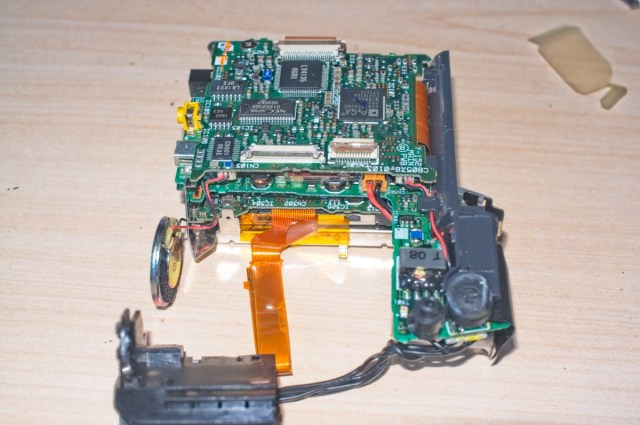
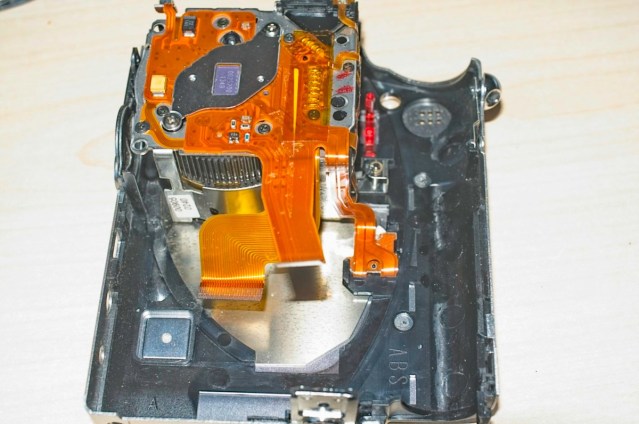
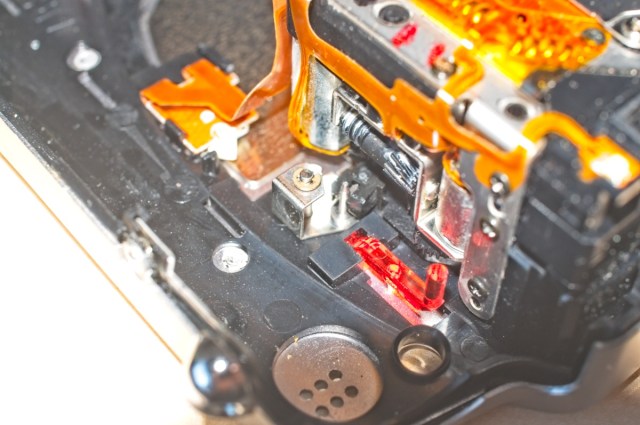
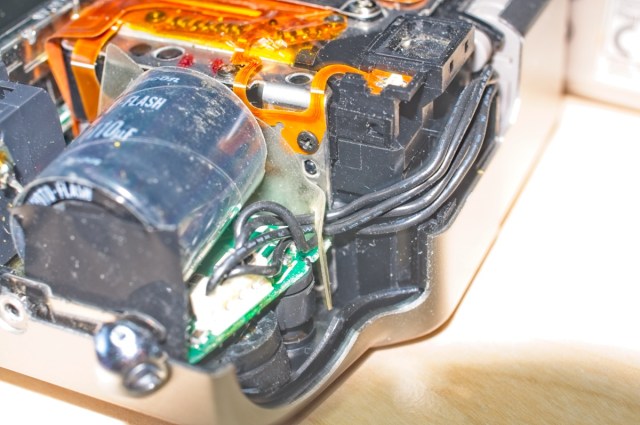
Description of Dismantling procedure
As a general note, it needs to be born in mind that this camera is as much a delicate piece of electronic engineering as a piece of optical equipment - in fact more the former than the latter. There are ribbon cables and micro switches which will be easily damaged if they are pulled, so at all steps it's best to go slowly and gently and look into the camera before using force.
The first, fairly obvious step in the process, is to remove the screws from the case. In fact, you don't need to remove all the screws - I left the one on the bottom of the camera nearest the tripod mount in place because I could get everything out of the camera I needed to without taking that screw out.
Once the screws are removed, the case can be gently prised apart by inserting something narrow and flat into the gap in the case and carefully separating the two halves of the case. I found the side where the memory card slot fits is the easiest to get apart, and the battery side quite stubborn. There is a plastic interlock on the battery side which holds the case together.
As the parts of the case are being pulled apart, be careful not to try to remove the back case of the camera completely because there is a ribbon cable which connects the switch and LCD assembly at the top of the camera to the main board in the unit.
Once the back case part is separated from the front of the camera, you need to disconnect the ribbon. It is held in a Zero Insertion Force (ZIF) socket which has a clip which needs to be opened to release the cable. I used a pair of tweezers to release the top of the socket and once it's open the cable can be easily pulled out. If you need to use any force, the socket hasn't been released. Once the ribbon is released, the camera back panel can be placed somewhere safe until it needs to be re-assembled.
The next part of the assembly to remove is the flash unit, which slots in the top of the case and can be extracted upwards and out.
First, however, you need to remove the switch which signals that the flash has been raised. This is on a tiny PCB which is part of the ribbon assembly at the top of the camera. I just pulled the switch up and out of the way as I wriggled the main PCB unit until the flash came out. The flash is still attached to the main unit by a four way wiring loom, so it is just left out of the camera case at the moment.
The speaker on the side of the case can be lifted and out of its holder, but again it is wired to the PCB (well, plugged in) so it's just lifted clear until the main unit is removed.
The main unit with the LCD on can now be lifted, but there is a ribbon cable attached to the front of the case which gets in the way if you try to just lift it out. It needs to be wriggled until it moves and then lifted and turned over so the final two ribbons which attach it to the lens / sensor unit can be removed. These cables are again zero insertion force cables, and the little bars at the front of the cable need to be lifted to allow the ribbons to be extracted.
That is as far as I went because I just needed access to the power cables which connect to the main PCB unit. The lens assembly is actually loose at this point and could be removed to be examined / repaired.
Fuji Finepix 4700 zoom re-assembly
Re-assembly is basically the reverse of the dis-assembly process, but there are some things to look out for, which I'll go through here.
The first thing is to make sure that the lens cover, which slides out of the way when the lens extends, is correctly located in the mechanism which controls it.
The first time I re-assembled the camera I missed this and had the whole camera back together only to find the cover was moving about by itself as the camera was moved. There is a small pin which needs to locate with the arm which controls it, so that needs to be located before you relocate the main camera unit.
The other thing I missed was the plastic screen which protects the end of the flash capacitor. It sits behind the capacitor and also keeps the flash wiring in place. Again, I had the whole camera together when I saw this sitting on the desk.
Finally, the easiest bit to miss, but also the easiest to deal with, is the battery door. If this is missed, it's easy enough to slightly prise the unit apart and refit this.
