Easy Ender 3 Pro assembly and first print
This post looks again at the Ender 3 Pro 3D printer and deals with the assembly and first print.
As I said in my last post, I was quite surprised that this reconditioned, used 3D printer was supplied as a kit, but in a way quite interested in putting it together so I could get a better understanding of how it all works.
Ender 3 Pro Assembly
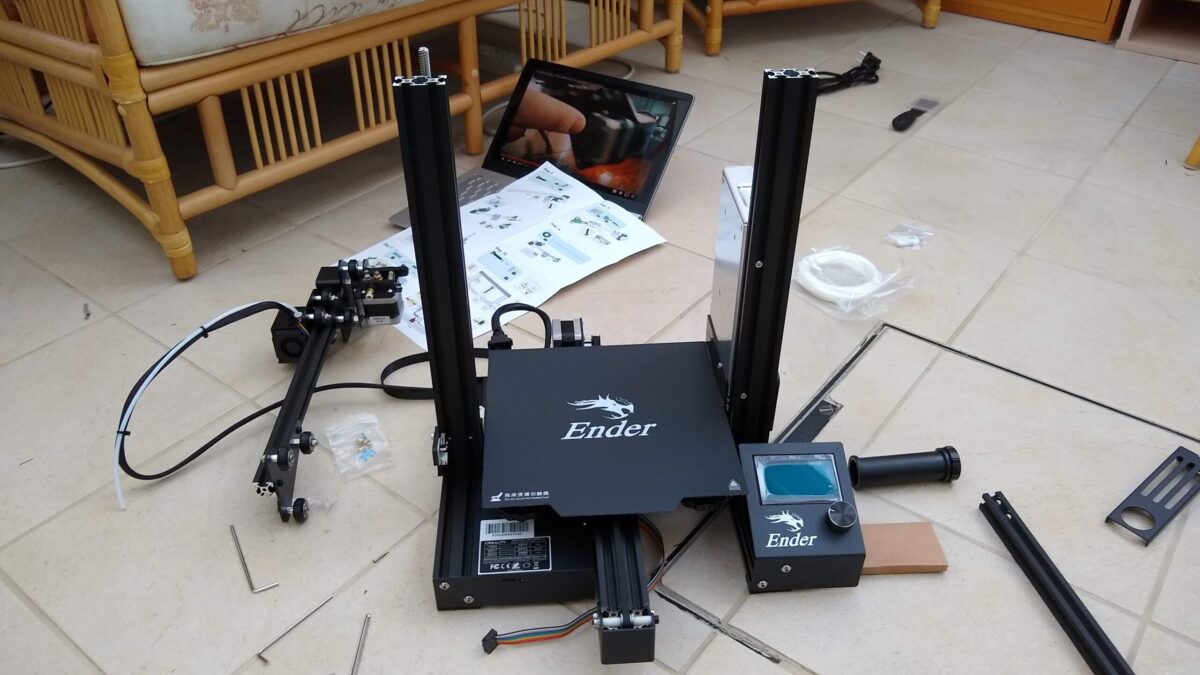
The first thing I did was get all the parts out of the box and compare them to the list of supplied parts and was pleased to see everything was correct. I then started to look at the supplied instructions but couldn’t actually make much sense of them. They are not written instructions, but a set of pictures to follow, and in the end I found a YouTube video1 which went through the whole process and used that instead.
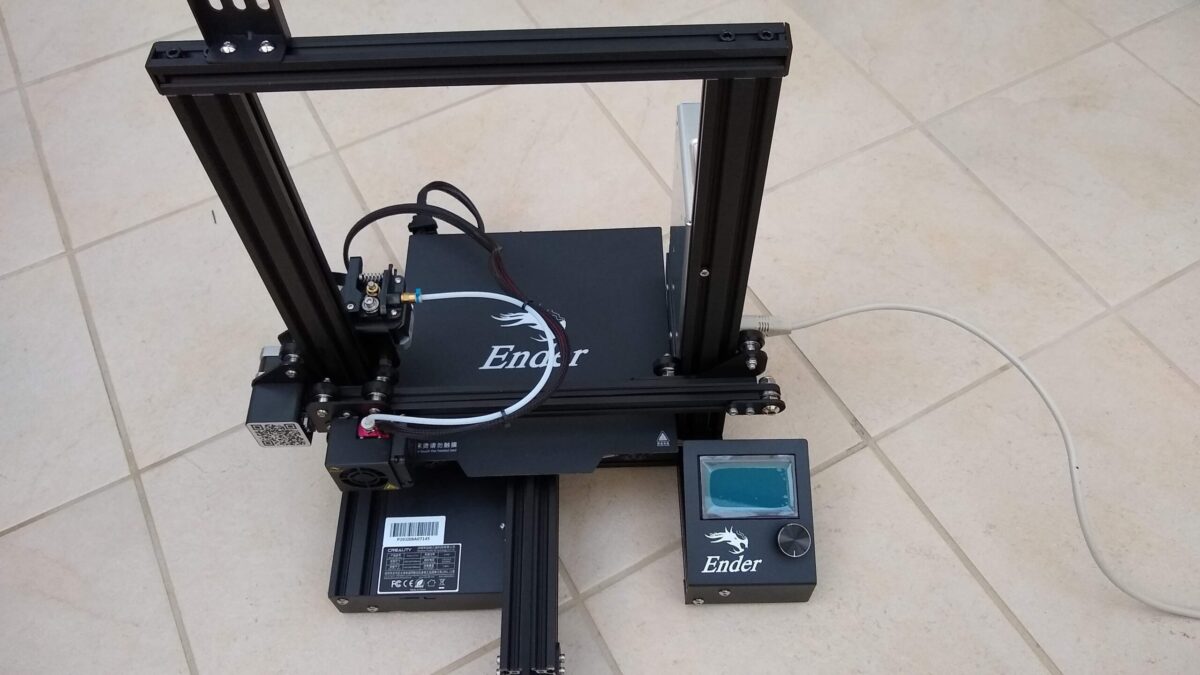
I found the Ender 3 assembly, once I had the video to watch, to be quite quick and easy. It took about an hour in total and the only part that needed any real thought was the assembly of the arm which holds the actual extruder ‘hot end’ and belt. It took a bit of concentration to make sure I got the parts all pointing the correct way.
I also found that the cable lengths on my kit were quite tight, especially the cable which connected to the Z axis stepper motor.
Incidentally, I actually found after I’d completed the assembly that there is a comprehensive assembly video included on the micro SD card included in the package!
Once the assembly and wiring was complete the next process was to level the bed that models are printed onto.
This is a manual process on the Ender 3 Pro, although it is possible to add hardware to automate the process2.
I found this easy enough to do, but it does need to be done several times as each adjustment alters the set position of the other adjustments.
To explain in more detail, the process involves setting the gap between the ‘hot end’ of the extruder and the bed to a very small distance by placing a piece of paper on the bed and adjusting a mechanical knob until the paper is just trapped. Once that is done with the head in one corner, it is repeated for all the other corners.
I found that on the initial adjustment, the bed was a long way below the extruder and couldn’t be adjusted up enough – at this point I thought that the unit was faulty. It was only after I’d repeated the setting on all corners a couple of times that it came into the right place.
First Print
The first print I produced with the Ender 3 was one of the sample models which is supplied on the SD card with the printer. It’s a model of a dog and I printed it with the sample of filament which was also supplied with the printer. The gallery and video below show the final print and a quick view of the print in progress – apologies for the quality of these images and video; they were taken with my mobile phone in not ideal lighting conditions
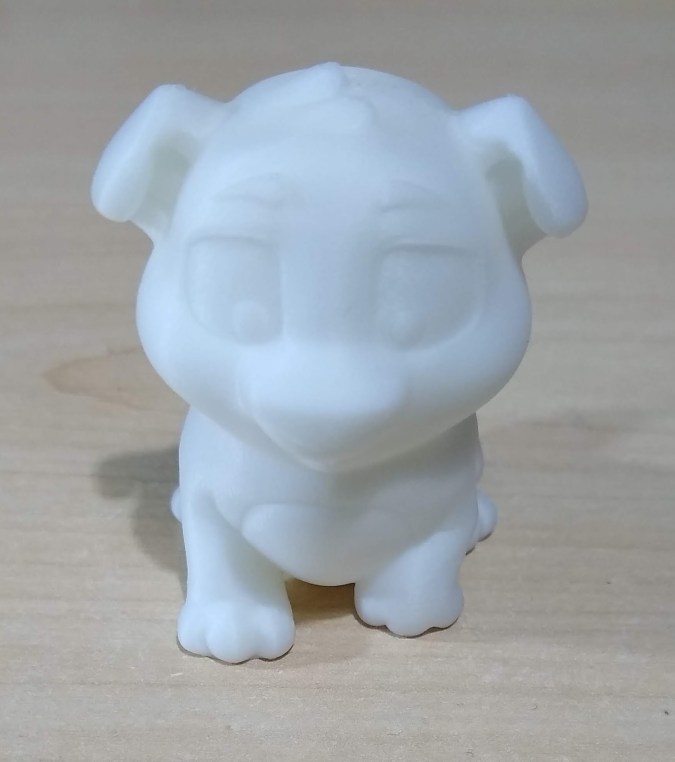
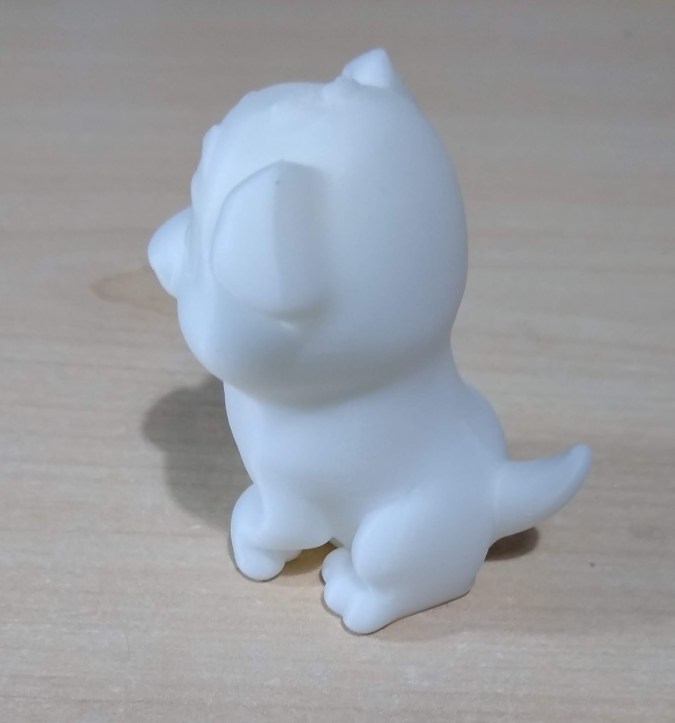
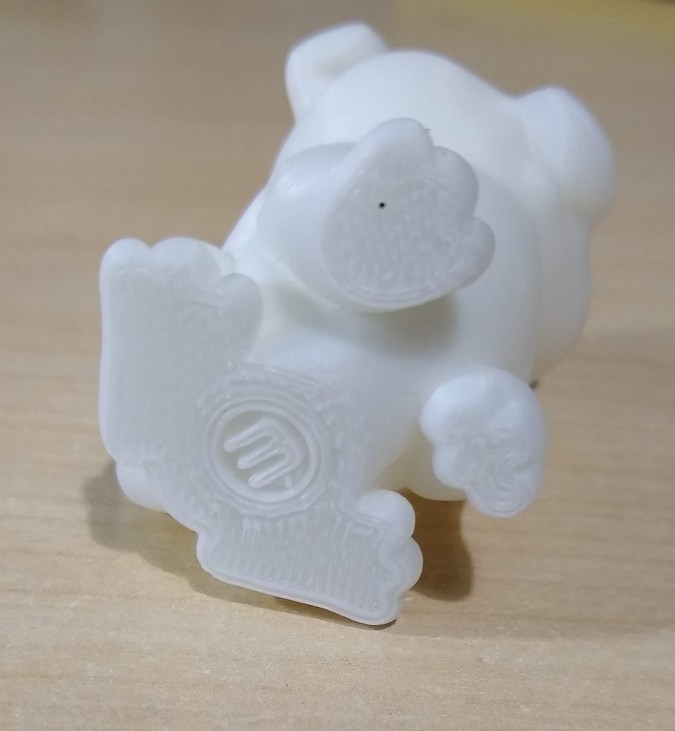
Overall I’m very impressed; I’ve seen sample prints on the web which have lots of errors and since I’d done no setup other than leveling the bed I was fully expecting some problems but the dog turned on really well.
Now to get designing!
