Ender 3 pro 3d printer first look
This post is a departure from my normal photography related posts and instead takes an initial look at the Ender 3 Pro 3D printer which I recently acquired.
I decided to purchase a 3D printer for a variety of reasons:
- I wanted to try making camera lens mount adapters for some unusual combination of lens / camera. For example for the Topcon UV lens to Fuji X series.
- I still have plans to create an 8mm telecine machine and think I may find it easier to print a film transport rather than use an old projector. This is particularly true since I started Vintage Home Movies.
- It looks a fun thing to try out.
My first decision after I’d decided to buy a printer was to settle on the model to get and this was really a question of carrying out some research to find a reasonable design at a good price point. In the end, after much deliberation and google searching, I settled on the Ender 3 Pro because it seems a capable machine, and being a couple of years old in design I found I could get a reconditioned, used version from the manufacturer for only £140 from eBay.
The other purchase I made to go with the printer was a course on Udemy which covers 3d modelling using Blender to teach me the basics of converting ideas in my head into solid, 3d printed, finished goods. Udemy does some great courses, but they are normally an expensive acquisition for a hobby subject but as it happens at the time I bought the printer there was a sale on, and I bought access to a complete 3d modelling course for only about £13.
When the printer turned up I was surprised to find it was a printer kit rather than a fully built printer. I knew that when you buy a new Ender 3 Pro it is supplied as a partially built kit, but I assumed a used model, which had been checked and confirmed working by the manufacturer, would be a fully assembled model.
But no – the unit is disassembled and repackaged as new. And to be fair, it did look like new when I opened the box – all the parts were wrapped in protective plastic and there was a full tool kit and new bolts and fixings to put it together. Admittedly, the main supply cable was an American two pin version, but since it is a standard kettle type connector I can easily find one of those lying around the house.
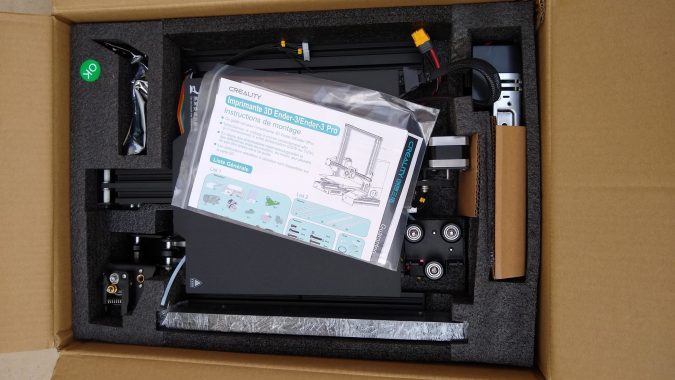
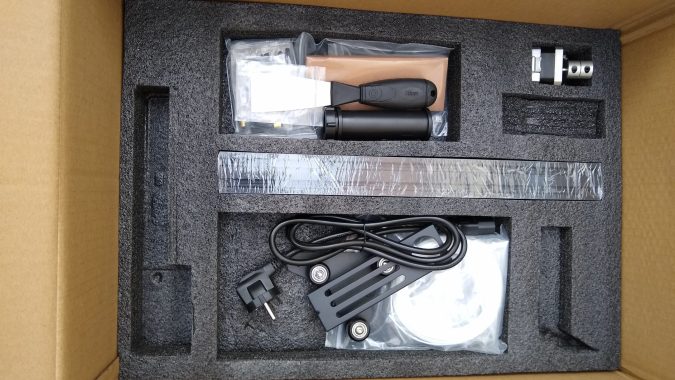
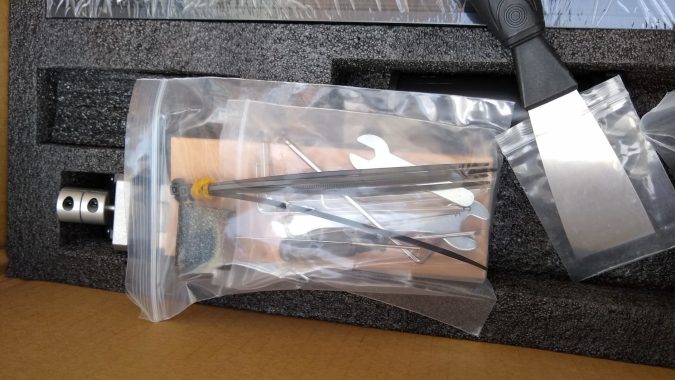
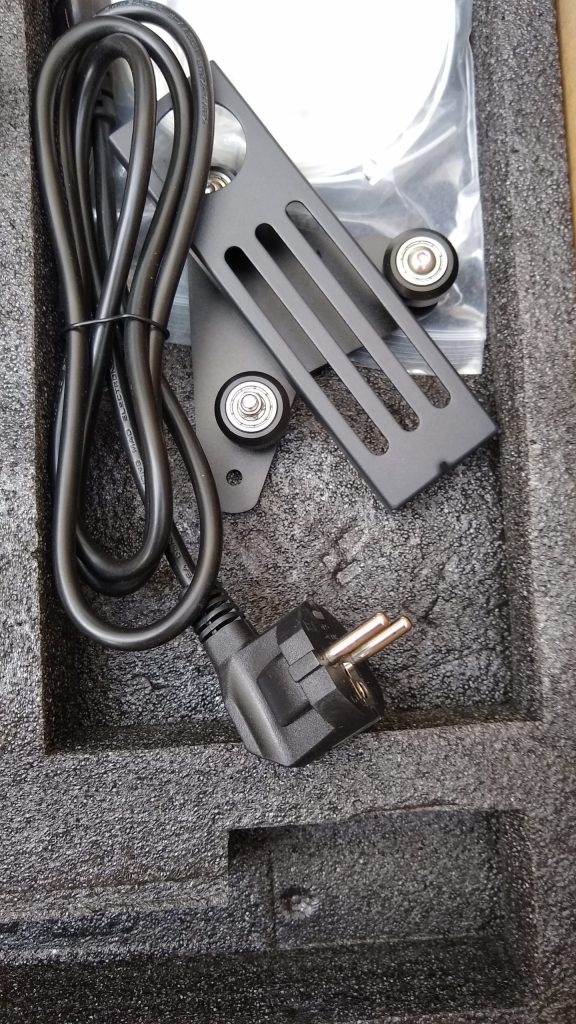
At the moment, that is as far as I’ve got with the Ender 3 Pro. In the next few days I’ll put it together and write another post which covers how easy I found that operation and my assessment of the first print I get out of the machine.

[…] I said in my last post, I was quite surprised that this reconditioned, used 3D printer was supplied as a kit, but in a way […]
[…] ago I discovered this project on Hackaday which seems to be exactly what I need, and because I’ve just acquired a 3D Printer, I started to build this a couple of weeks ago. At the moment I’m just printing the last few […]
[…] that I’ve ordered a Raspberry Pi 4 to replace the Raspberry Pi 3 I’m currently using3, and I’m pretty confident that its improved networking and speed will mean the system will […]