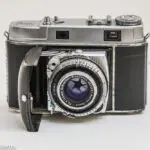
As I said in my last post, I have a couple of Kodak Retina Reflex S cameras which I bought as non-working units with the intention of hopefully making a good working unit from the two.
I'd just done an initial assessment when I wrote my last post, but now I've looked in more detail, and I've found that one of the units is in a much worse state than the other one. Therefore, I've decided to strip that unit down and use it for parts for the other unit.
I'm hoping that the experience of stripping one unit down will prepare me for the job of stripping down and rebuilding the good unit. This post shows the steps I went through to remove all the components ready for a clean and re-assembly.
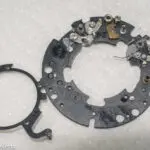
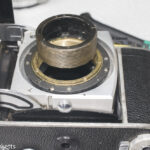
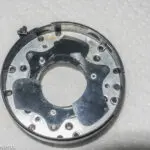
Kodak Retina Reflex strip down images
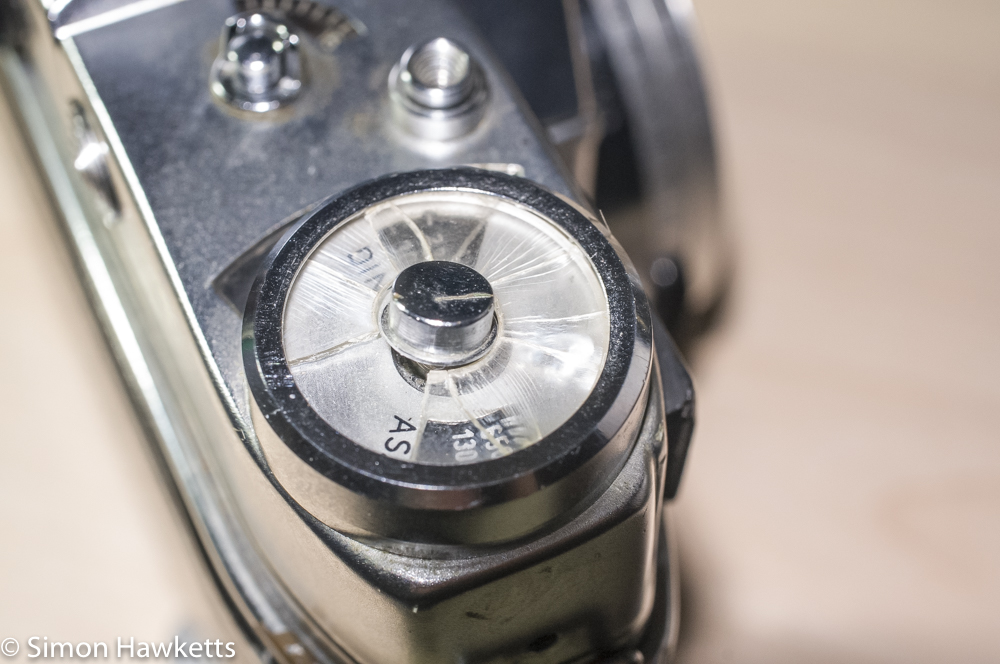
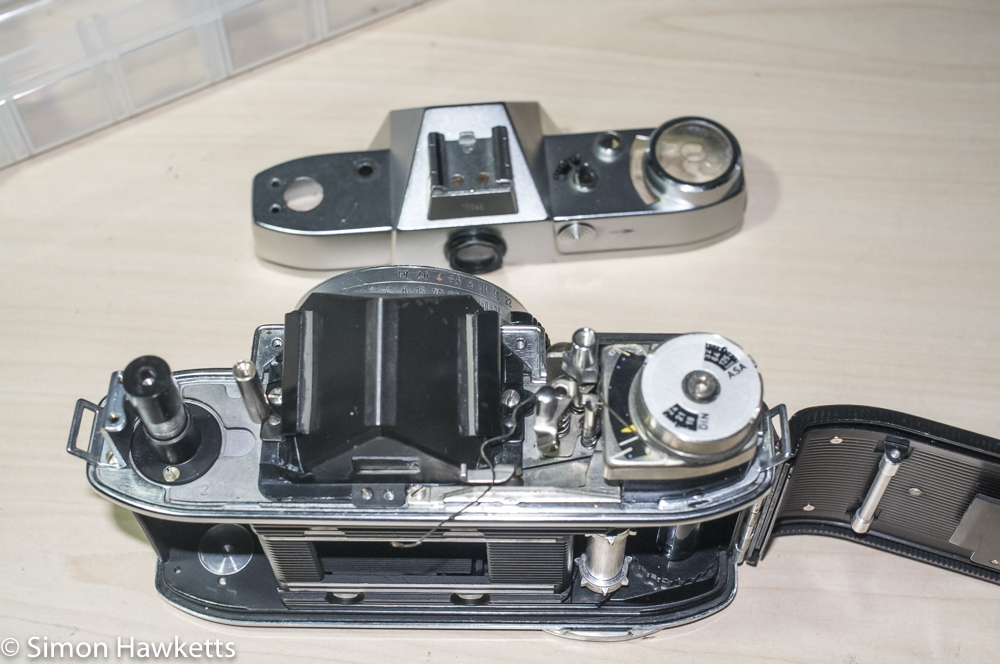
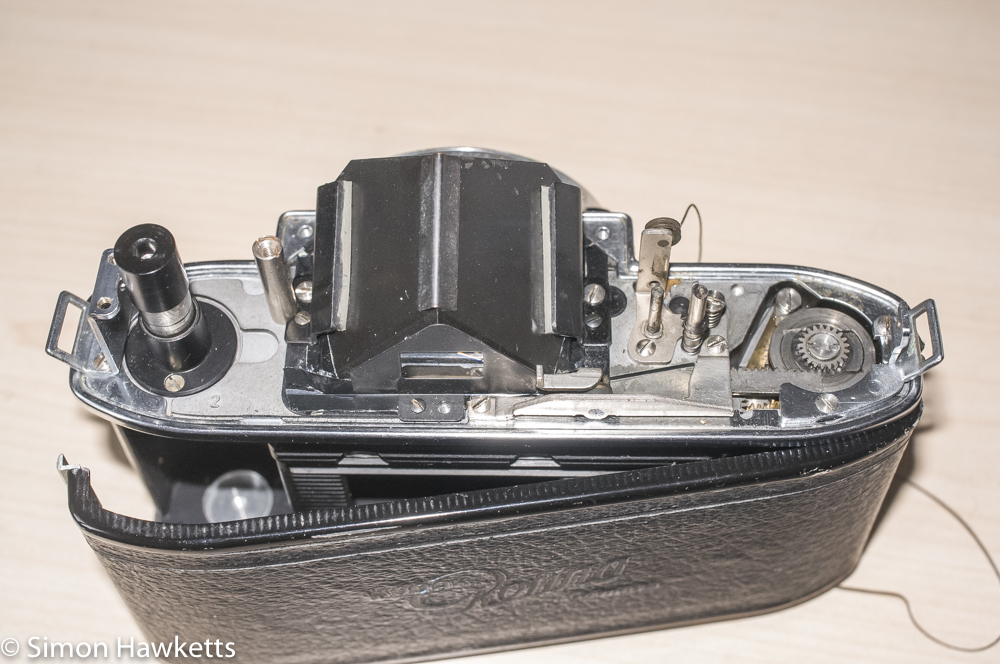
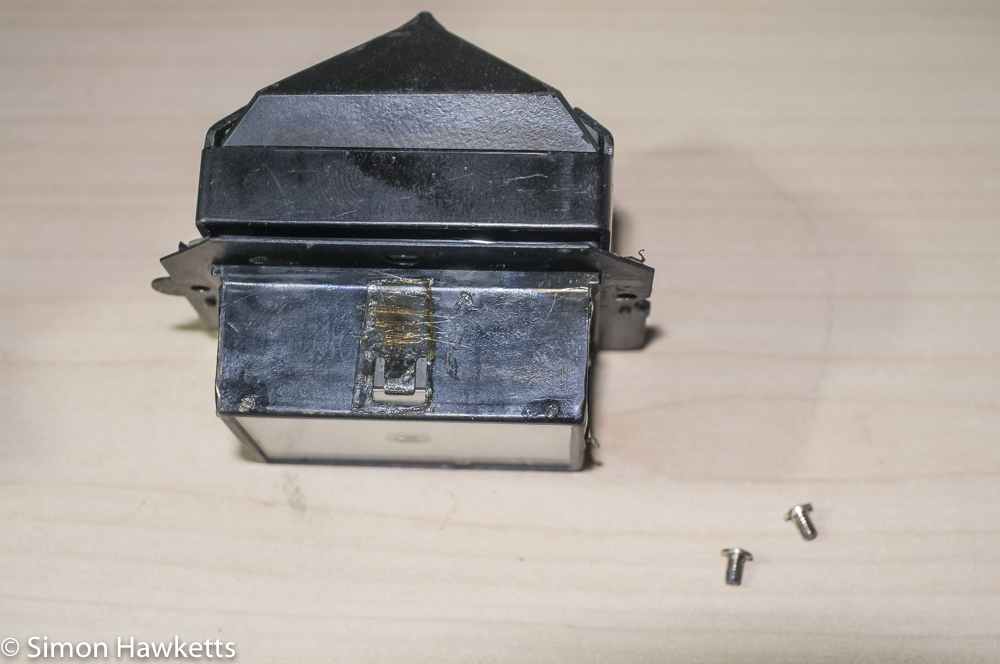
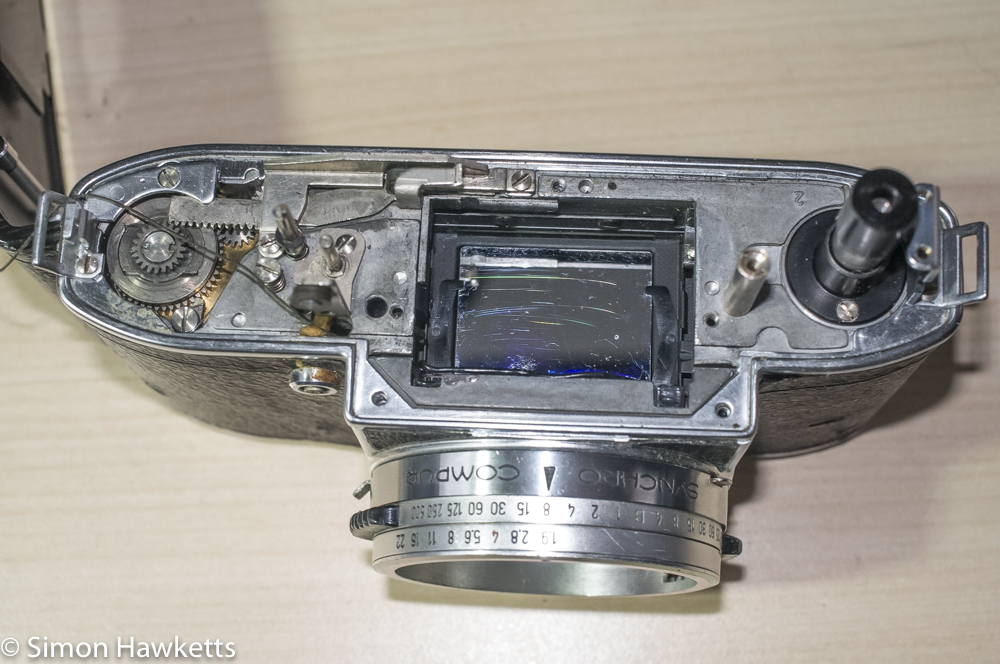
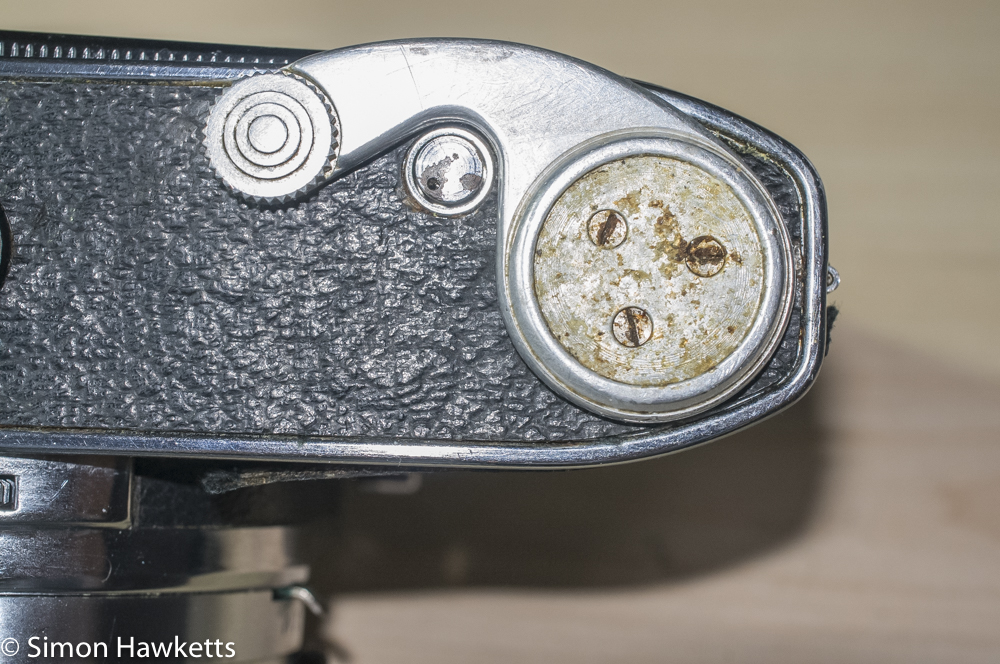
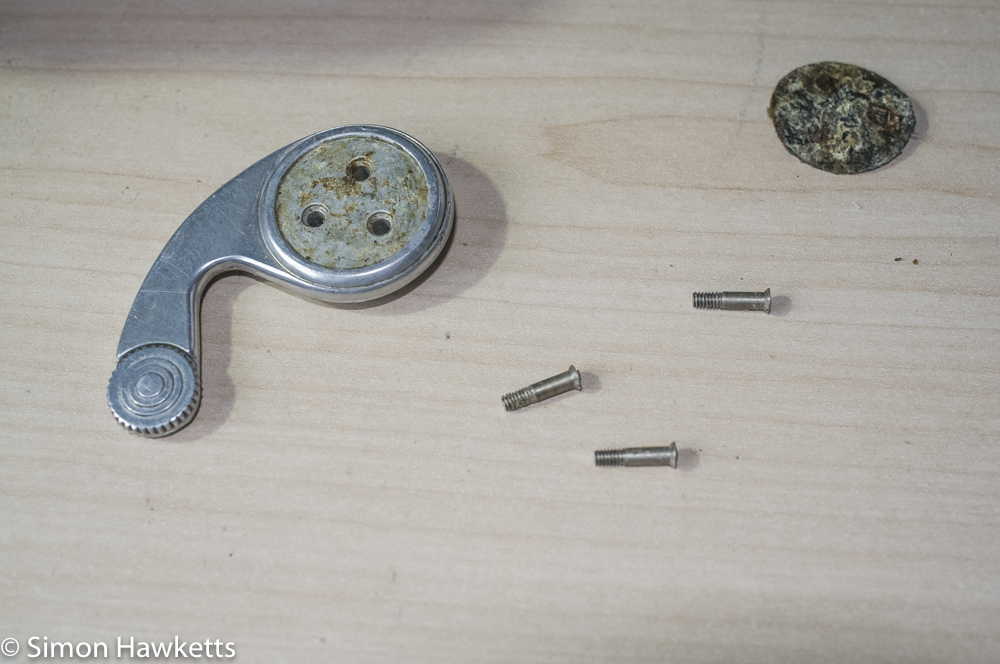
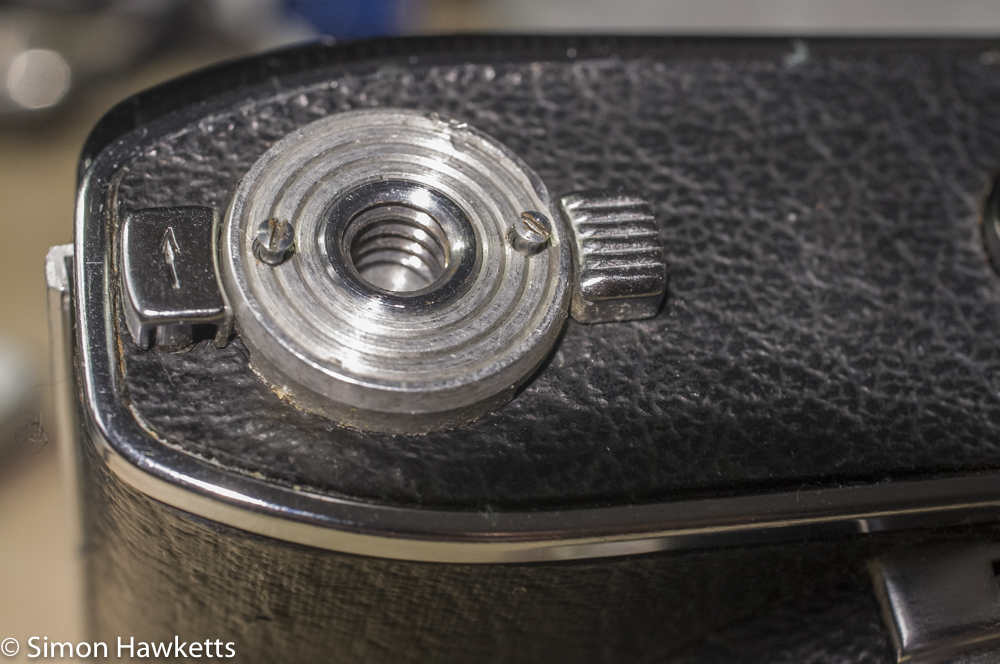
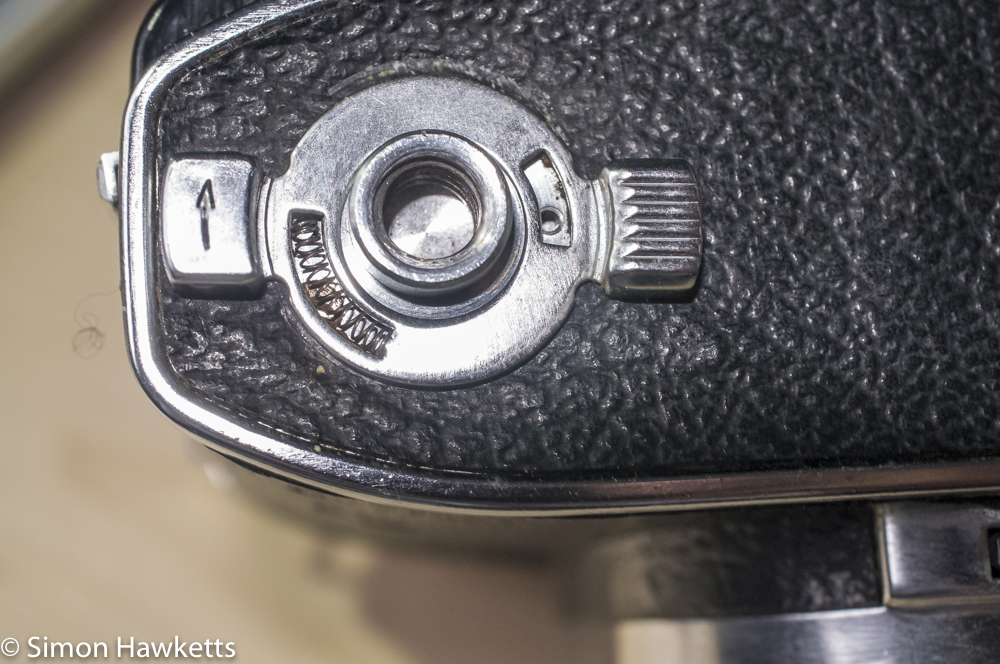
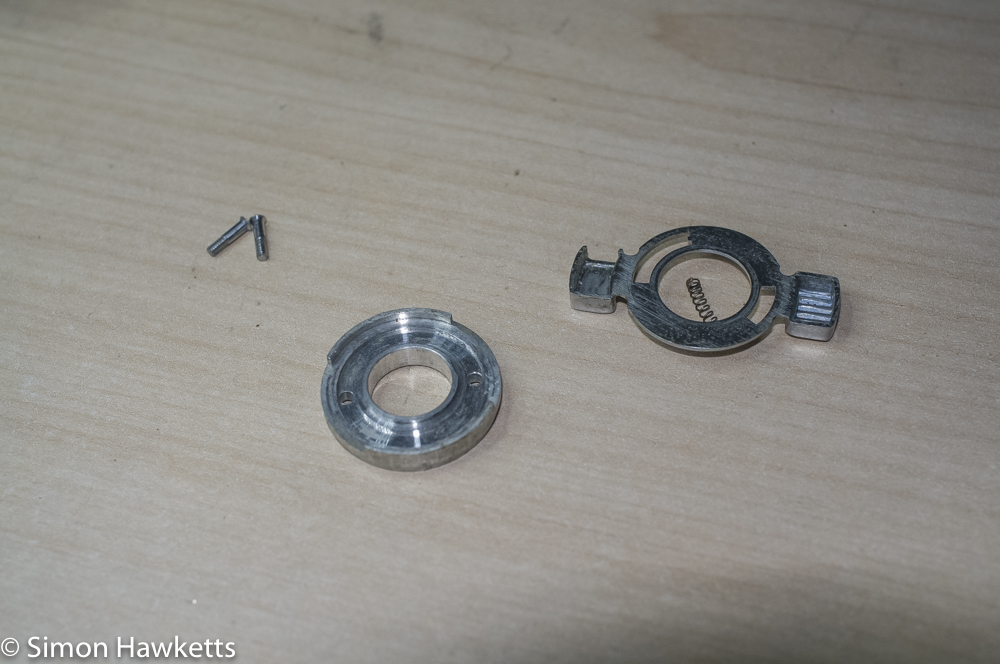
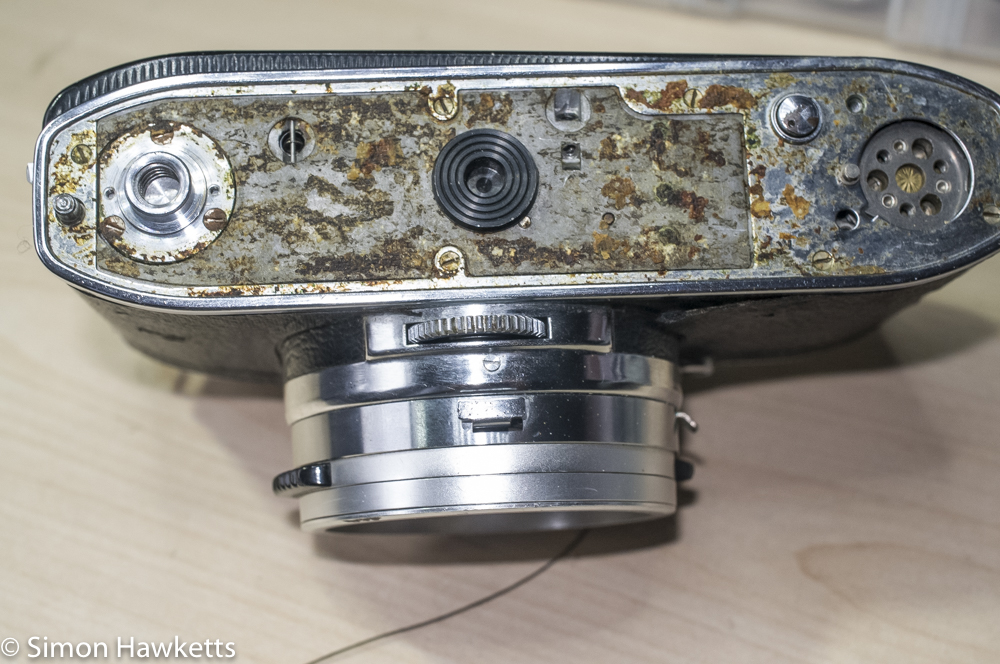
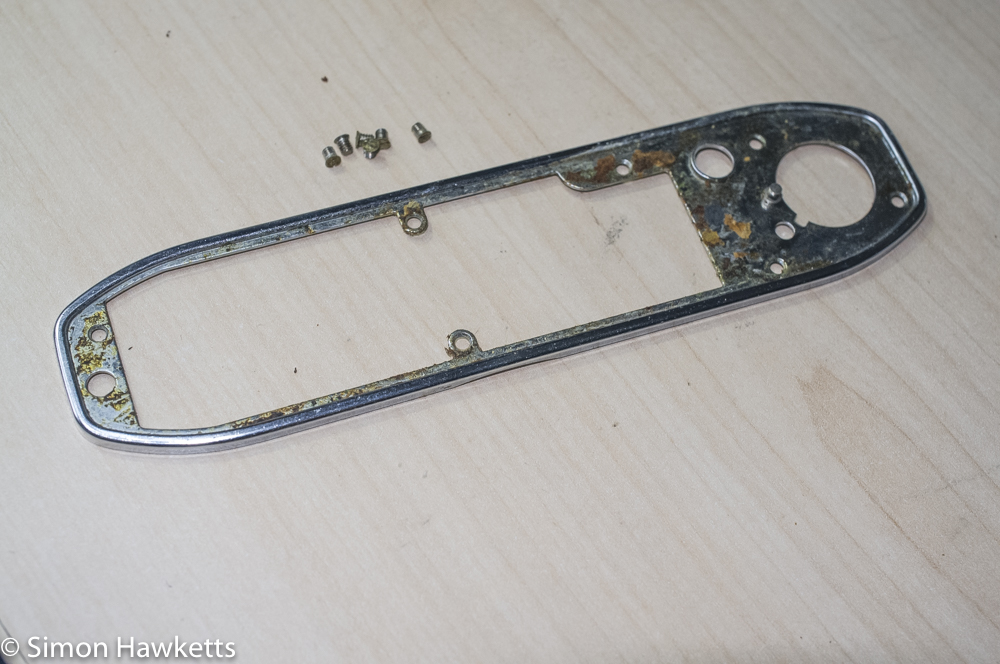
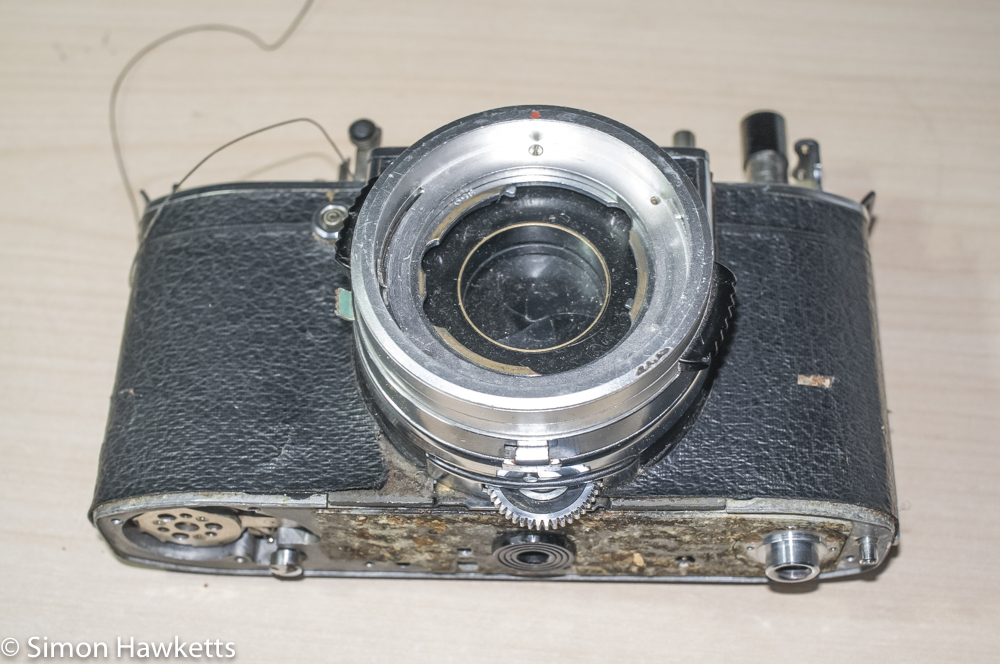
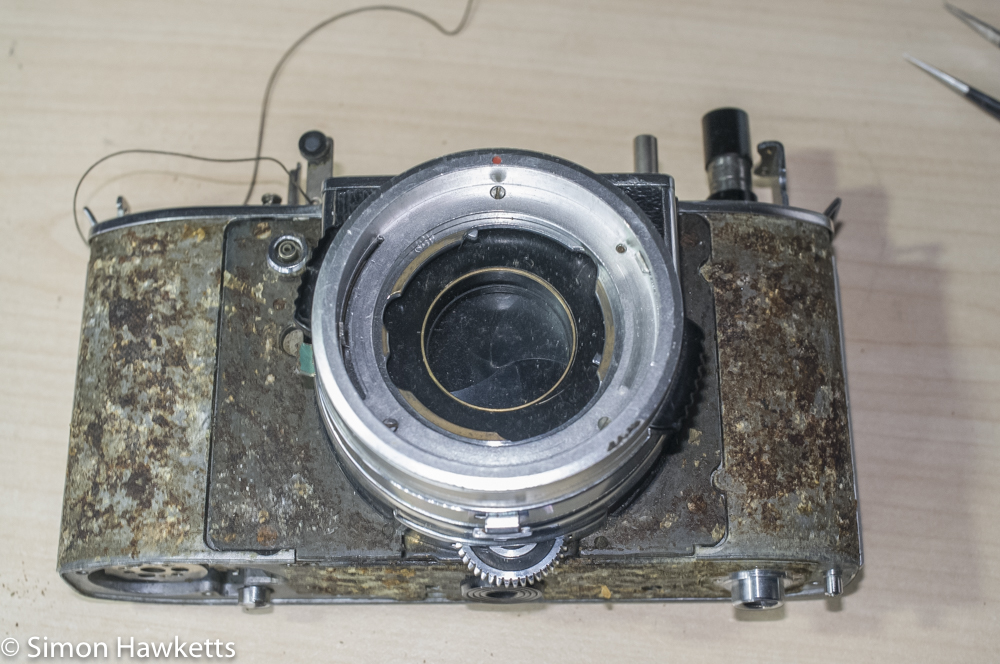
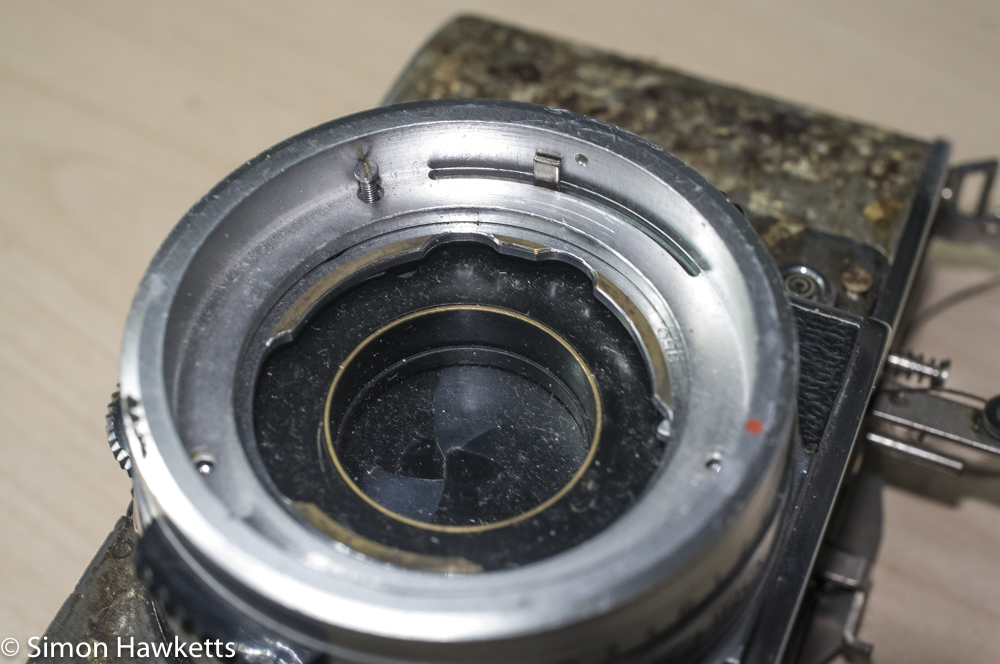
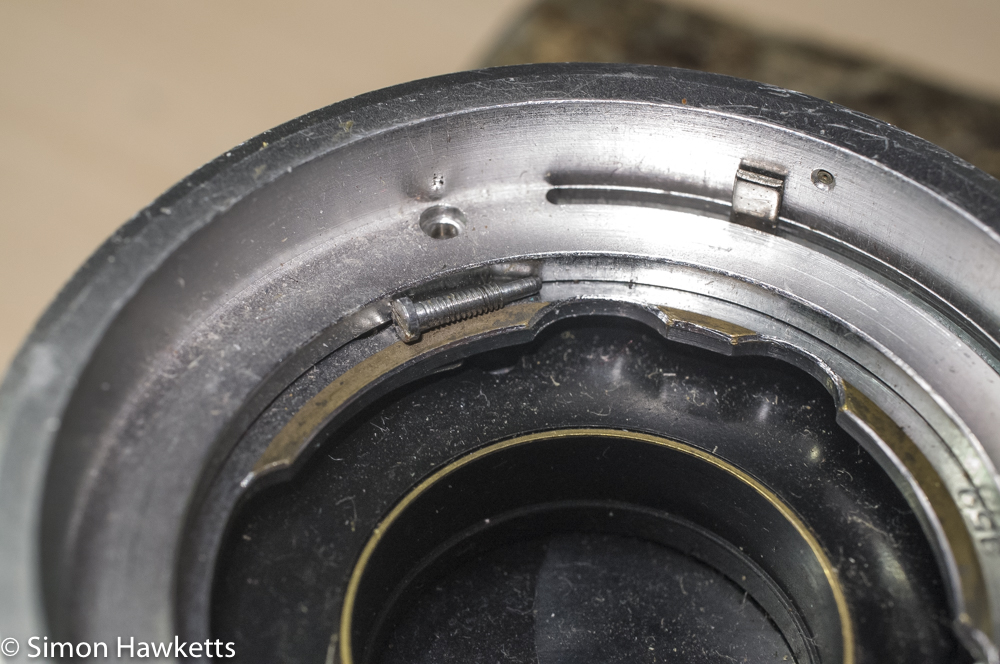
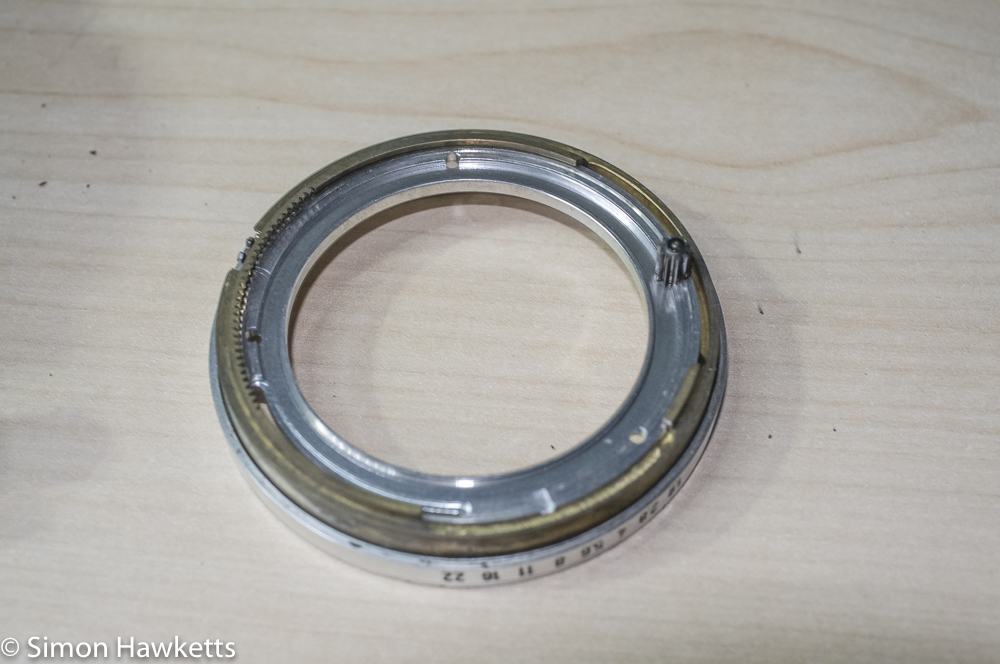
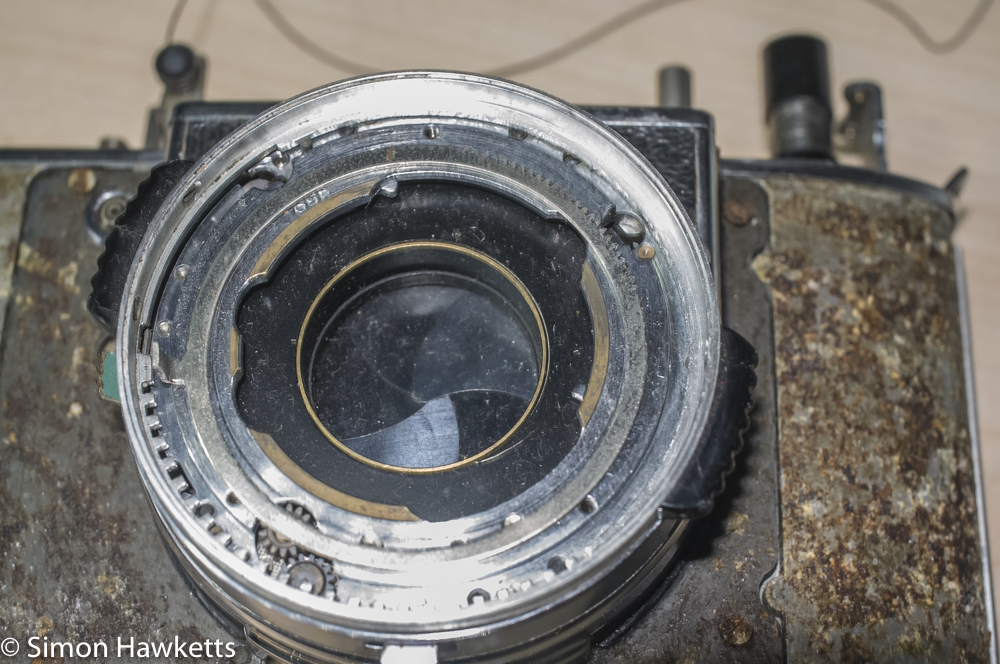
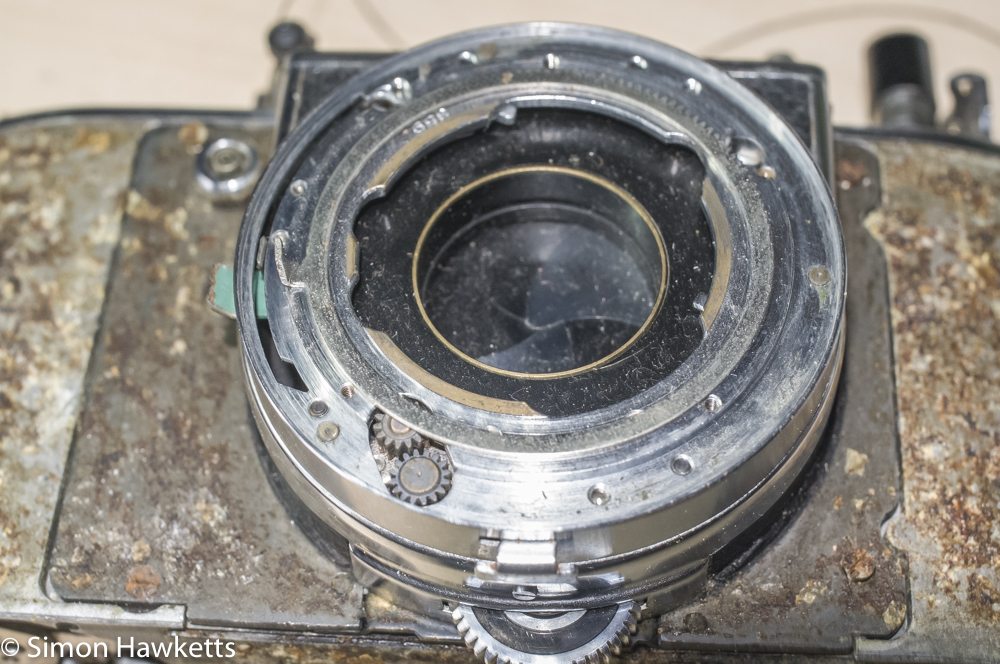
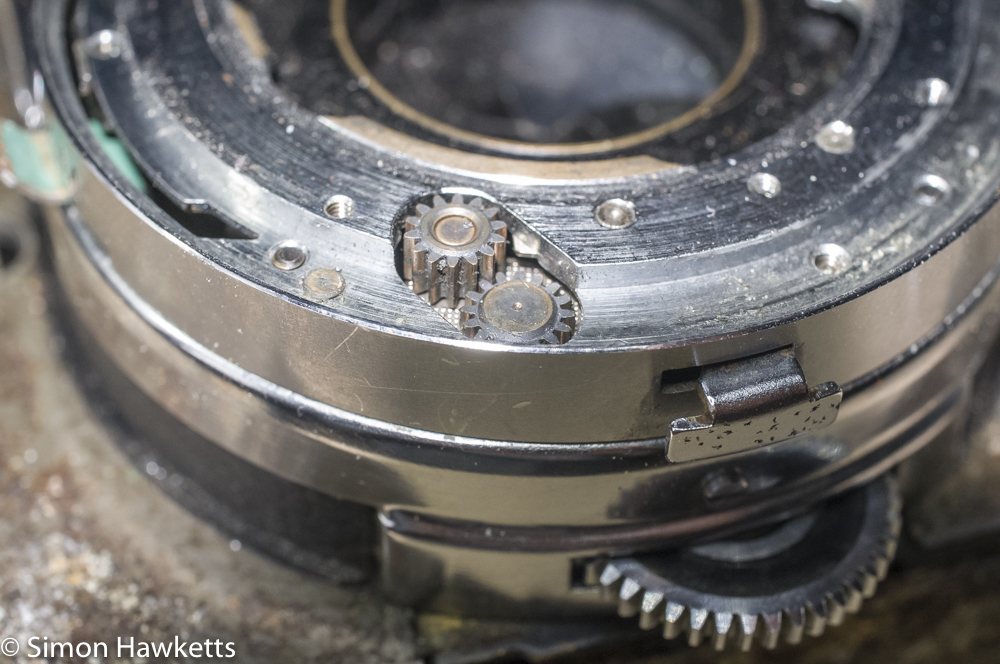
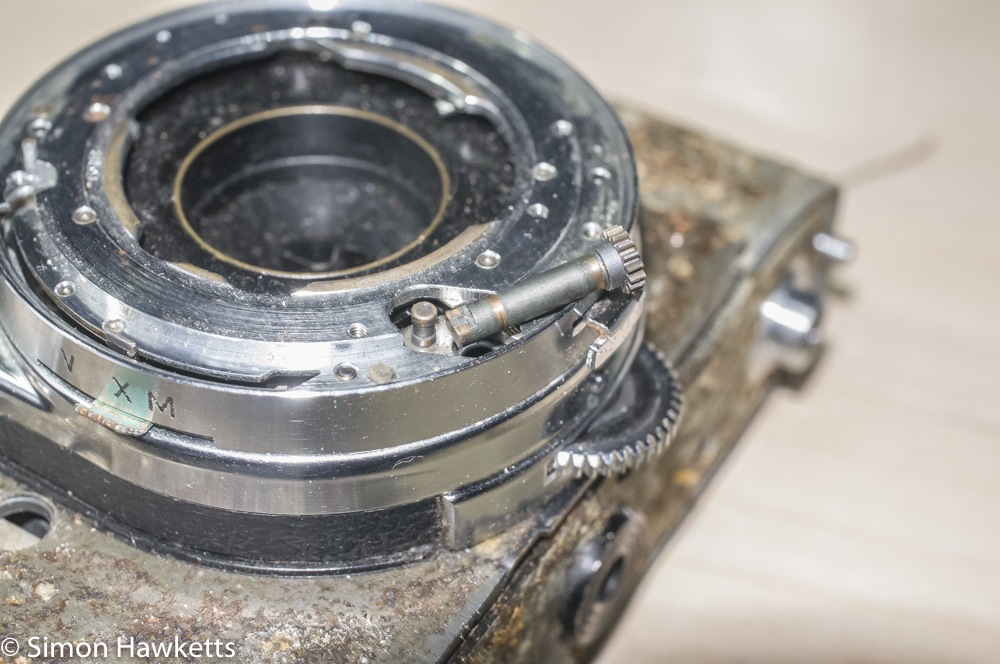
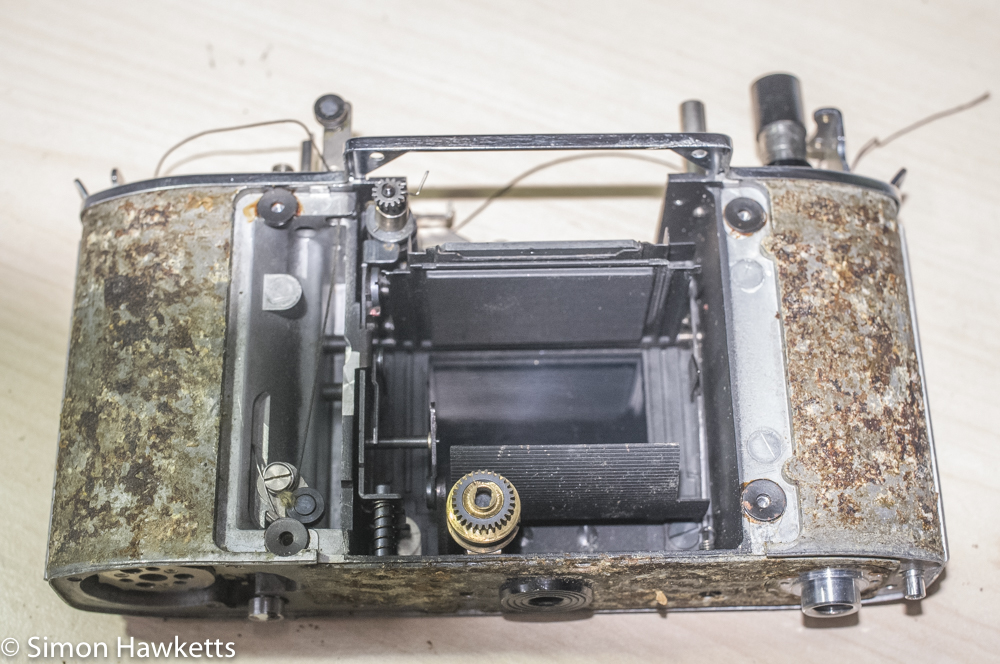
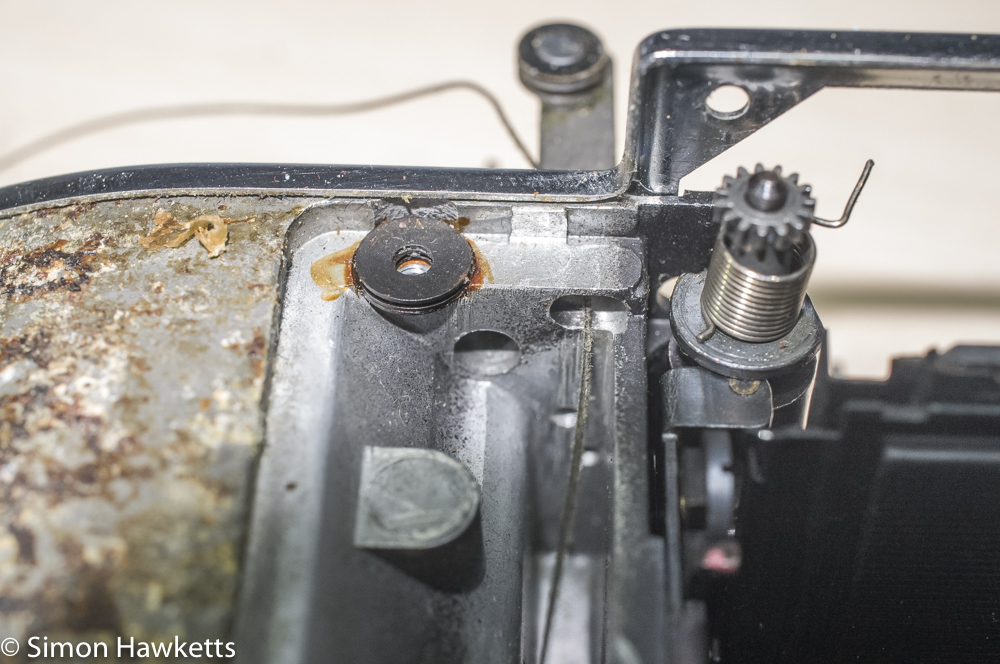
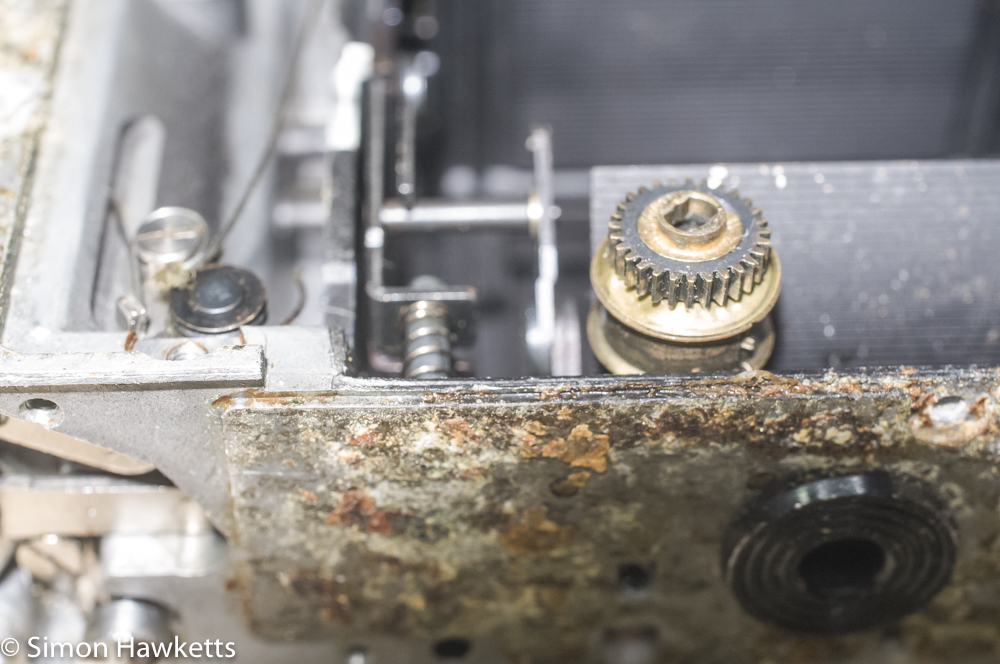
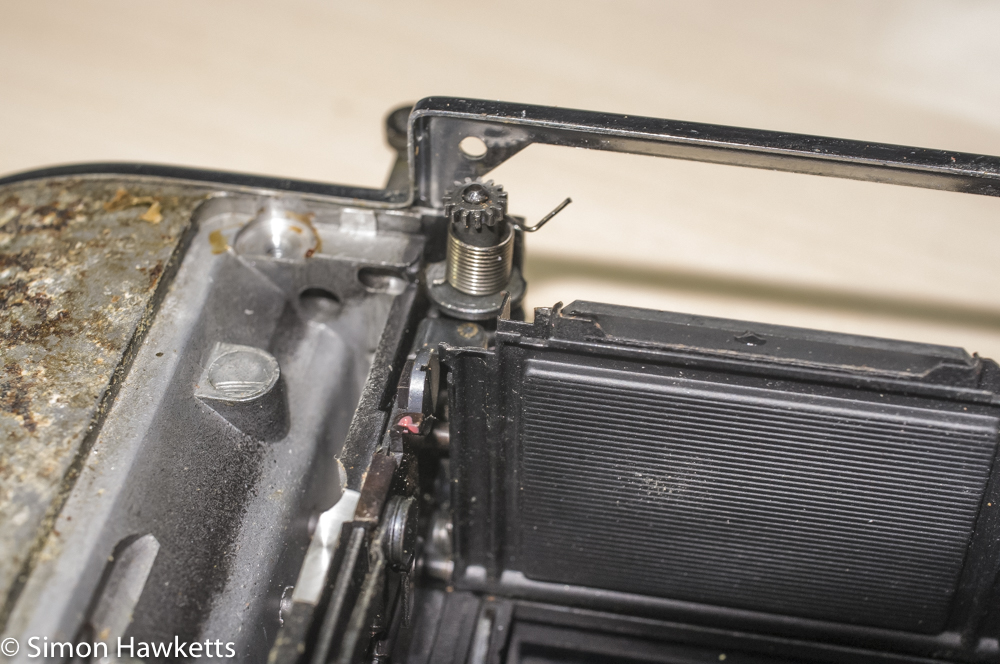
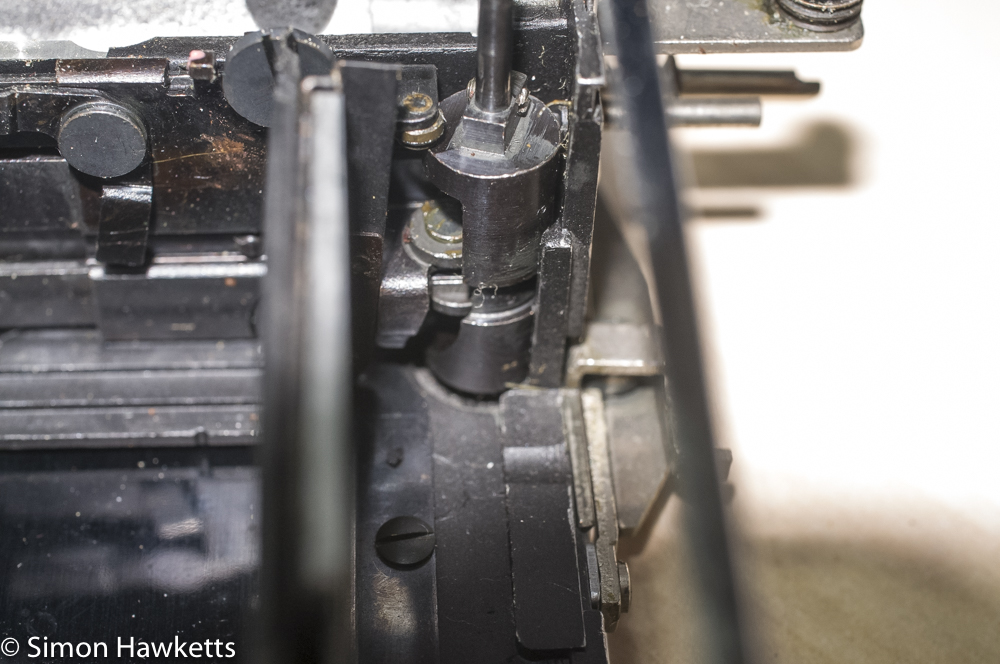
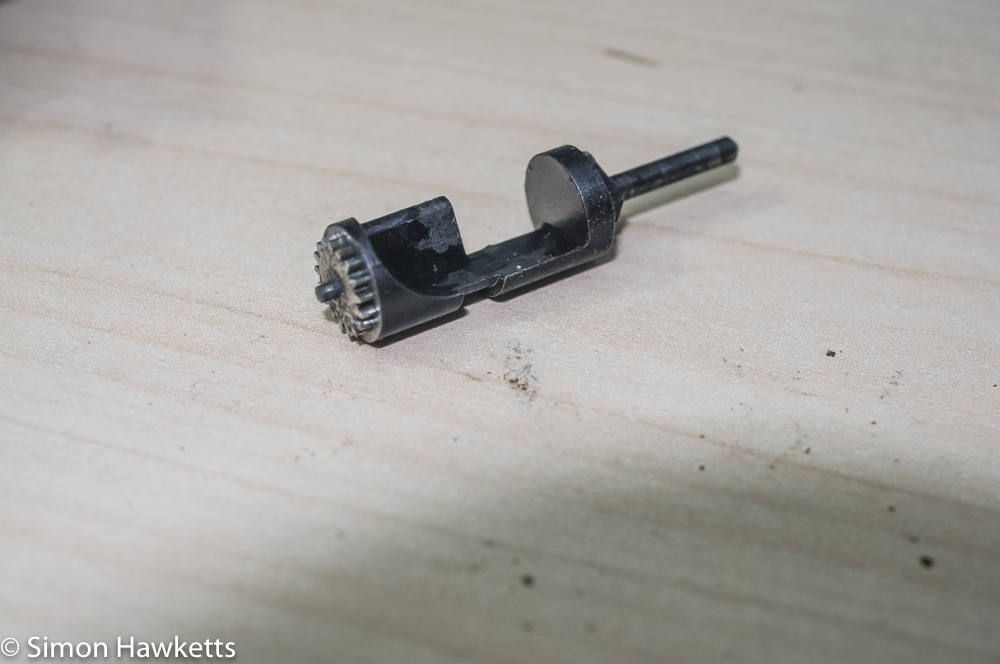
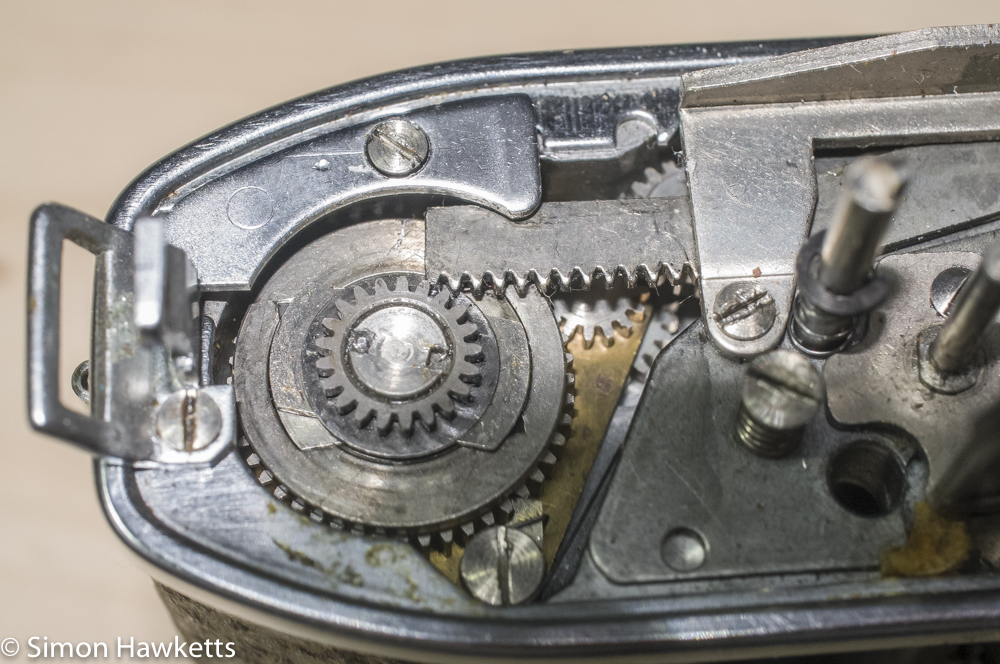
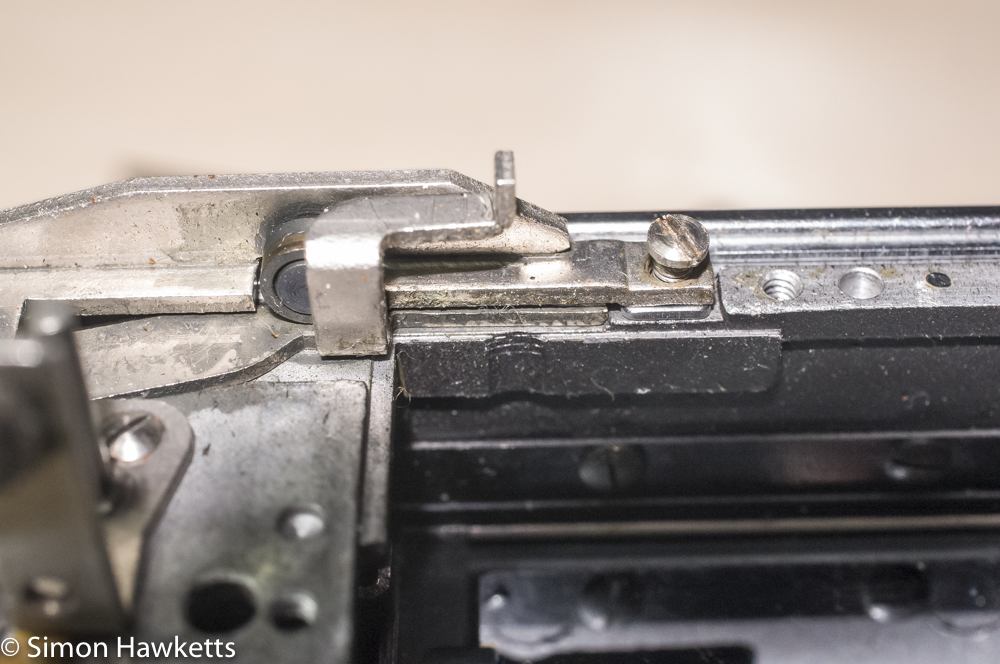
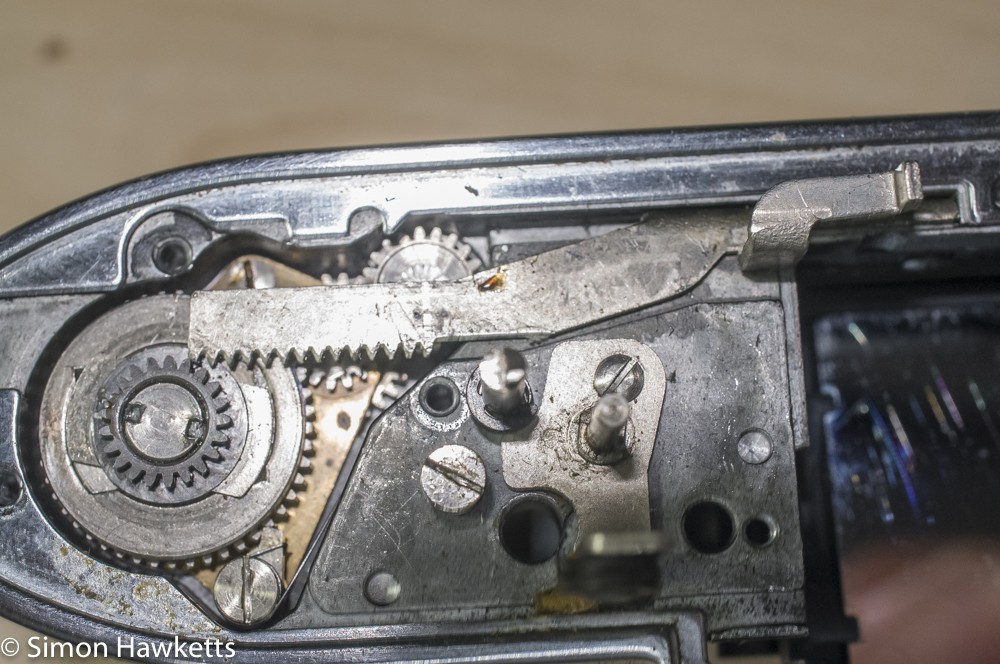
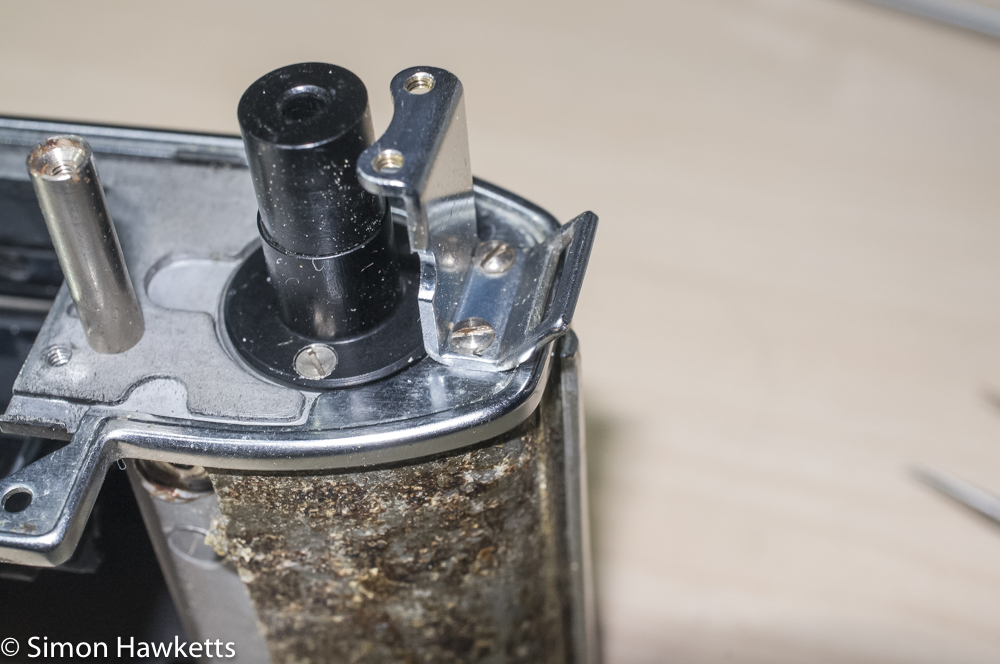
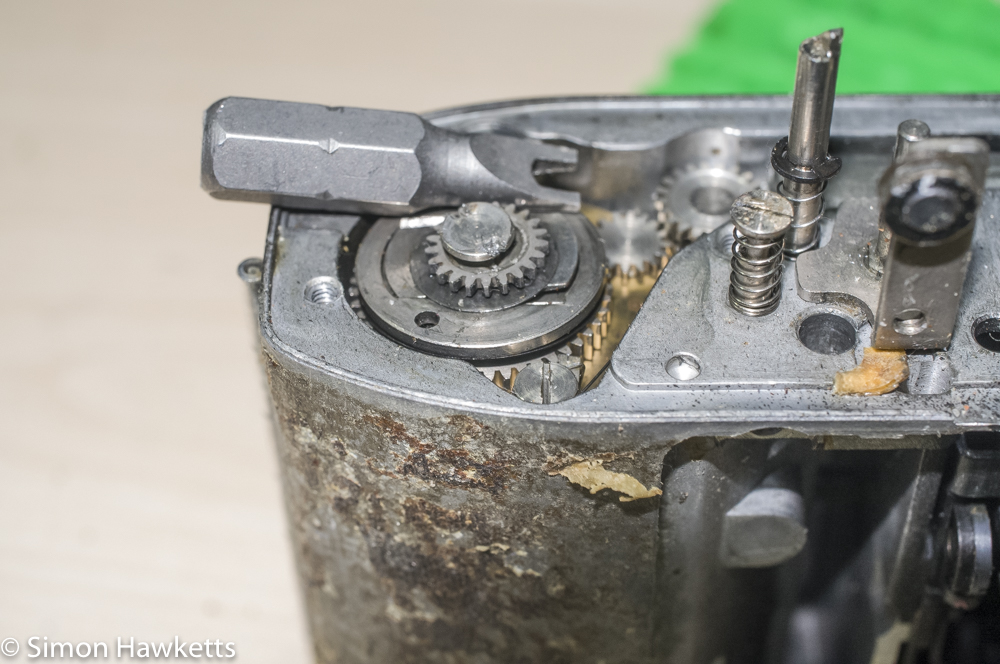
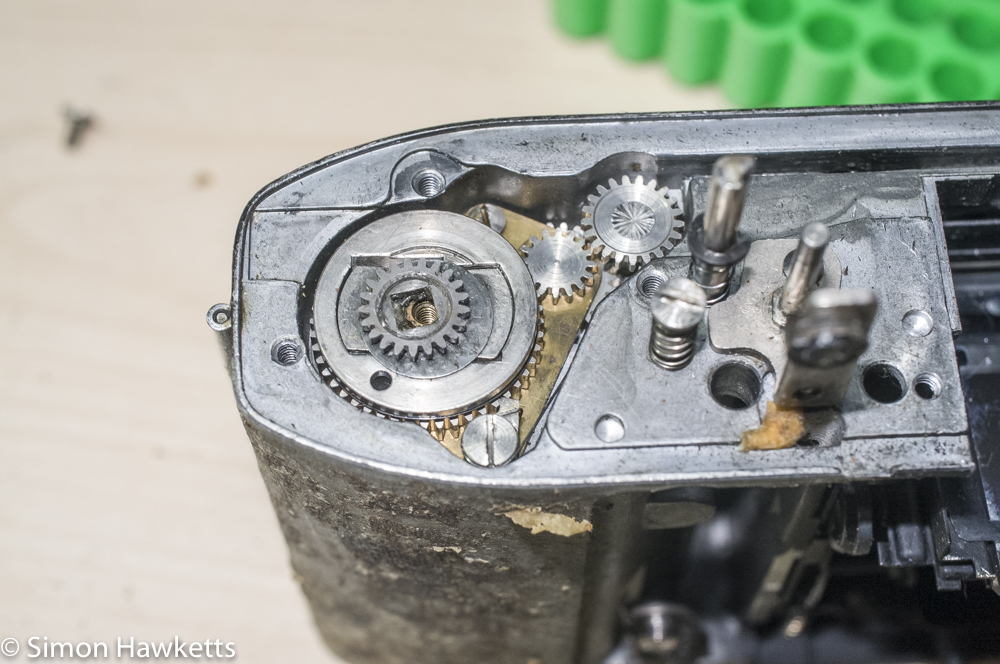
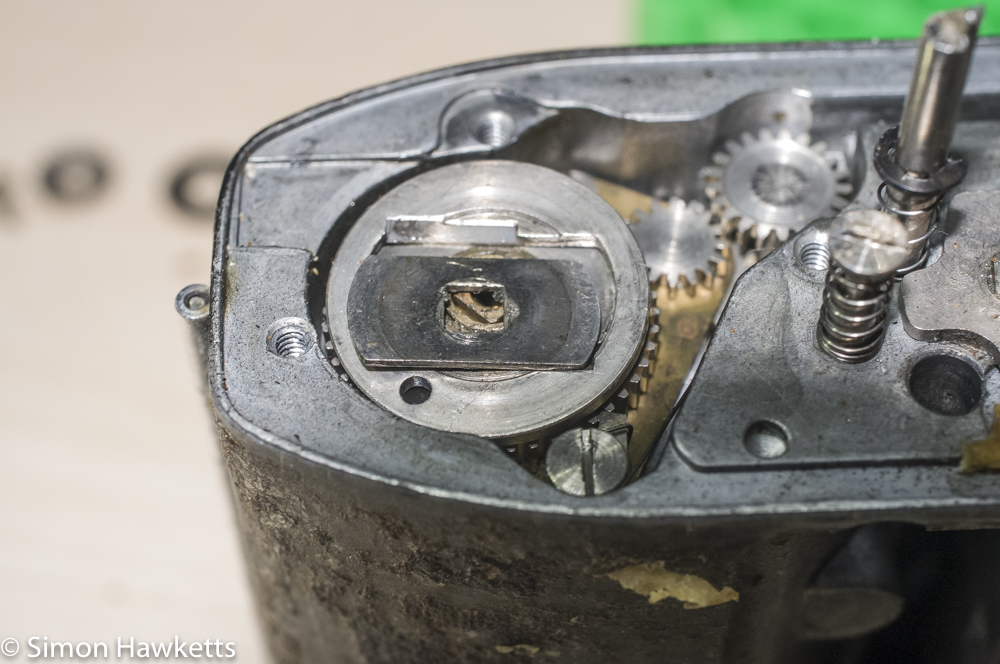
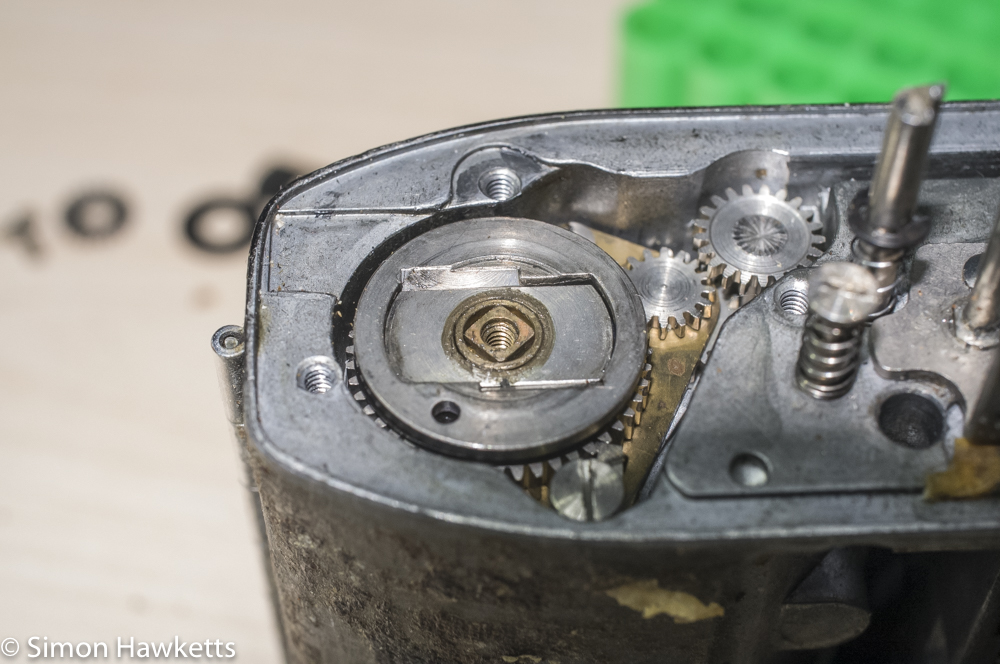
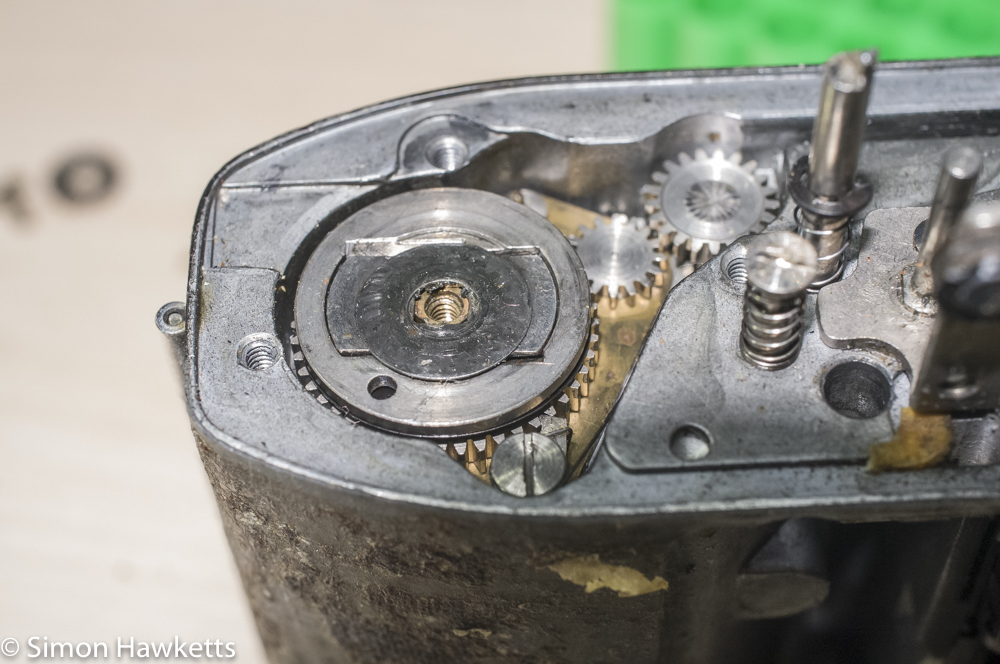
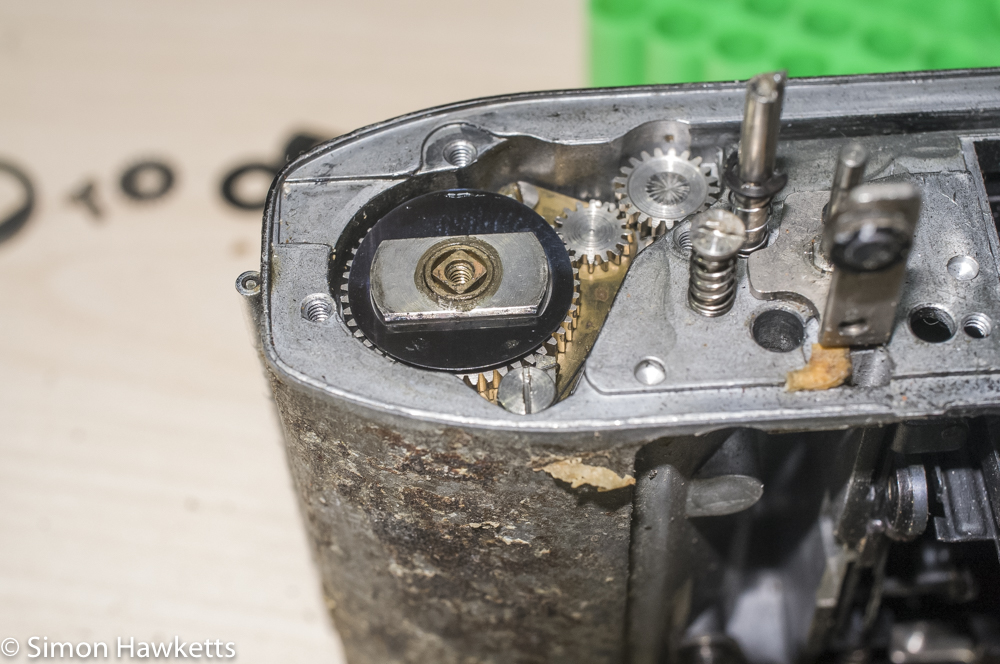
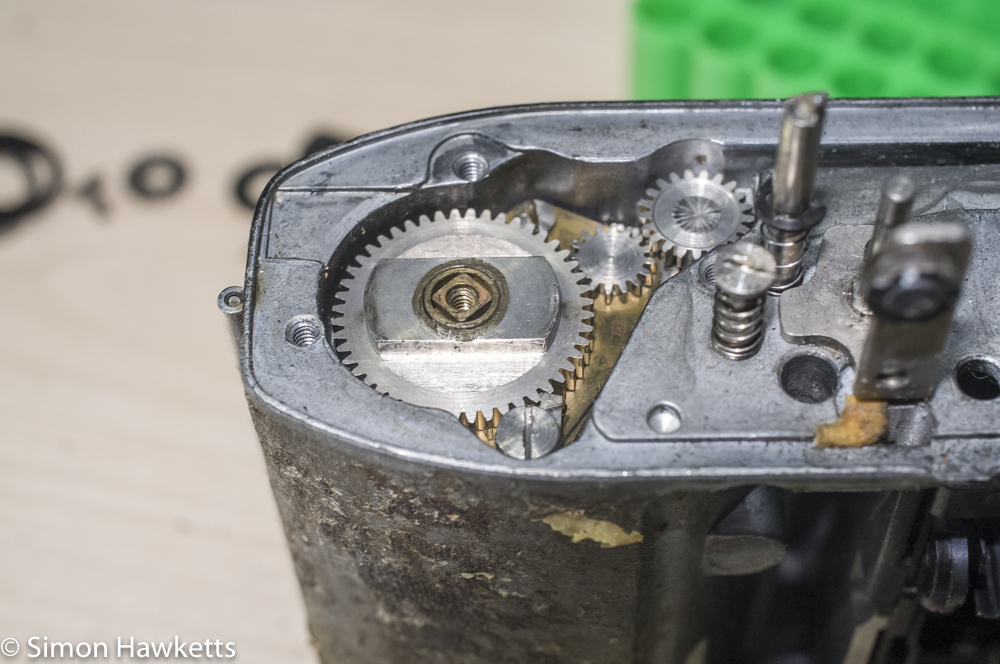
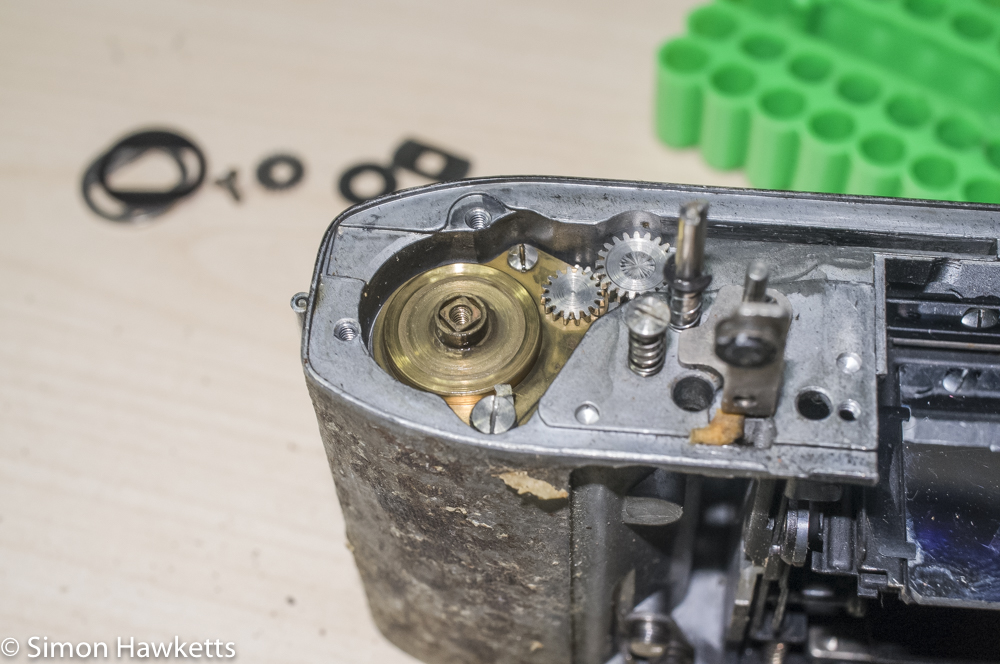
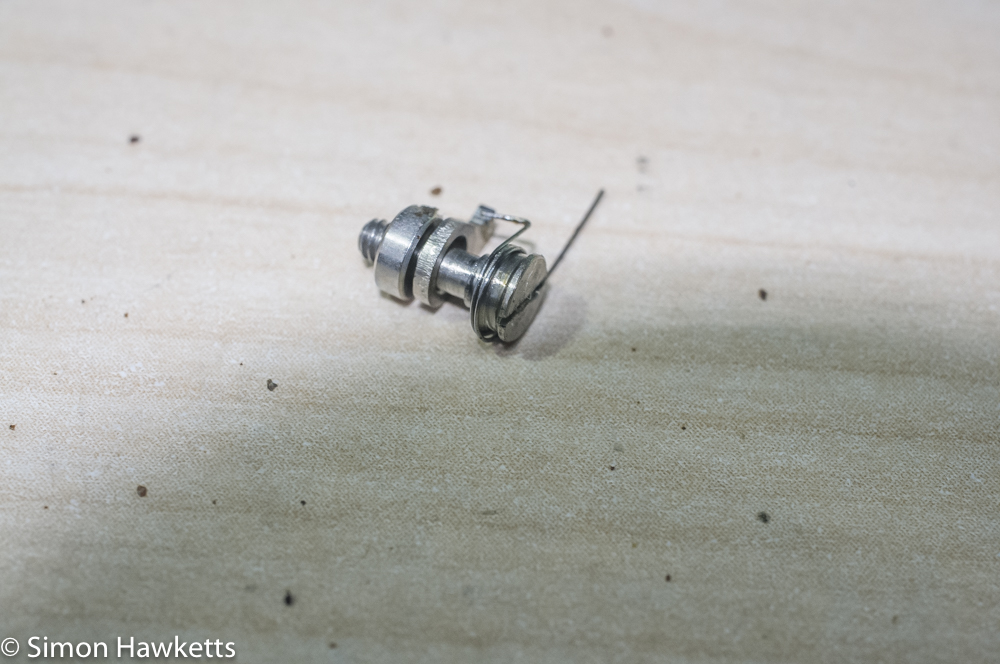
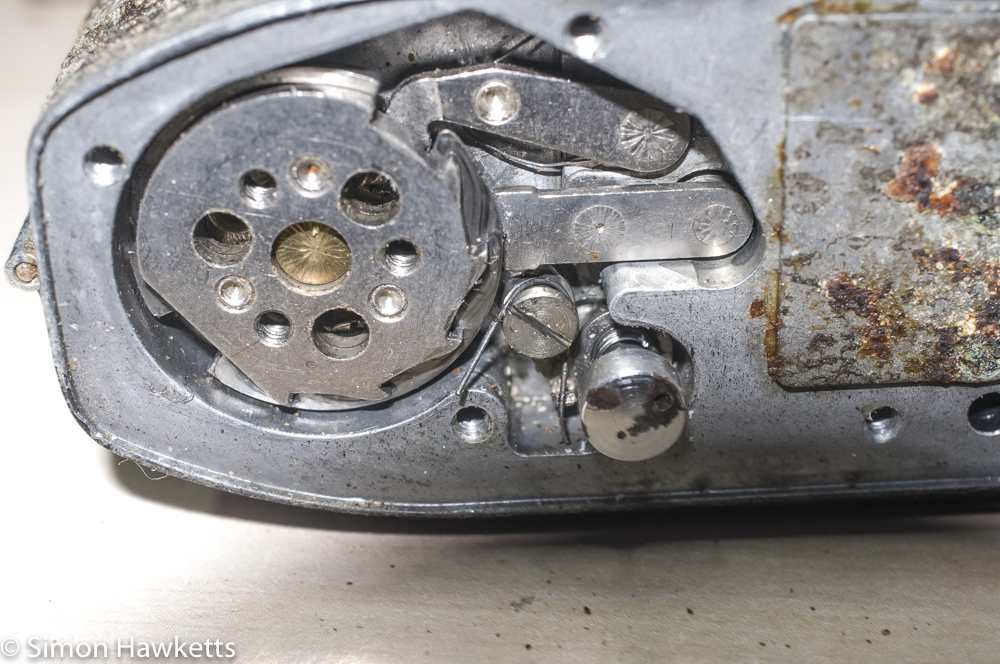
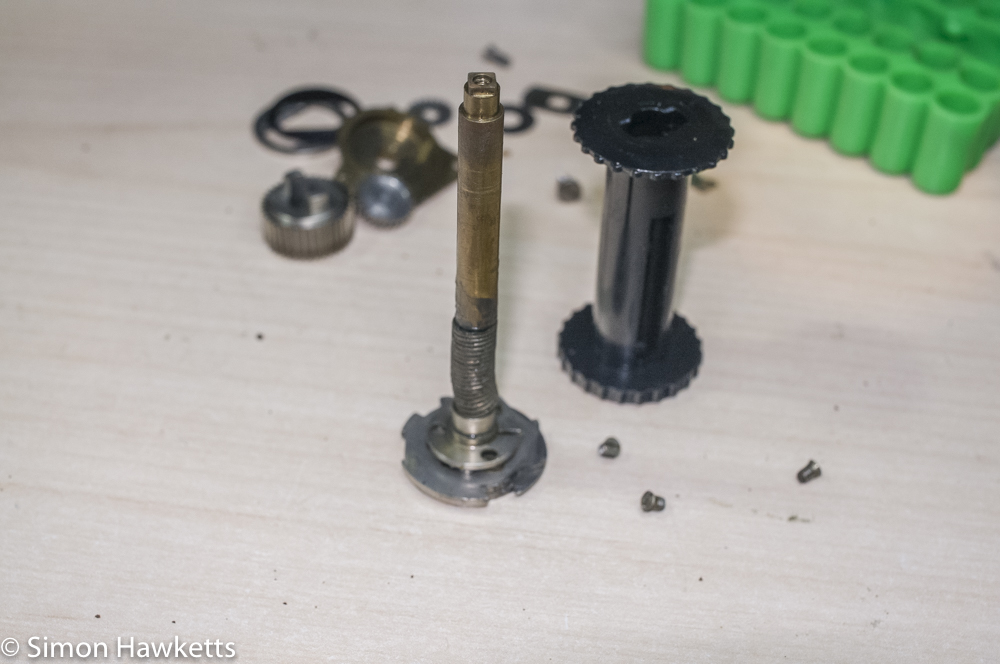
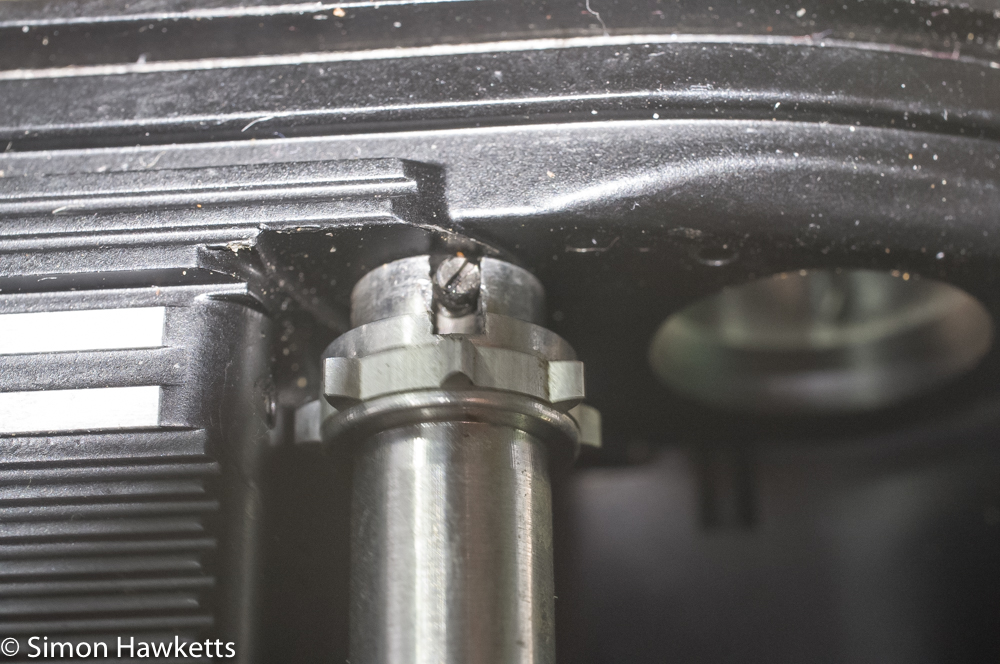
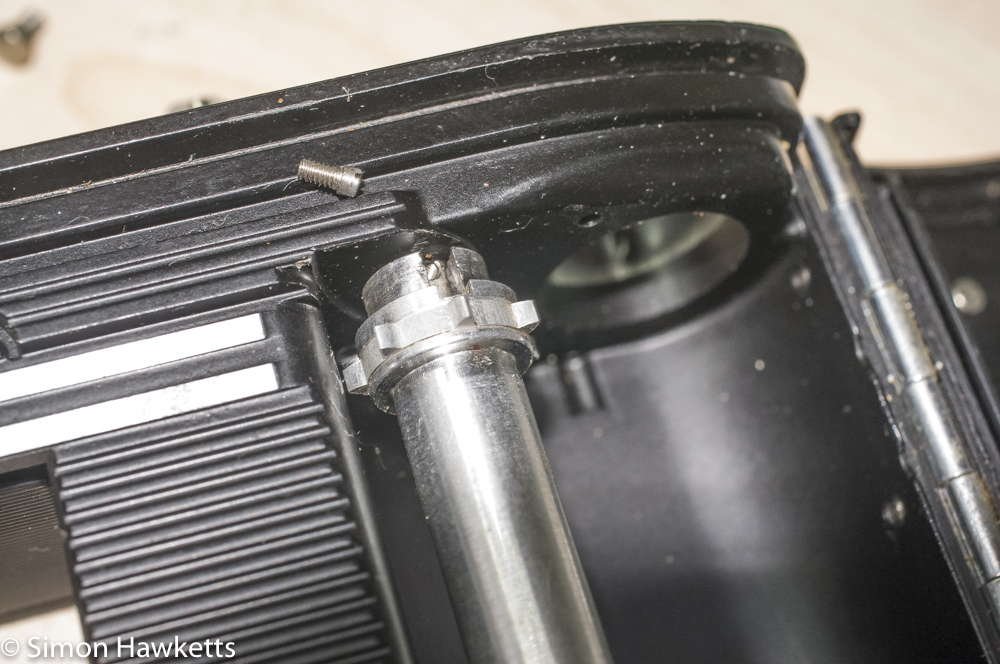
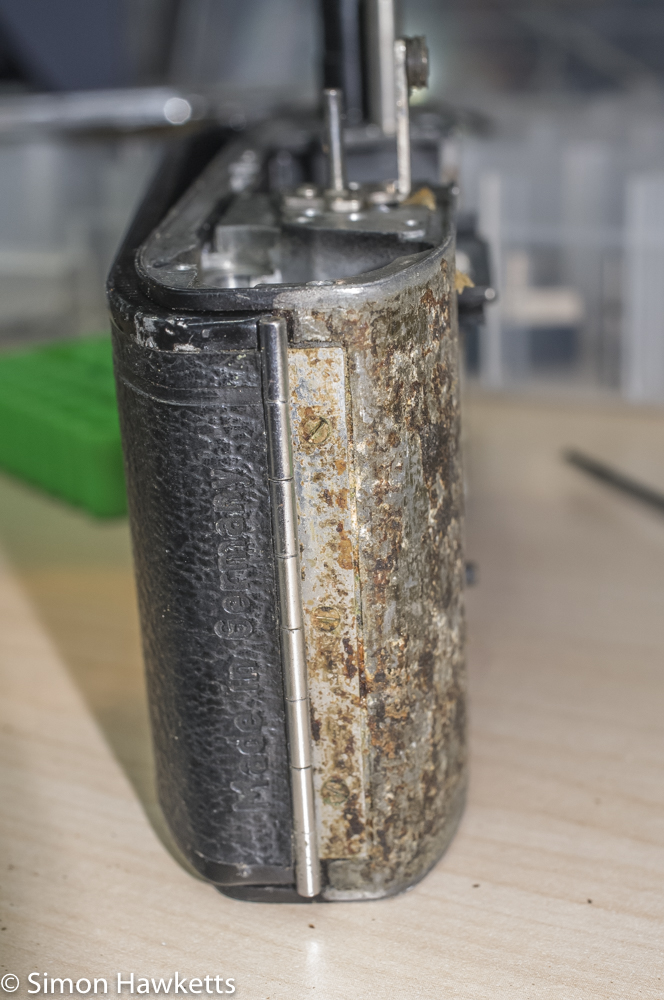
When I first started working on the camera, it was obvious that it had been dismantled some time in the past, because screws and some important parts were missing. The pictures above show the procedure I followed to get the camera stripped down to the chassis, but because this camera has missing parts these pictures, whilst useful, should not be relied upon as an accurate guide.
Before I go any further, I must say I'm indebted to the brilliant Retina Rescue site for the instructions explaining how to get the camera apart and re-assembled. Without it, I would not have known that some of the parts were missing (for example, the rack support washer). I'd advise anyone who wants any information on the Retina series to visit Chris Sherlock's site (linked above) for definitive instructions.
Unfortunately, one thing that I've found wrong with both cameras is the cord which drives the exposure meter, which has disintegrated and snapped and will therefore need to be replaced. At the moment I'm not where I will get replacement string from, but I might also try to cut some nice replacement leathers since there has obviously been a fair amount of moisture penetrated the camera and left the original covering in a brittle and messy condition.
With the first camera stripped down, I'm now deciding if I try re-assembling it to discover any problems or move on to the other camera and strip that down to the same level.
