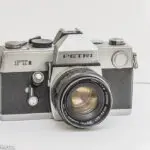
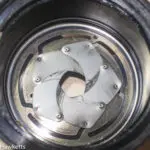
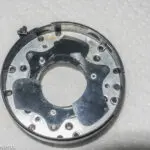
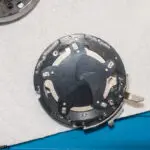
Over the last few months I've bought a couple of Petri or Petriflex cameras and one of them had a Petri 55mm f/2.0 standard lens with a few problems with the aperture blades. Since I recently had another lens apart to look at an aperture problem and therefore 'have my eye in', I thought this might be a good opportunity to fix the Petri lens as well.
Petri 55mm f/2.0 lens repair images
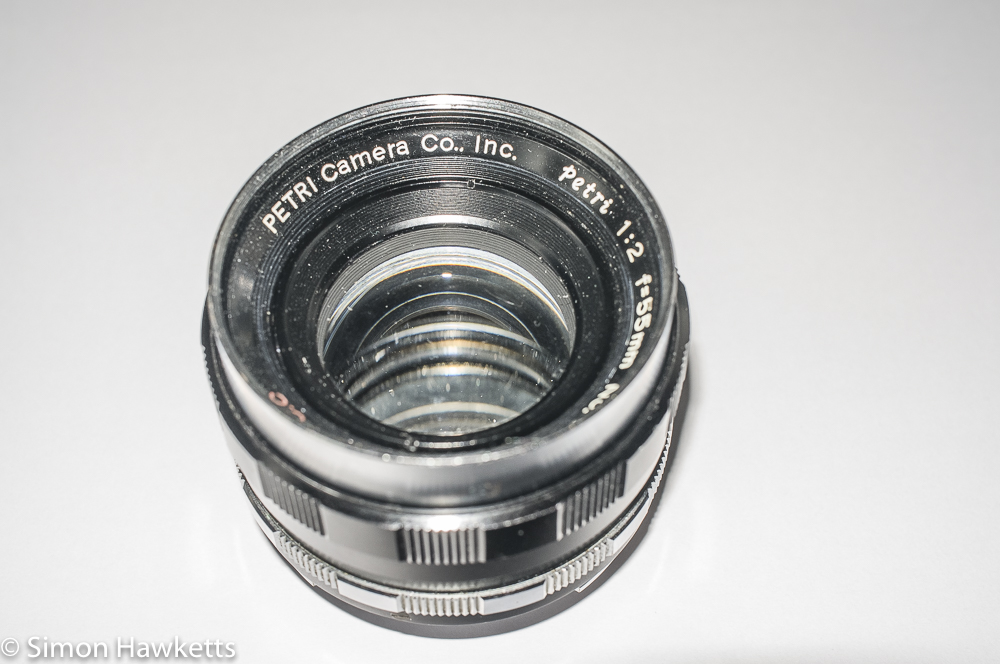
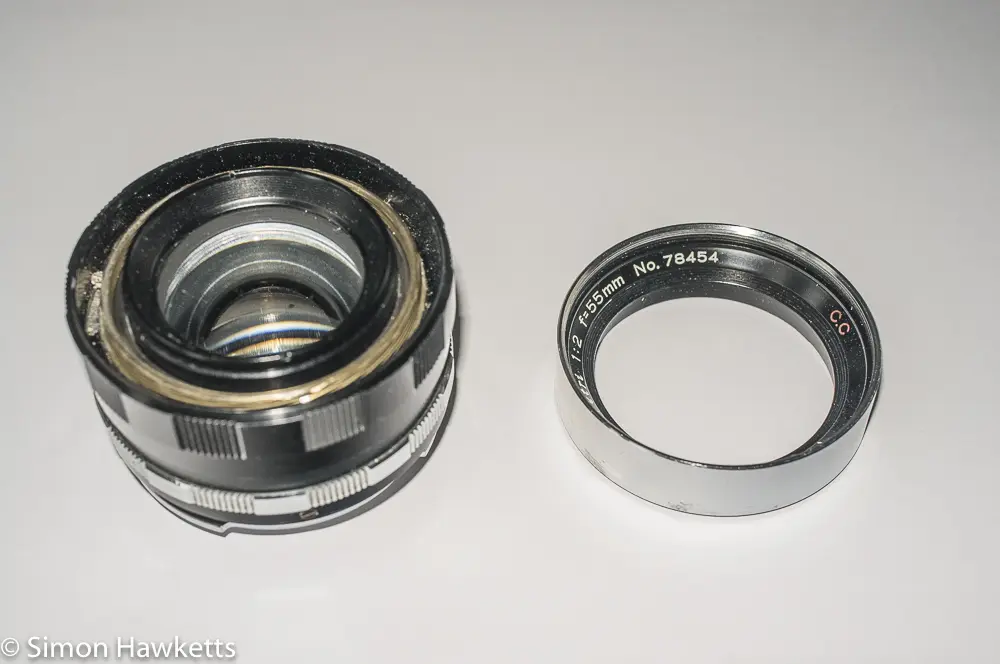
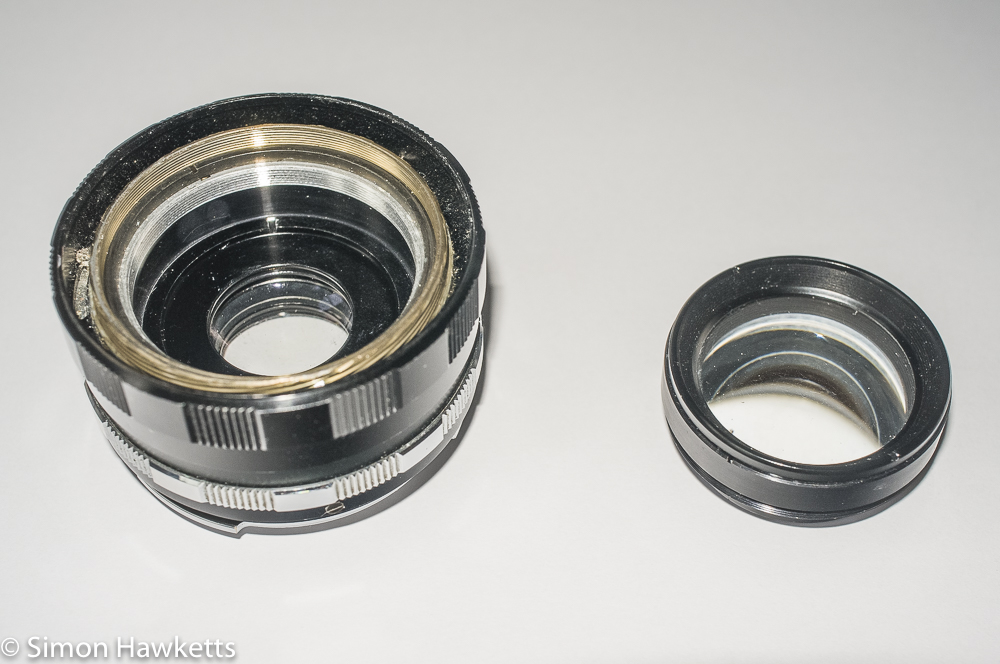
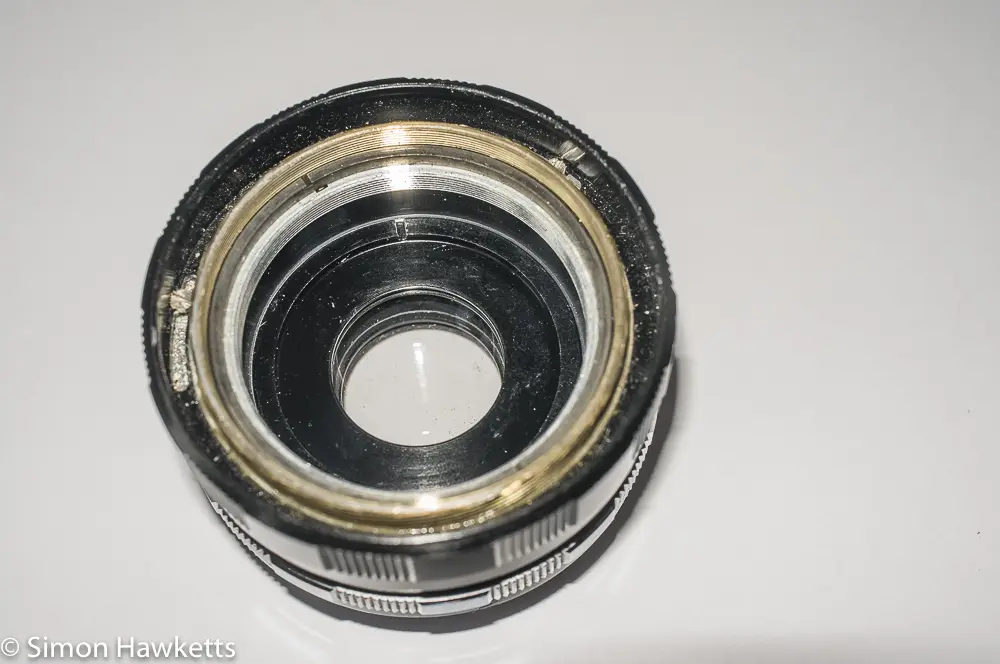
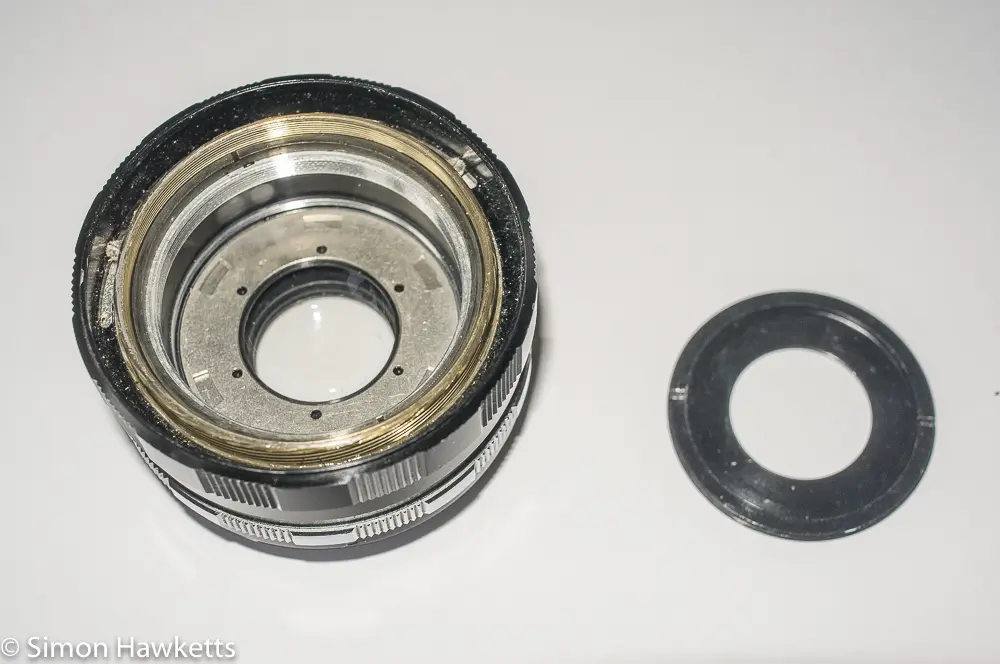
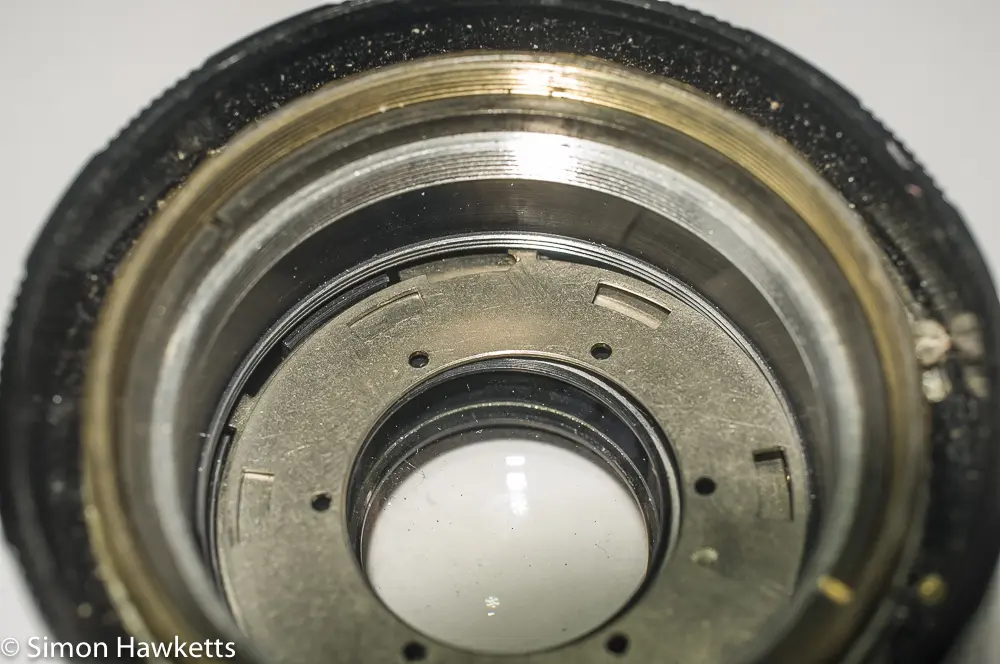
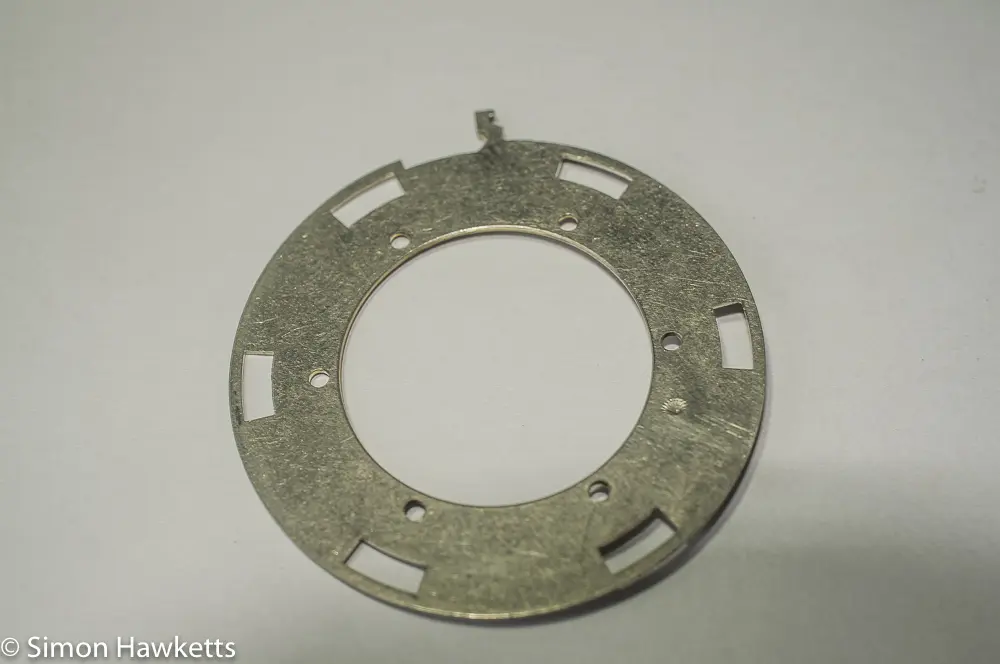
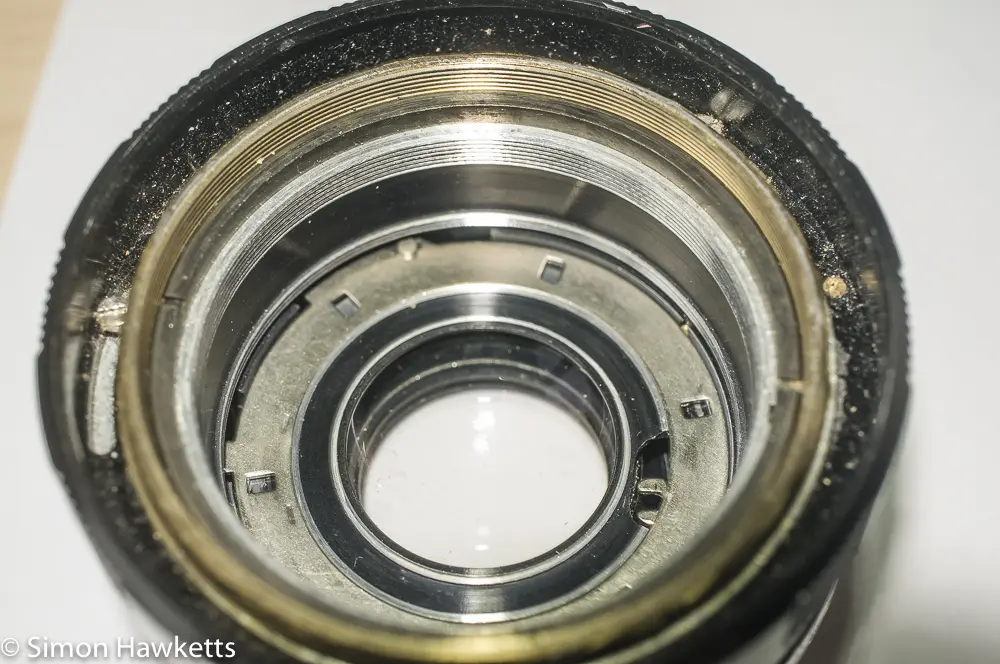
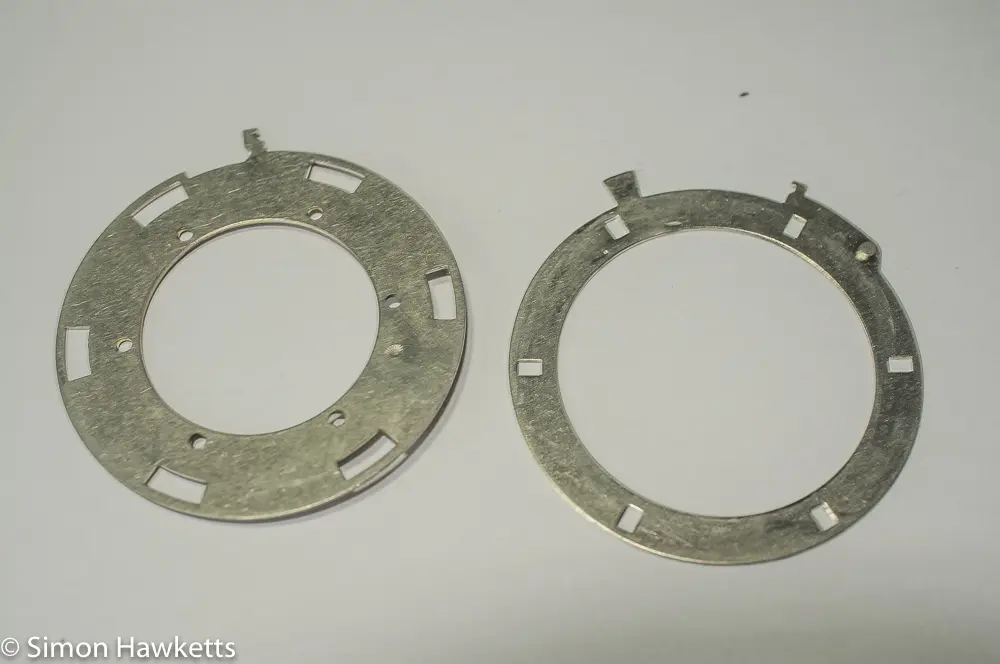
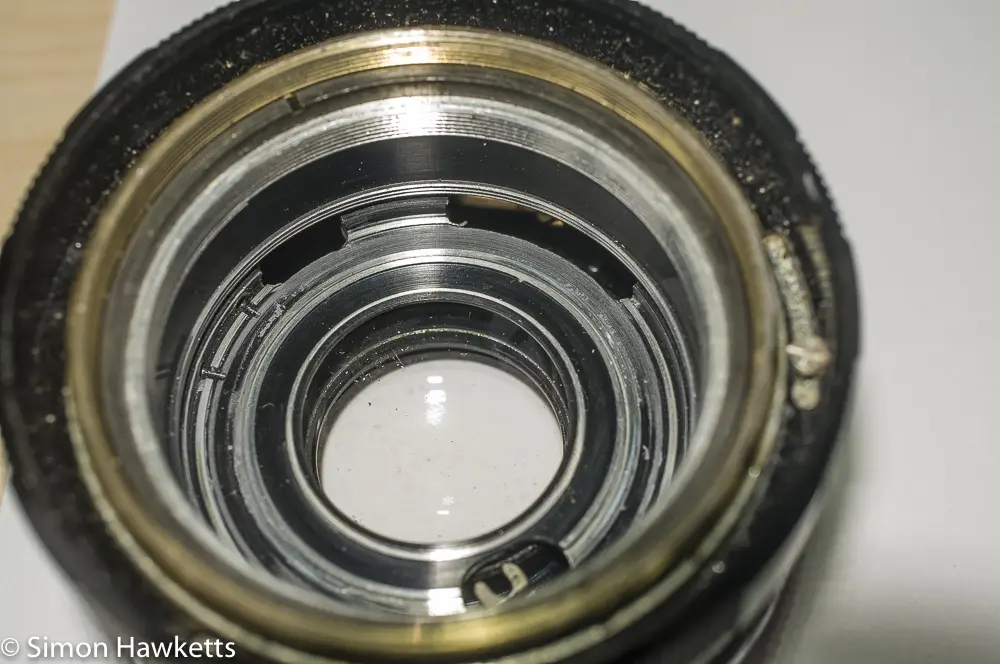
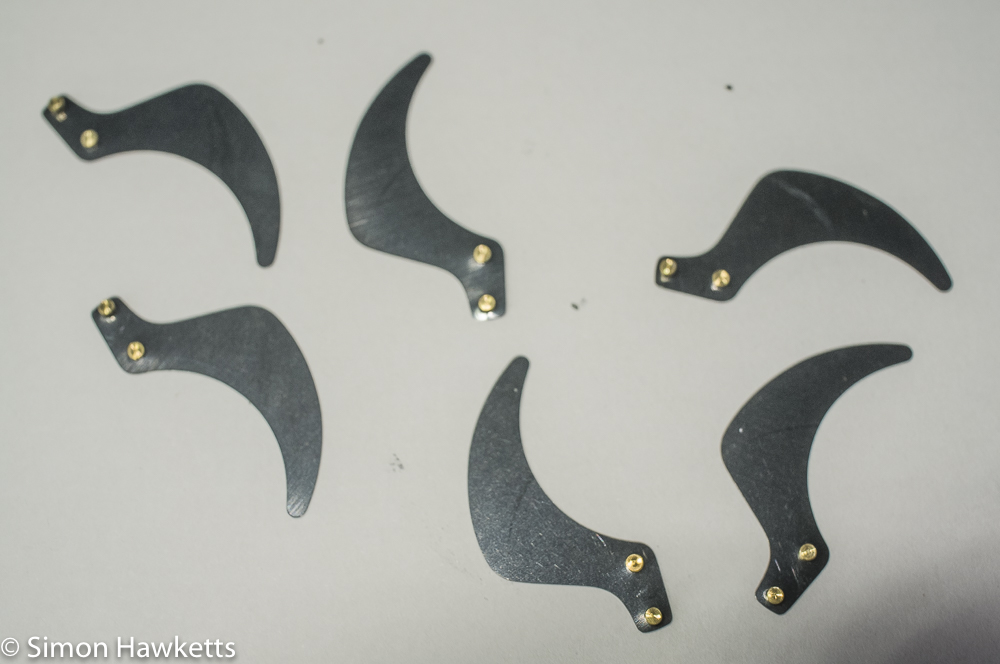
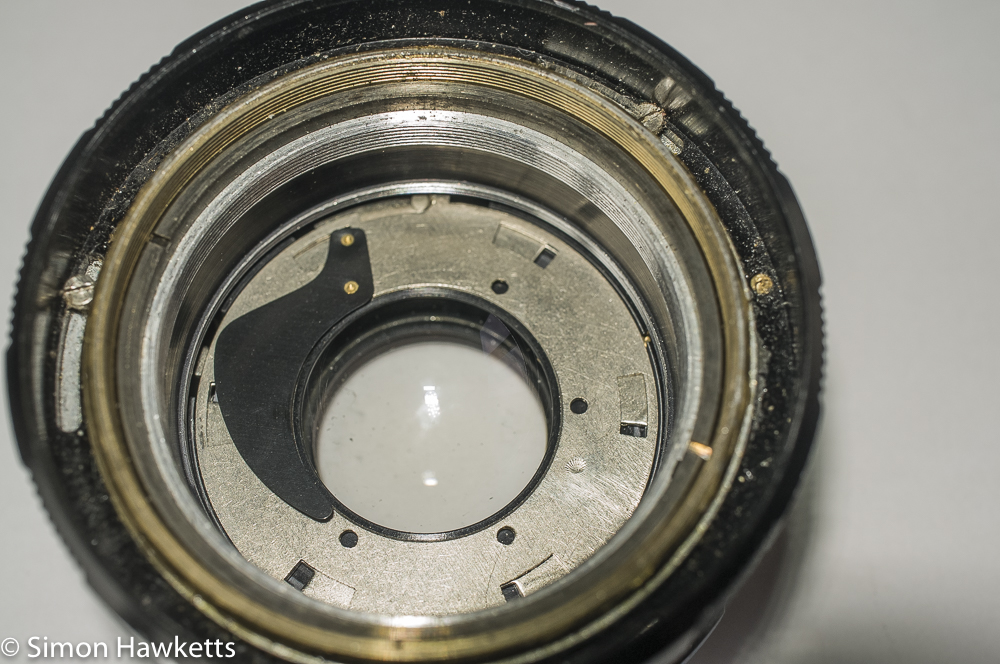
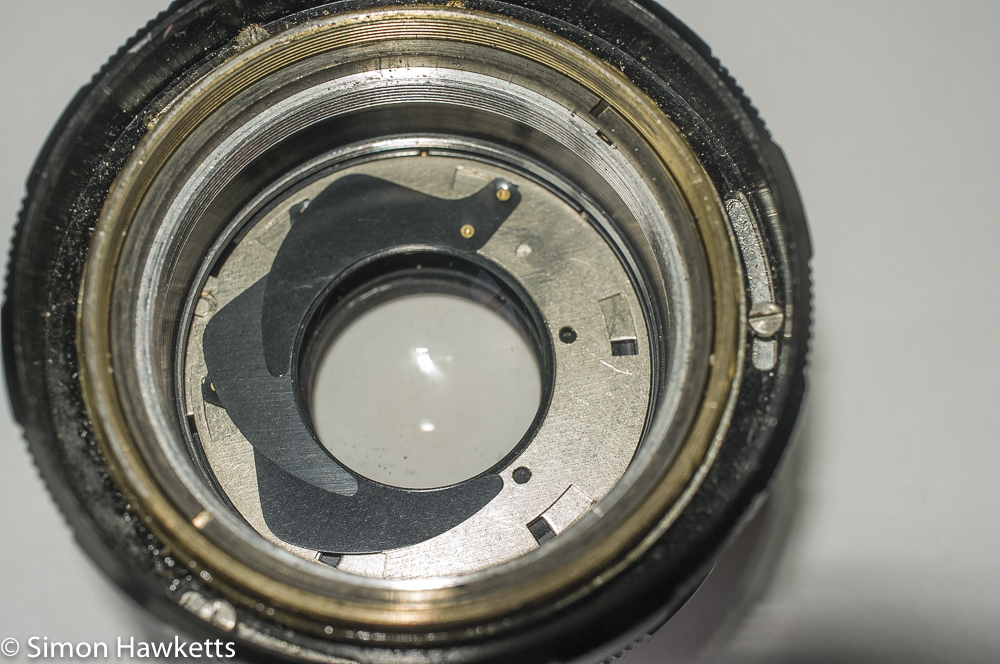
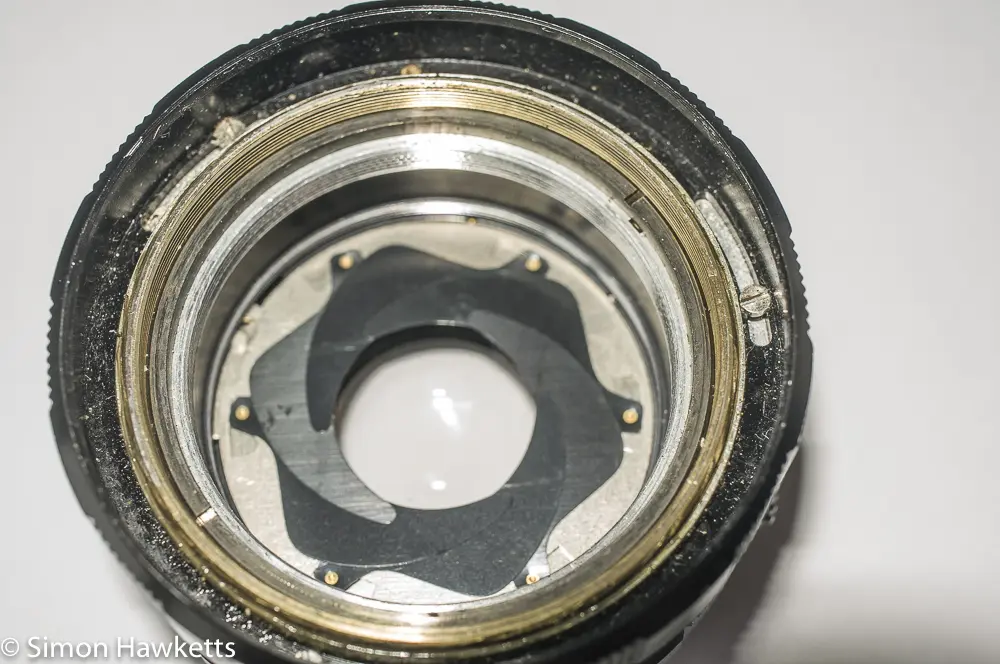
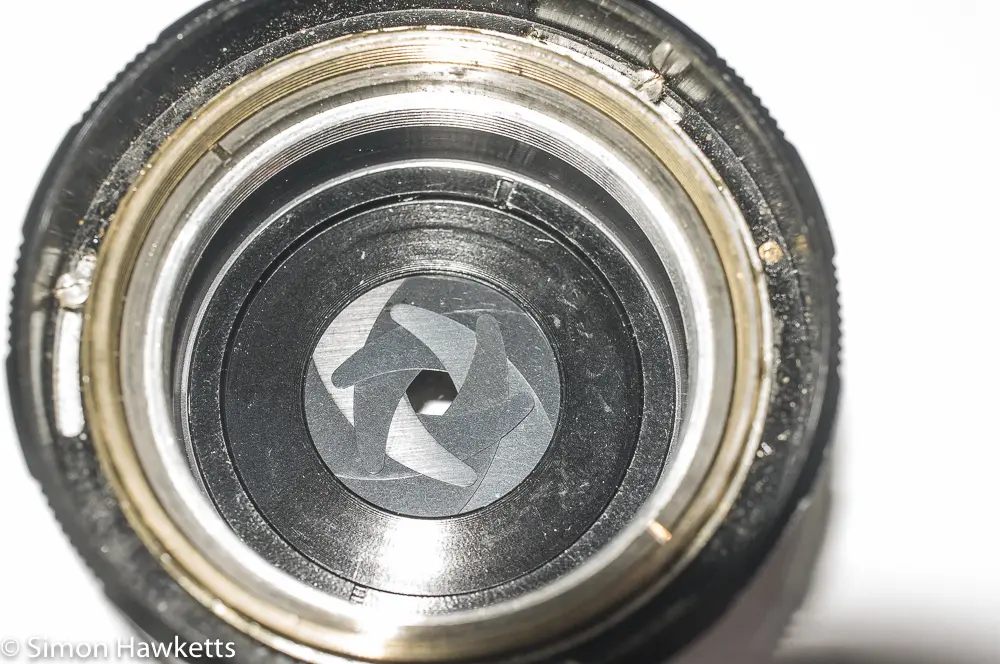
It turned out that the Petri lens design is a really easy design to work on, and this problem was a matter of only about 20 minutes to fix, but it's still worth documenting it in case anyone else has a problem or needs to get a similar lens apart.
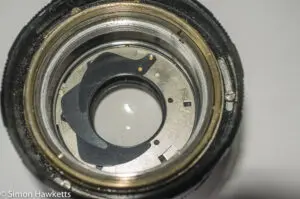
The problem I could see through the top of the lens was similar to my recent problem with the Agfa Telinear lens, namely that I could see a single blade across the aperture opening. In this case the other blades weren't moving, but I obviously needed to get the lens apart to see what the problem was. I suspected that one of the pins had become detached from the blades, but it's impossible to be sure without opening it up.
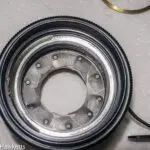
As I said above the design of the Petri 55mm f/2.0 lens makes it easy to open up. The front trim simply unscrews from the front of the lens by setting the lens to minimum focus distance (which gives you more trip to grip), holding the trim and turning it anti-clockwise. With the front trim removed, the front lens elements can be unscrewed with a lens spanner and also removed. Then there is a single flat disk which protects the aperture blades and holds them flat.
I found the problem with my lens was that the flat disk had come unscrewed and the aperture blades had got out of alignment and had fallen out of the holes in the plate which drives them. Once I'd checked that the two plates which drive the blades were correctly fitted and mating with the aperture arm underneath, it was just a question of refitting them, although I gave them a clean with some IPA using cotton buds first to make sure they were clean of any oil or dirt.
The sequence of pictures above show how the blades were refitted, and as always it can be a tricky job, especially fitting the final blade.
The way I fitted them was to just pick a position and fit the first blade in place, then fit each subsequent blade in the next clockwise set of holes and make sure it is on top of the blade just fitted.
It's best not to handle the blades with your fingers because they can pick up oil and dirt, so I use fine tweezers to do it. When it comes to the last blade it needs to be fitted over the previous blade but under the first blade. This involves holding the first blade down with a set of tweezers while you slide the new blade under it and align it with the holes. Although tricky, it's actually easier to do than to describe!
With the blades reinstalled, and the plate screwed back down, the rest of the reassembly is simply to fit the front element and the front trim, and you are done. This is easily one of the simplest blade refitting that I've done.
