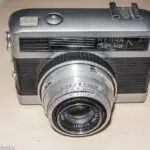
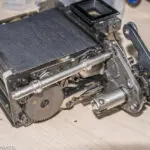
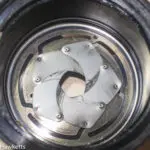
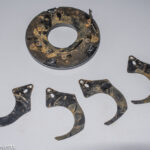
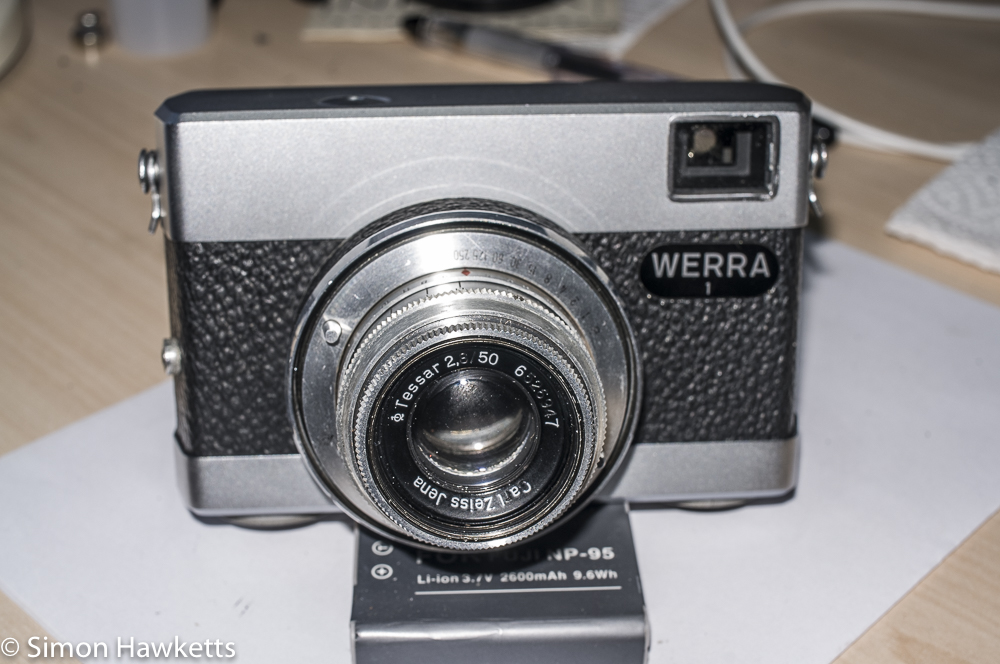
This is the second part of my post describing my adventures with a Carl Zeiss Werra 1 35 mm viewfinder camera. Last time I stripped down the camera and removed the lens unit from the camera body. I also got the back shutter off the lens and cleaned it up and was faced with how to get the front, or picture taking timed shutter off and clean it and get the shutter times working.
Removing the Werra 1 shutter
I could see that the 'picture taking' shutter was attached to the body of the lens by a screw and I assumed that removing it would allow me to get access to the shutter blades. What I found was once I'd removed the screw the shutter blades came out as a single assembly which is pressed together at various points with the blades contained within it.
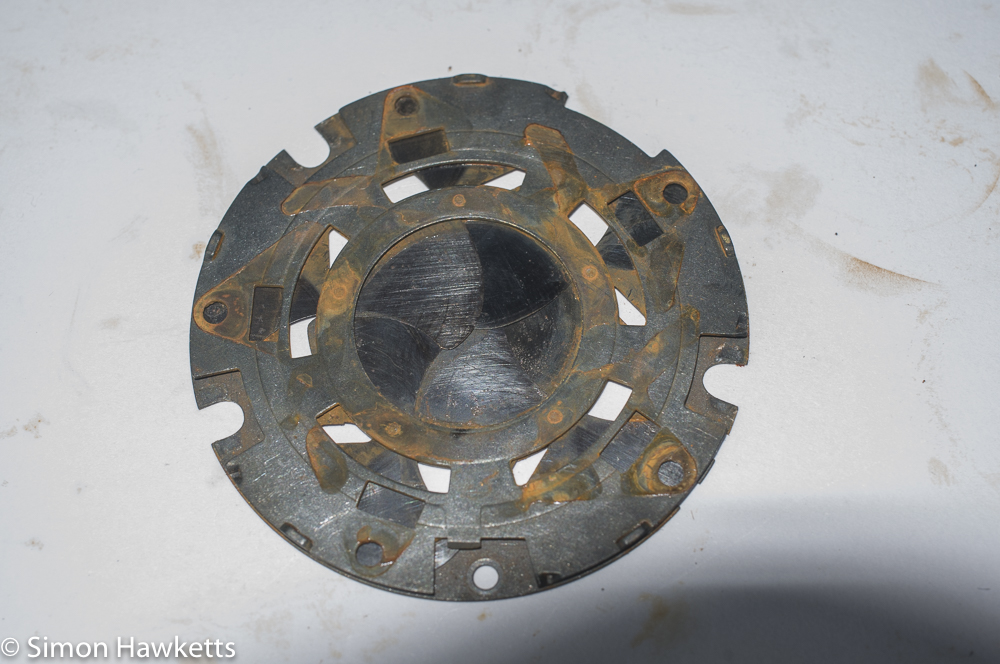
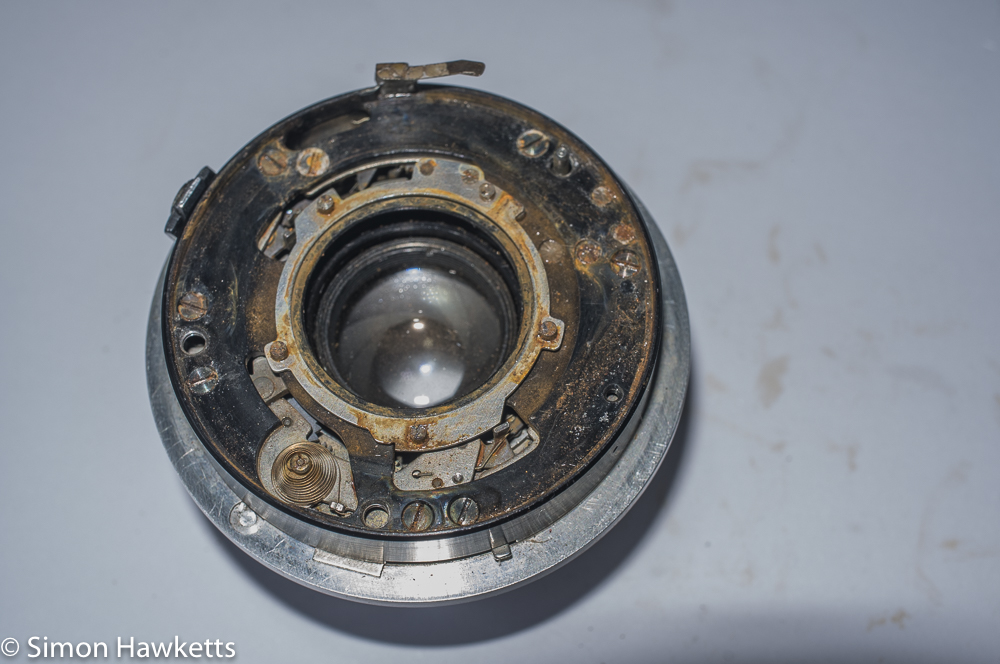
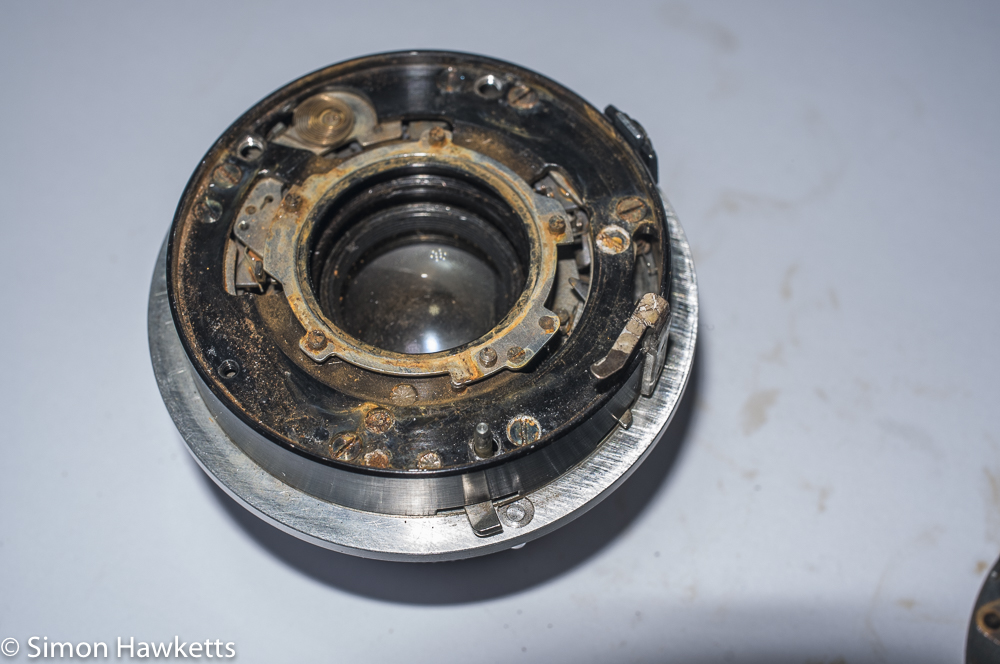
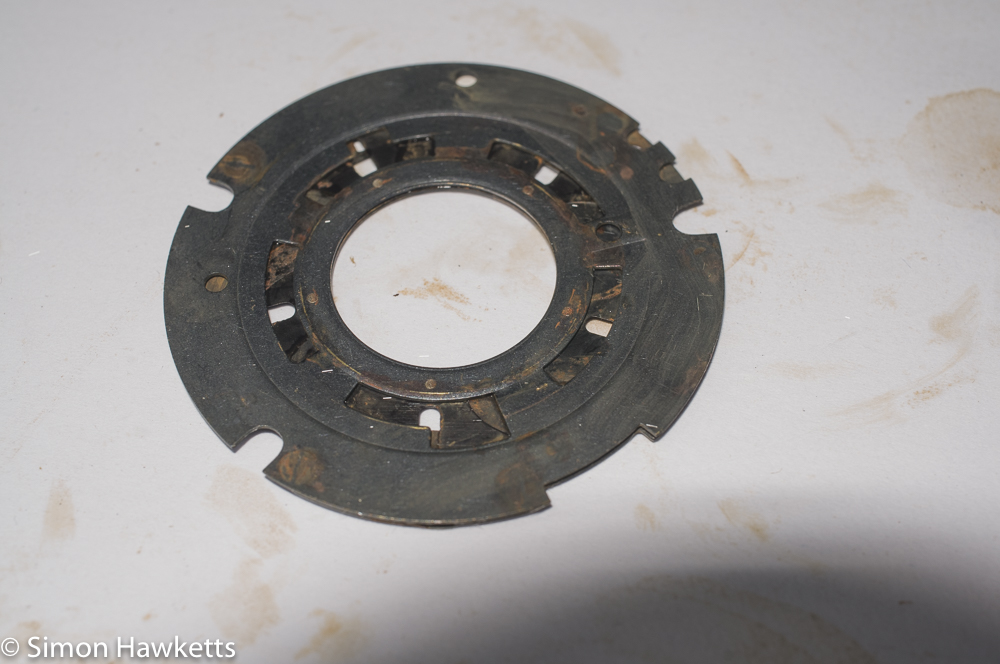
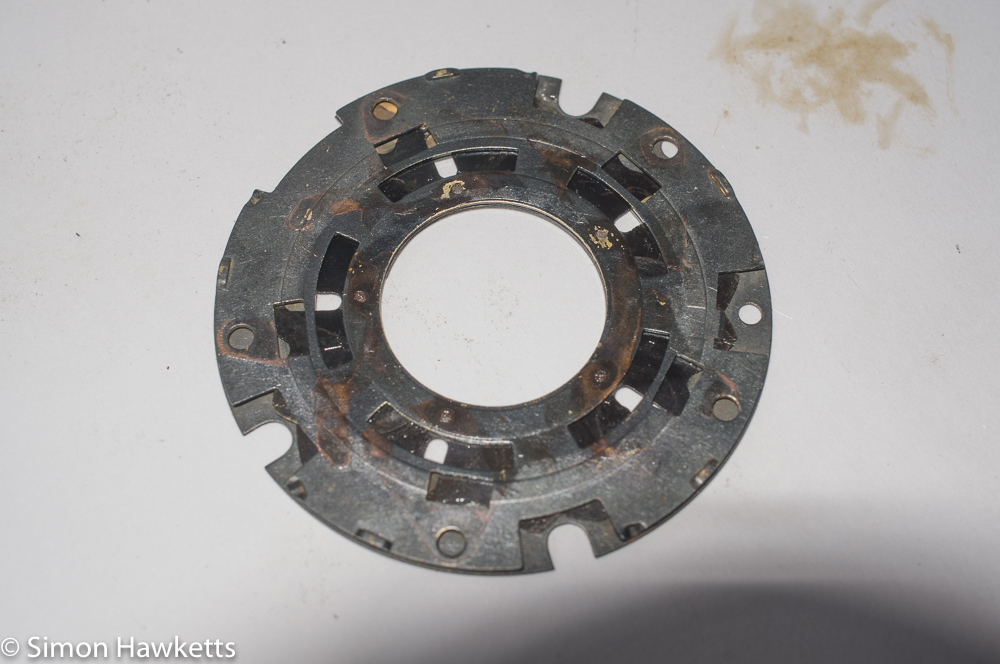
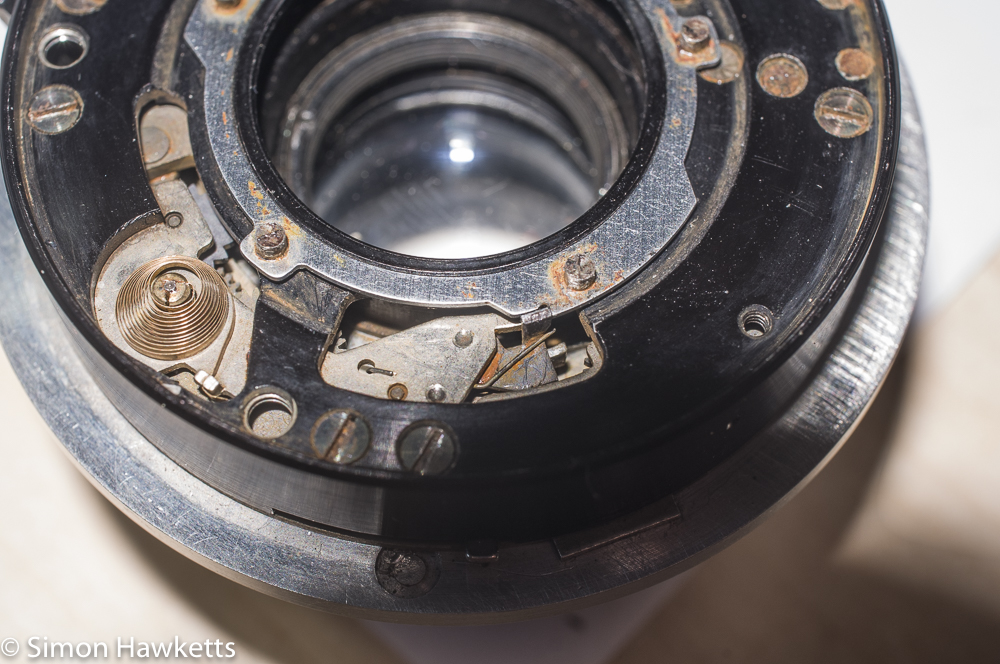
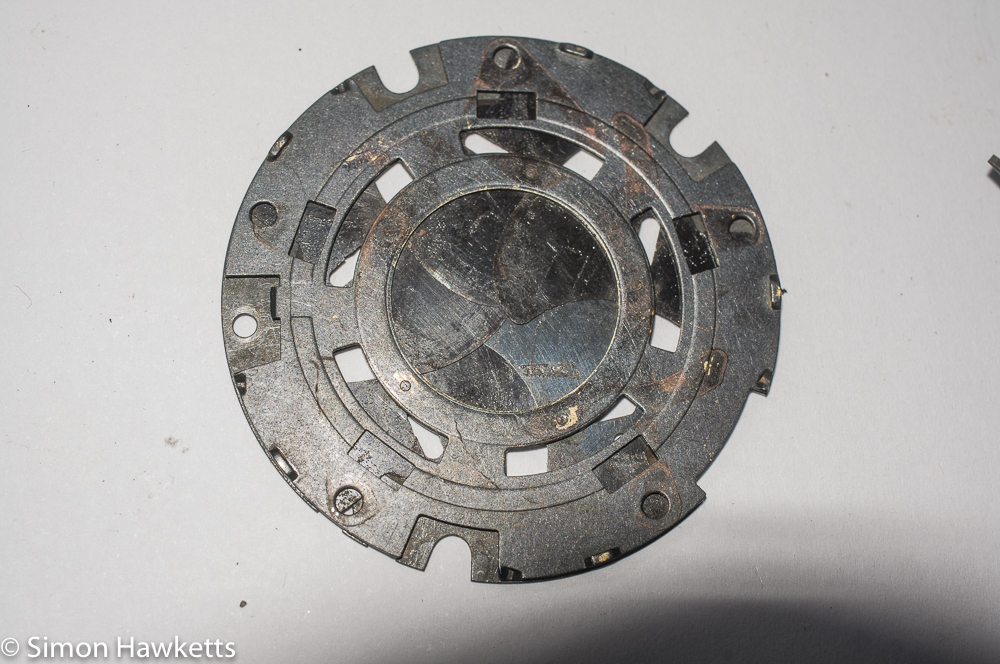
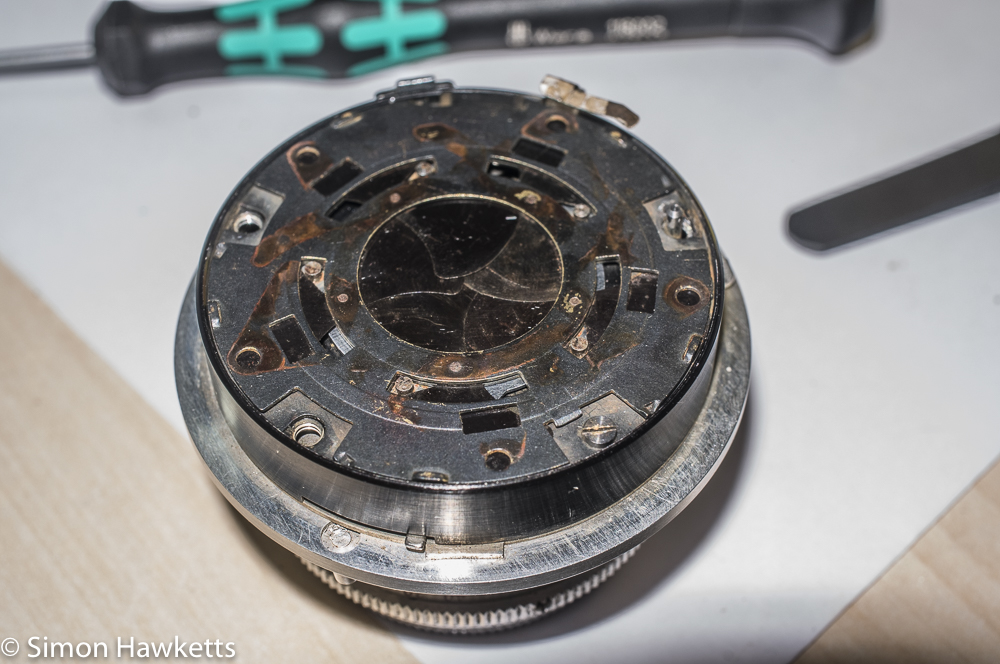
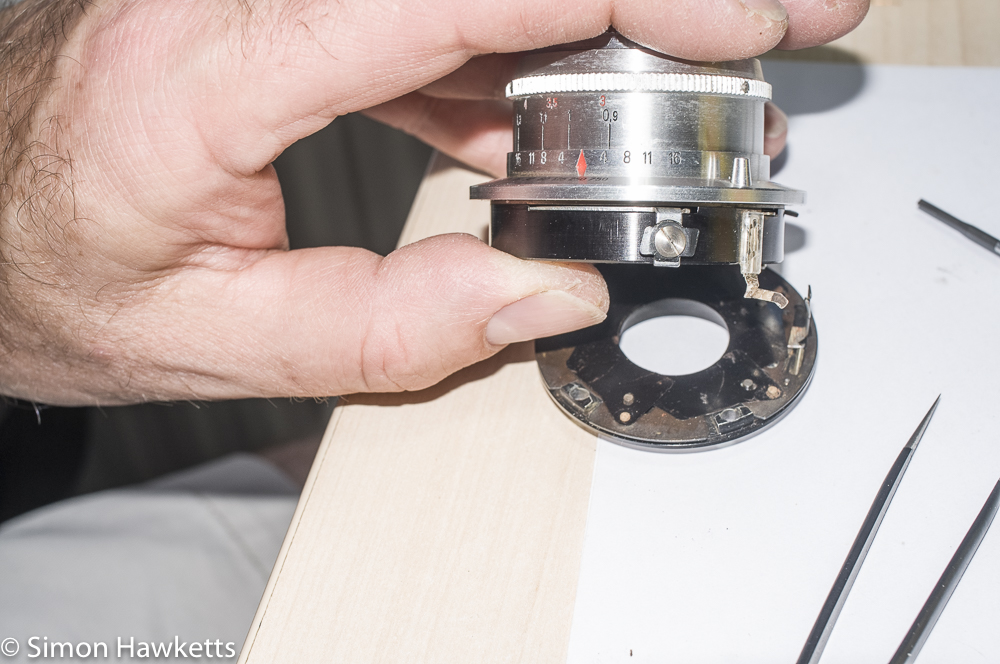
As I lifted the shutter assembly off the rest of the lens unit, there was a springy sound and the plate with pins it which position the shutter blades sprung out of alignment as the assembly came free.
Cleaning the blades in the shutter assembly proved to be somewhat difficult because I could only see half of each shutter blade at any time, but I cleaned each half on both sides with a fibre pen which I bought a while ago to clean camera bodies. I dipped the pen in clean IPA and used it to polish the surface of each blade and then turned the blade round, so the other half could be cleaned. Once I'd cleaned each blade, and the assembly itself, I used some more TF2 lubrication fluid on a cotton bud and coated all the blades. As with the back shutter I left it to dry overnight.
Fixing the Shutter mechanism
I knew I was going to have to fix the shutter mechanism, but my first problem was I couldn't work out how to get in to it. I tried loosening all the visible screws but the black case which forms the back of the lens unit didn't come loose, so I couldn't work out how to get it apart. At this point, the plate which moves the shutter assembly blades became unhooked from its spring. Since this plate held the spring in tension, and the end of the spring was situated under a hole in the back of the lens I knew that it was going to be a difficult job to re-fit it.
However, my first problem was getting the shutter timing mechanism working. Since I couldn't find a way into the shutter I decided the only solution was to try to get the mechanism clean by sitting it in a bath of IPA to dissolve all the old oil, grease and dirt which was presumably stopping it from working.
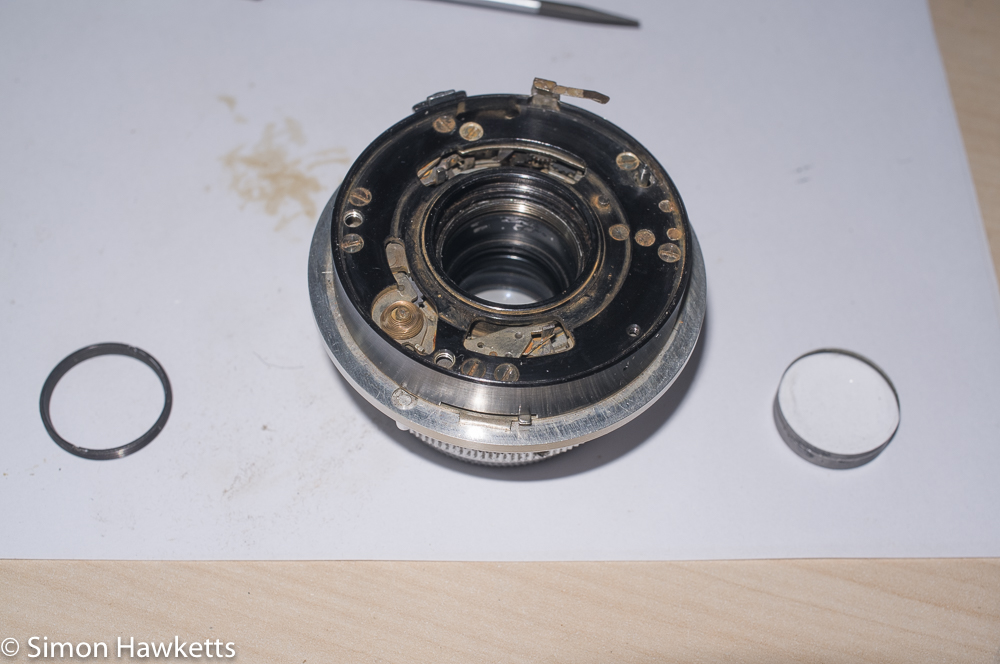
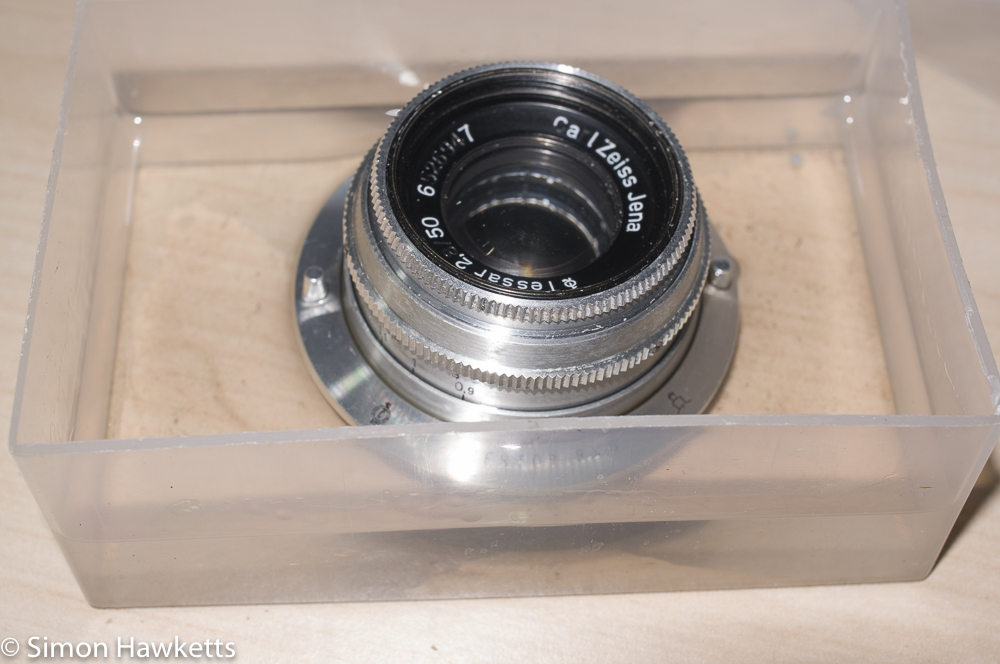
So I undid the ring which held the back lens element in place and removed the back element, so it didn't get bathed in IPA, and also adjusted the focus, so the front element was as far forward as possible. Then I placed the lens assembly in a plastic box just bigger than itself and poured some IPA into the bottom until it just came up to the top of the lens mechanism.
I swirled the lens about in the IPA and after a minute or so I tried the shutter again, cocking it with the lever on the side and then firing it. The shutter was instantly better and seemed to be working like new again, so I knew the likely problems were all down to dirt and muck stopping things from working properly.
To make sure everything was as clean as possible I left the shutter unit in the IPA overnight and then took it out and left it on kitchen paper to dry off. Once it was dry I tried the shutter at all the speeds, and I was glad to find they all worked and the times (well the slow ones I could estimate by ear) were all sounding correct as well.
Just as a tail of caution to anyone who needs to do a similar thing, I added a tiny drop of thin oil to the ends of the shafts that I could see on the lens mechanism, and within a few minutes the shutter had stopped working properly again. I needed to repeat the IPA bath to remove the oil in order to fix it again.
With the shutter seemingly fixed, I needed to reassemble it and the first part was to get the shutter blade activation plate back on and hook it up to it's spring. I tried pulling the spring out from under the case with a pair of tweezers, but I couldn't keep it out as the tweezers would lose their grip as I tried to extract enough spring to attach it back to the plate.
After about 10 attempts to reconnect the spring to the plate, I realized I wasn't going to be able to get it with a pair of tweezers, so I took a paper clip and bent a tiny hook on the end, so I could push it under the lens cover and pull out the spring. With this I managed to get the spring and pull enough out that I could trap the body of the spring against the lens body with my finger, unhook the paper-clip and attach the plate instead.
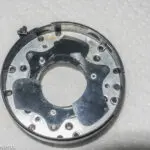
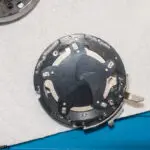
Once the plate was back on I needed to work out the correct positioning of the shutter blades to fit back onto the shutter. I've recorded the position in the pictures above. Basically I had to cock the shutter and fit the shutter plate so that it held a small lever down. The lever is in the same position on the lens as the self-timer activation lever, although the self-timer lever is on the outside of the lens casing.
With the plate in this position the shutter blades are rotated in their holder until the blades are all closed and then the shutter assembly dropped onto the shutter. It's tricky to do because the shutter plate is sprung loaded and can spring off, and the blades won't be in exactly the right place, so you need to carefully position it, slightly wiggle the blade positions and then also apply some pressure to push it into place. You also have to make sure that the blades are in correct alignment i.e. the blades need to run on top of the blade on one side and below the blade on the other.
I set the alignment by starting at any point and making sure the next blade clockwise was below the one I was dealing with and then apply that rule all the way round. I've photographed the shape of the holes in the blade assembly because that's useful to match before the shutter assembly goes back.
I needed to refit the shutter assembly several times before I could get it in the correct place, with the blades correctly aligned and the actuation plate in the right place. Once I had everything in place it all started to work properly, and I refitted the screw to hold the shutter down.
Reassembling the rear shutter
With the timed shutter in place I needed to fit the shutter on the back of the lens which closes as the camera is wound. This was a bit tricky because the blades are not held down, so the back shutter needs to be assembled and then the top part of the lens fitted to it. It's not possible to accurately see how they go together, so there is a bit of trusting to luck. I took a couple of attempts to get it to align and had to refit the blades a couple of times but in the end the two parts joined together, and I did up the bolts which hold the lens together.
Reassembling the camera
The reassembly of the camera was quite easy, just the reverse of the disassembly.
Unfortunately there isn't a happy end to this story - at least not yet. Although the lens was working before I got it into the camera it stopped working a little while after I'd got it all assembled back up. I think there is still a problem within the actual shutter mechanism because the first thing to go was the slow shutter times, and then the faster times stopped working as well.
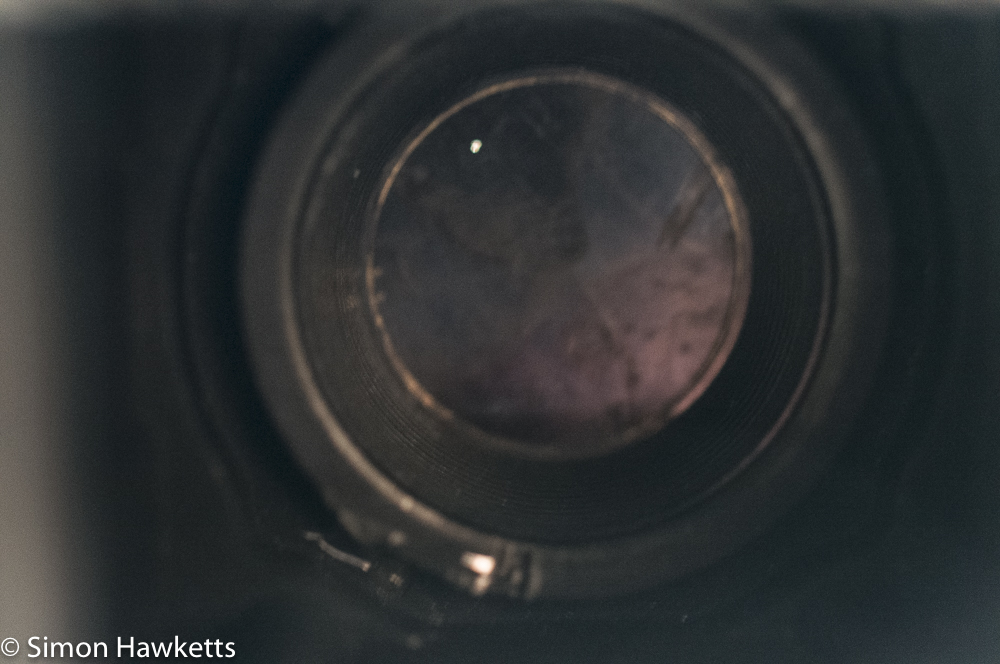
And then the final problem I found was that all the rust on the shutter blades has actually left them with a couple of very fine holes in them, so they aren't light tight.
It would be a shame to give up on the camera though, so I'm going to see if I can find another Werra which I can either fix or use as a donor for this camera. It also means that there isn't much to lose by taking the lens apart and seeing if I can find how to get into the actual shutter - at least I'll know how to do it next time.
