This is another article in my series about checking the health of vintage cameras in which I'm going to deal with testing an uncoupled exposure meter.
There were a large variety of exposure meters fitted to cameras ranging from simple meters which just measure the amount of light, right up to complex systems which set the camera automatically for the correct exposure. I'm going to try to deal with all types in my 'Checking the health of your vintage camera' series, but this article deals initially with the simple uncoupled meter.
To clarify some jargon, uncoupled means that you take a reading from the light meter and manually transfer those readings to the camera's exposure system. The alternative is a coupled system where the exposure system controls are altered to match up the meter needle with a marker when you do that it automatically sets the exposure.
I'd just point out that what I'm trying to do is produce some guidelines for checking the operability of the uncoupled exposure meter, not checking for accuracy. In order to properly check a camera for exposure system accuracy you really need to either run a film through it or compare its readings with a known good camera. However, if you are going to test it with film it's still a good idea to do some initial checks to make sure that at least it is working.
Uncoupled exposure meter tests
Checking the meter
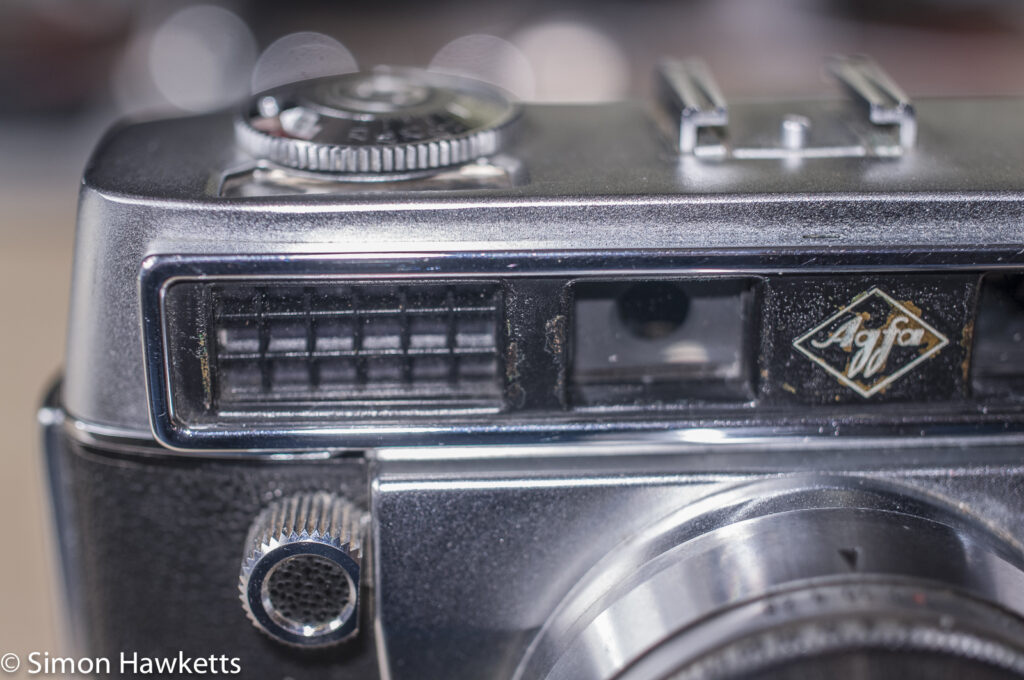
These light meters were fitted to cameras of all makes and types from the late 1950's up to the point when TTL (through the lens) metering became available in the mid 1960's. You can recognise them because they have a light cell situated somewhere on the camera body or around the lens, and a meter where the reading is taken. The meter is normally situated on the top plate of the camera.
The pictures below show some typical examples of the light cell positions from cameras of the time.
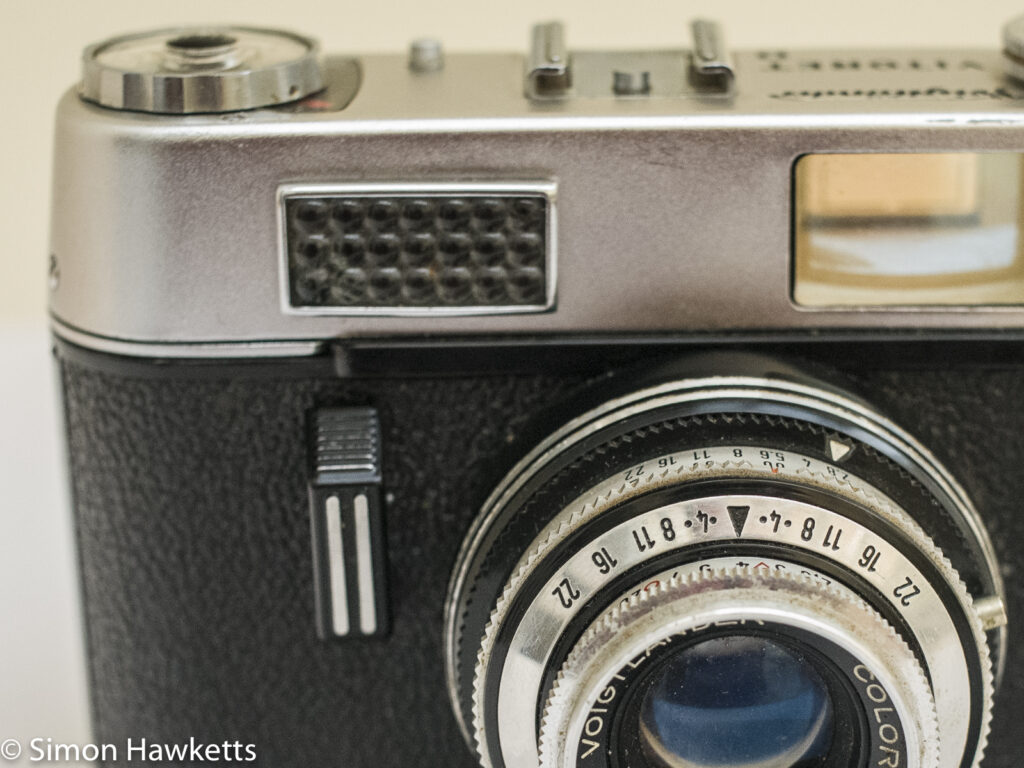
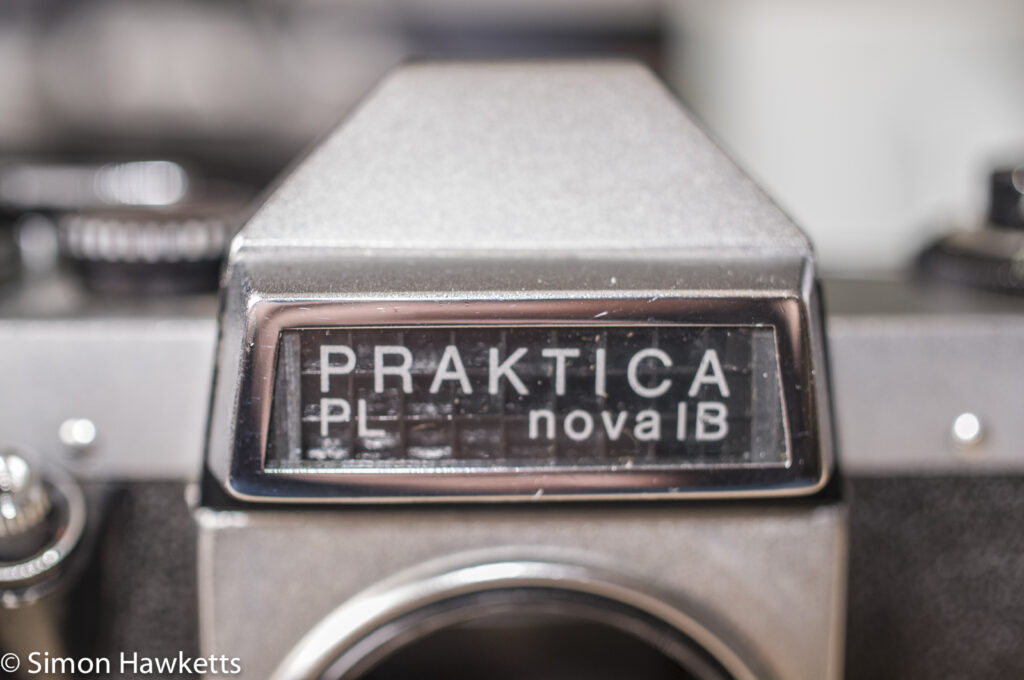
To check the meter is working it is a matter of checking that it responds to light and that it responds in the correct way. This basically means first point the light meter cell at a dark area and take a reading, and then point it at a light area and take another reading. Then you compare the readings and check that the light meter is suggesting a shorter exposure for more light.
The first general check to make is that the meter needle is moving at all when the light level changes. This is checked very easily by pointing the camera at a light source such as the window and then placing your hand over the light cell. As you bring your hand over the cell you should see the meter needle swing. If it doesn't then there is probably a fault. If the camera has a battery compartment, then the problem could be a dead battery, but the majority of cameras with uncoupled light meters didn't have batteries.
On most of these style meters the act of 'taking a reading' involved turning a dial until a pointer coincides with the position of the meter needle. Some examples of typical light meter readings are shown below :
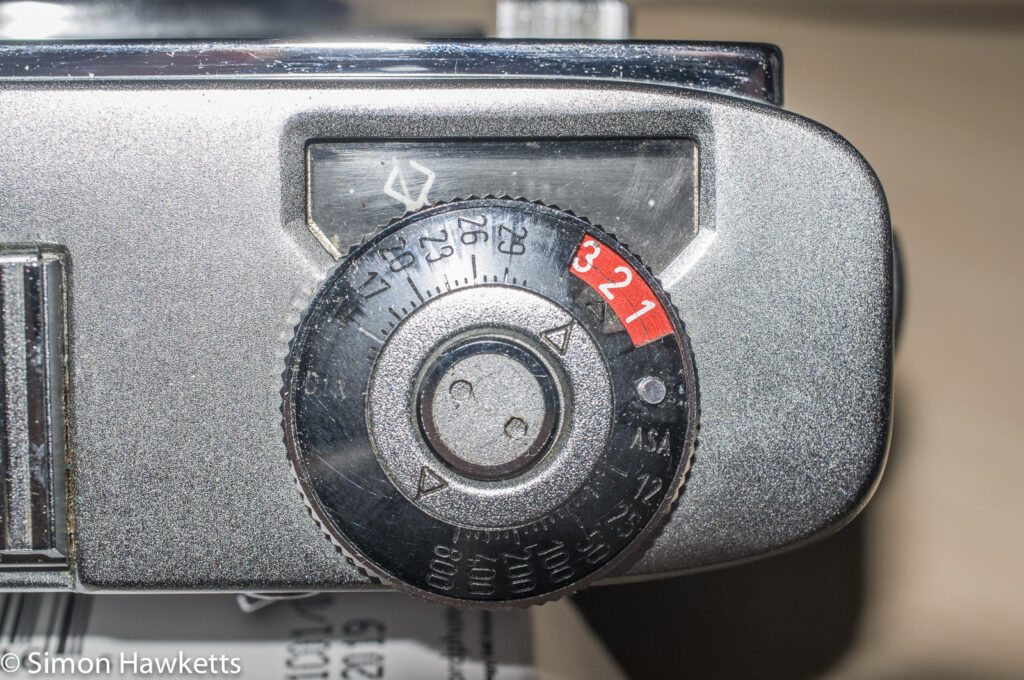
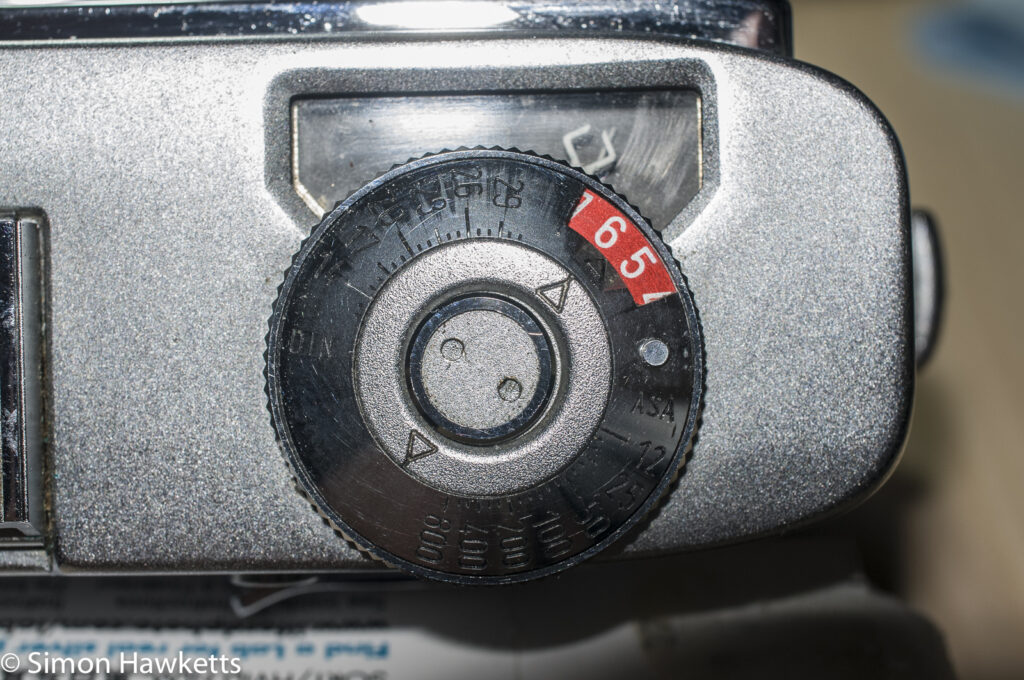
The first two pictures show a camera which has an exposure system called EV or Exposure Value. Without going into a lot of detail this was a system devised in the late 1950's to make exposure setting easier. With this system the numbers should be higher when there is more light which the pictures above show. The two readings show that when the meter was pointing at an area of low light the reading is 2 and when the higher light reading was taken the reading was 6. This indicates that the meter is at least working.
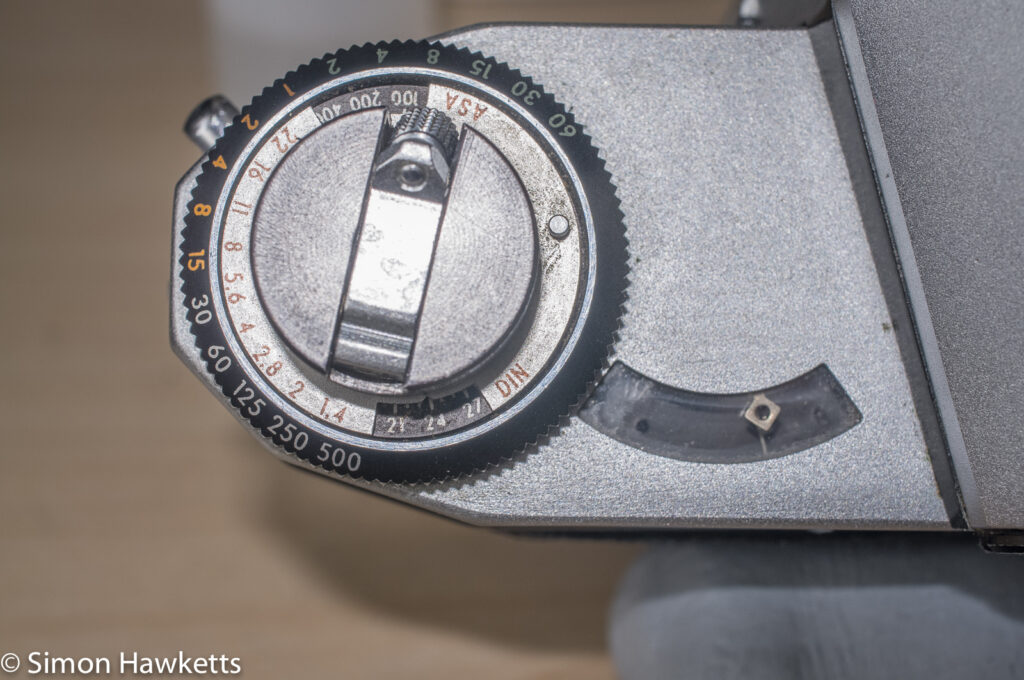
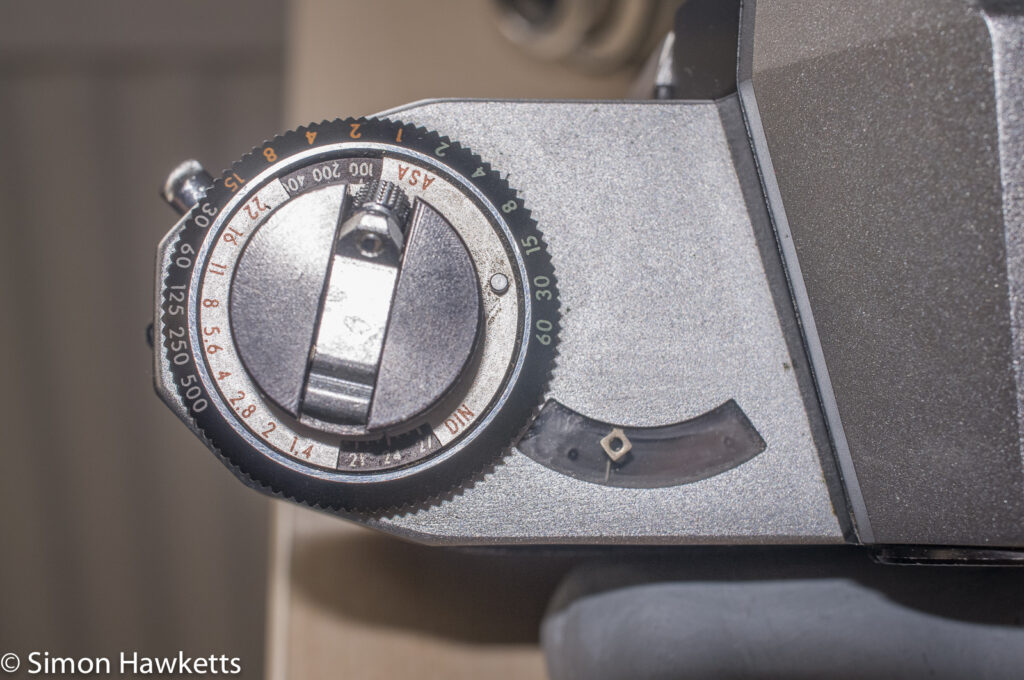
The other example picture shows the other way of taking a reading, where actual shutter speeds and aperture values are involved. These types are also reasonably easy to check as long as you know that as the light level goes up the shutter speed should get faster or the aperture should get smaller to compensate.
Typical shutter speeds and apertures for cameras with this type of light meter would be:
| Shutter Speeds (sec) | 1 | 1/2 | 1/4 | 1/15 | 1/25 | 1/50 | 1/125 | 1/250 | 1/500 | 1/1000 |
| Aperture | f/1.4 | f/2.0 | f/2.8 | f/4 | f/5.6 | f/8 | f/11 | f/16 | f/22 |
(Quite often the 1/ or f/ part will not be printed on the camera due to space limitations so e.g. 1/500 could be printed as just 500)
The slight complication for cameras which deal in shutter speed and aperture is that there often more than one set of results you could choose for the correct exposure.
For example, in the pictures above the shutter speeds are on the outside dial and follow the numbers above (with an orange 1 going round to a white 500), and the aperture scale is on the inside and has a range from f/1.4 to f/22. A reading is taken by moving the dial to the point where the marker meets the needle and then looking how the two scales line up. The correct exposure can be any combination of number pairs, i.e. f/1.4 & 1/500 or f/2 & 1/250 or f/2.8 & 1/125 etc.
So the way to check these is to do the initial reading with the light meter pointed towards the darker area and note the values you get. Then point to the lighter area and take another reading and try to keep one value the same and see how the other changes. On the examples above if we settled on the pair f/4 & 1/60 for the darker reading, when the lighter reading was taken, keep the f/4 and see what shutter speed is now indicated - in this example case it's 1/500.
As long as the numbers you obtain have moved towards the right end of the set of numbers above, the light meter is working.
Checking the film speed scale
On more complex light meters it would be necessary to check that the film speed scale is correctly working, but on these type of meters that isn't really necessary because they only move one scale in relation to the other so by design they can't really be wrong. The only thing that needs to be done is to make sure the ASA scale can physically move and isn't frozen or stiff.
