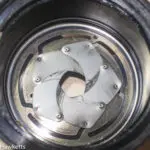
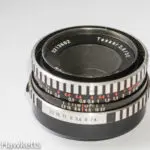
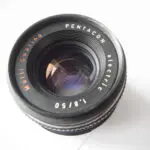
This is the final post in the series about the repairs I carried out on my Kowa SE fixed lens SLR. In the last part, I had successfully cleaned the aperture blades and re-assembled the aperture into the lens mount. Now I needed to clean and re-assemble the rest of the lens, and this post covers the Kowa SE lens re-greasing.
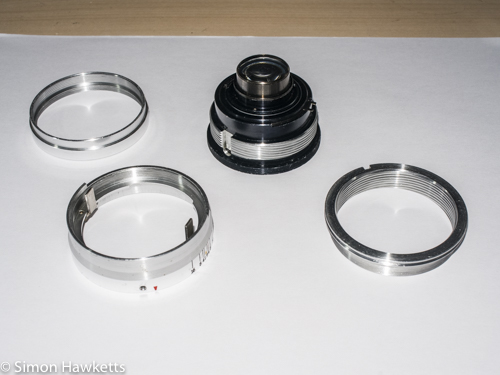
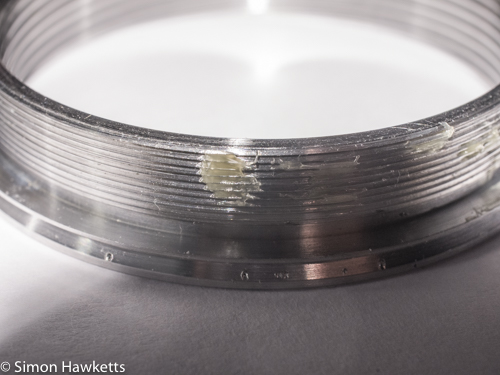
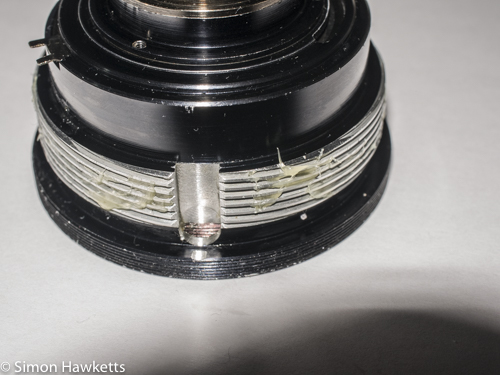
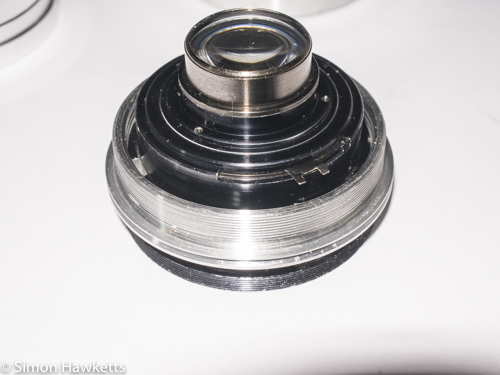
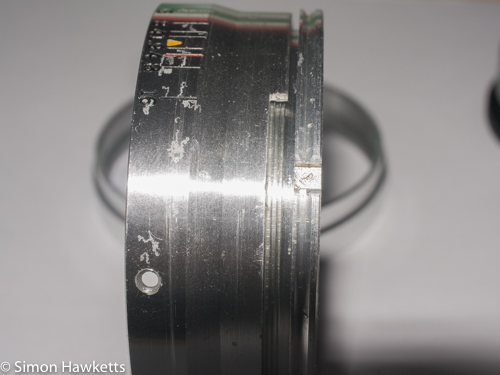
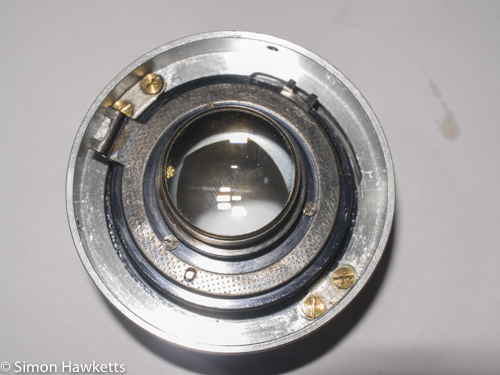
Because the lens had a lot of old oily grease in the helicoid and focus ring threads, I got an old toothbrush and used some washing up liquid to scrub each of the component parts clean. Then I put a couple of spots of grease on the helicoid and the focus ring and re-assembled each bit to work the grease around the threads. Once I'd screwed each part together and apart a few times, I started the proper re-assembly.
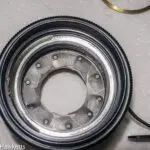
The first part to go together was the focus ring. I threaded the two bits together and used the picture I originally took as a reference to get the gap between them the same. These two pictures are shown below; the original on the left and the re-assembled unit on the right.
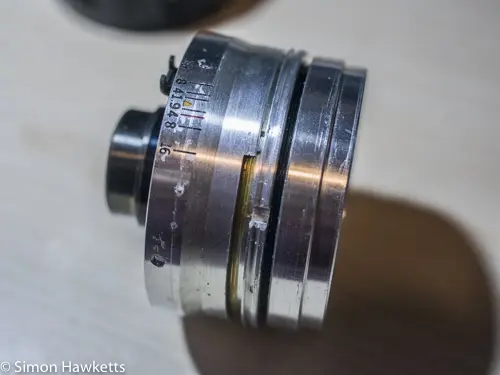

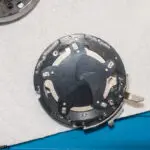
Once I had the focus ring in the correct position, I assembled the helicoid into it, with the aperture adjustment plate on the same side as the slot cut out for it on the bottom of the lens. Screwing the helicoid in place is always a bit tricky because you have to move three pieces together to get the alignment right. There are two metal prongs in the focus ring that need to be inserted into the slots in the lens unit as the helicoid is screwed down. It's a bit difficult to do this the first time, but once you have assembled a few lenses it becomes easier as you realise how they go together. Once the slots are in the correct alignment, you can pull the lens element into the lens body with the focus adjust ring.
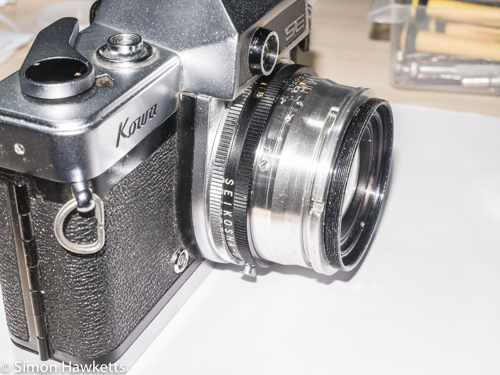
Once the helicoid was back in place, I replaced the aperture control plate on the back of the unit and the lens was mostly back in one piece. At this point, I retried it on the camera body to see if it would work. There are two aperture control pins which need to mate with the corresponding parts of the lens, and they were a bit difficult to get together because it's difficult to see them as you get the lens closer to the body, but eventually I got them to mate up and lo and behold the camera worked as expected! Winding on the shutter didn't result in the mirror rising, and when I fired the shutter, the lens stops down and the shutter fires.
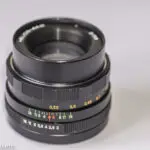
I did a quick check whilst I held the lens unit in place that the focus was OK (which it was) and then screwed up the three screws that hold the lens in place and added the front trim.
The only issue I now have with the camera is that the light cell seems completely unserviceable, but at least the rest of the camera now seems OK.
