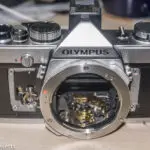
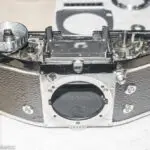
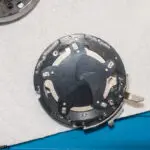
In my last post, I gave some observations and conclusions I'd reached from my initial examination of the shutter assembly in my Pentacon Six. In this post I'm going to describe the progress I've made to get the shutter working again prior to trying to calibrate the shutter speeds.
After my initial attempts to lubricate the mechanism, and getting the mirror and shutter blinds out of sync, the whole mechanism was not working any more, so I decided to try to completely reset the blind starting positions and tension them using some notes provided by Rick Oleson.
To do that, I would release the tension on both blinds, disengaged the blinds from the cocking mechanism and attempt to set the correct starting position for the blinds. After re-tensioning the blinds, I would then be able to check that the shutter was working again. All sounds simple ? Well - this is the full story of the way that panned out.
Just as a note of caution - I've detailed a set of procedures, but I am in the position of having a camera which doesn't work and which didn't cost me a huge sum of money to buy. I'm also in the advantageous position of doing a lot of this in order to learn. Because I have only limited knowledge of the camera and have only ever set up this one shutter assembly, I make no claims that this procedure will work with other cameras and don't in any way recommend you try this unless you have a shutter that you are prepared to throw away at the end.
Attempted Setup.
So the first part of this setup involved releasing the shutter tension and setting the starting position of each blind. Releasing the tension is the first step, and that is an easy process. The two curtains are tensioned by tension springs on the shutter speed side of the assembly. All I had to do was use a small screwdriver to move the holding spring away from the ratchet and the centre section rapidly spins round and the tension pulling on the shutter blinds was gone. Simple job.
The starting position of the blinds is important for the 1/1000 shutter speed, so in order to do this procedure I would need to set the shutter speed to 1/1000, but when I tried setting the shutter speed I found that the shutter speed mechanism was locked and wouldn't change.When I looked in more detail at the shutter speed mechanism, I discovered that the reason it wouldn't move was because the shutter was set to the B setting and this has a hook which holds the speed dial in place. Once I'd pulled that out, I could rotate the dial and select the 1/1000 position (shown in the pictures below).
So with the tension released, and the shutter set to 1/1000 I released the two drive wheels for the shutter blinds and cocked the shutter so that I could set the starting positions of the blinds. However, as I cocked the shutter I found that the shutter was not correctly cocking - although the mirror was winding down and the blinds moving, the arm which opens the lens aperture was locked in position. This meant that the latch which holds the mirror was not allowed to move into position to keep the mirror locked down, and therefore the whole shutter would fire as I moved the advance arm back.
I looked inside the film chamber, and it's possible to see that the pin which should be pushing the aperture stop-down arm is not correctly registered against the arm. It looks as it the arm needs to move down slightly so that the cutout meets up with the spigot on the small rotating disc. Unfortunately, the arm doesn't move, and I can't see what's holding it because everything in this area is hidden by either the top plate, the blind rollers or the plate on the inside of the camera.
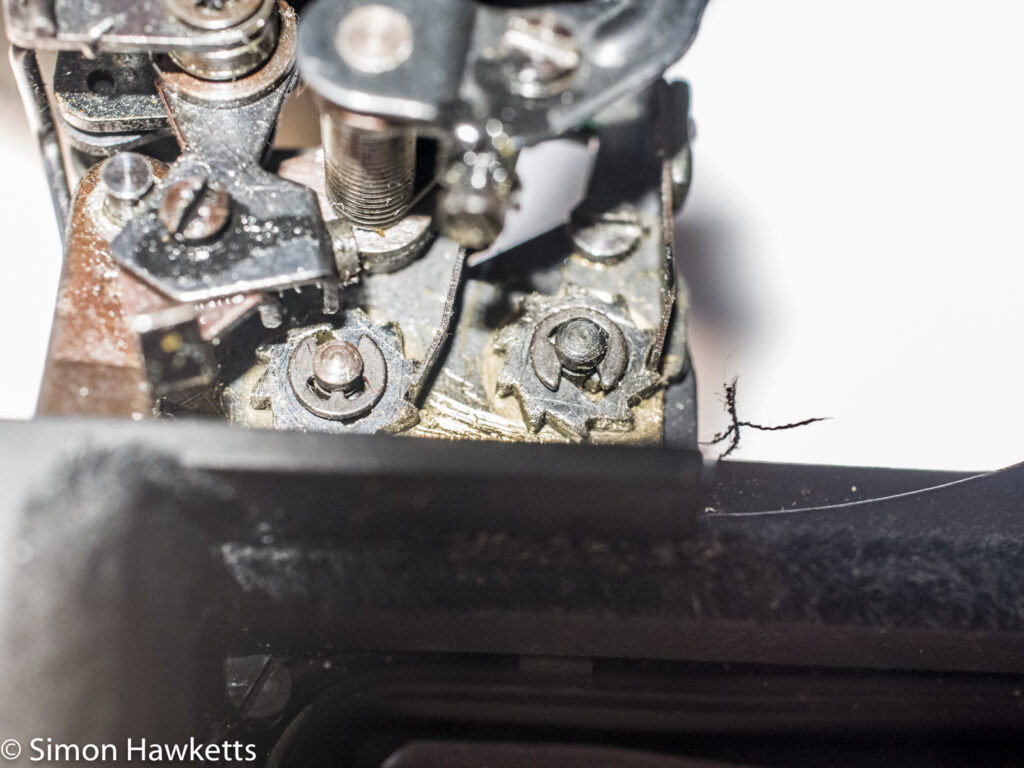
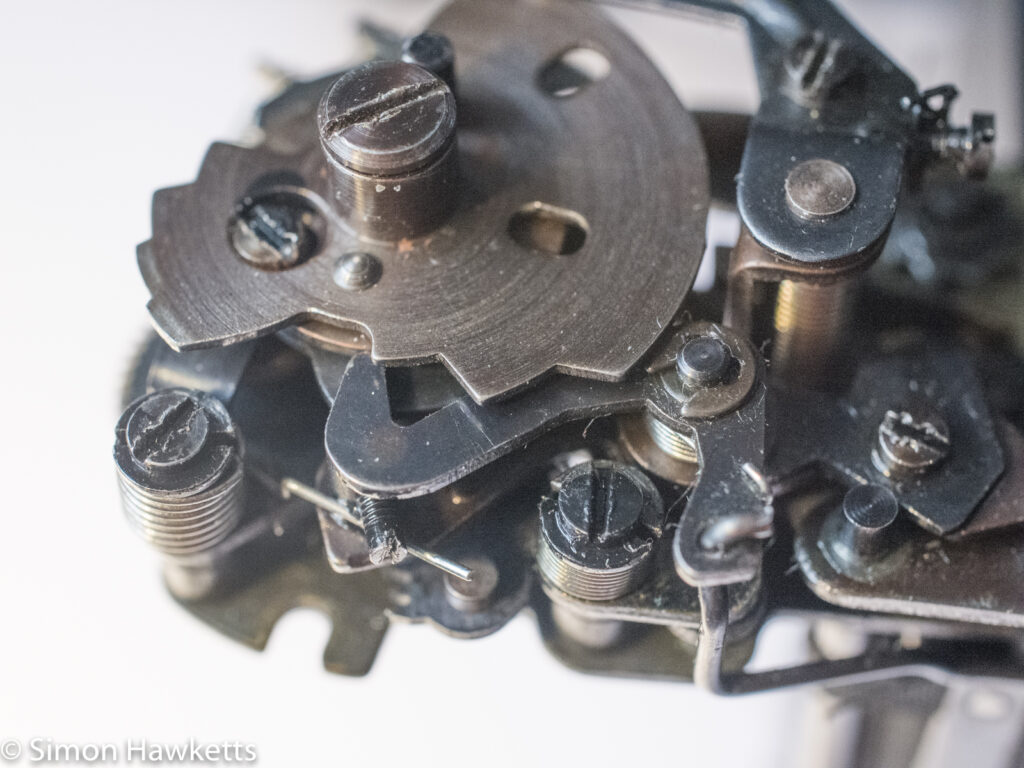
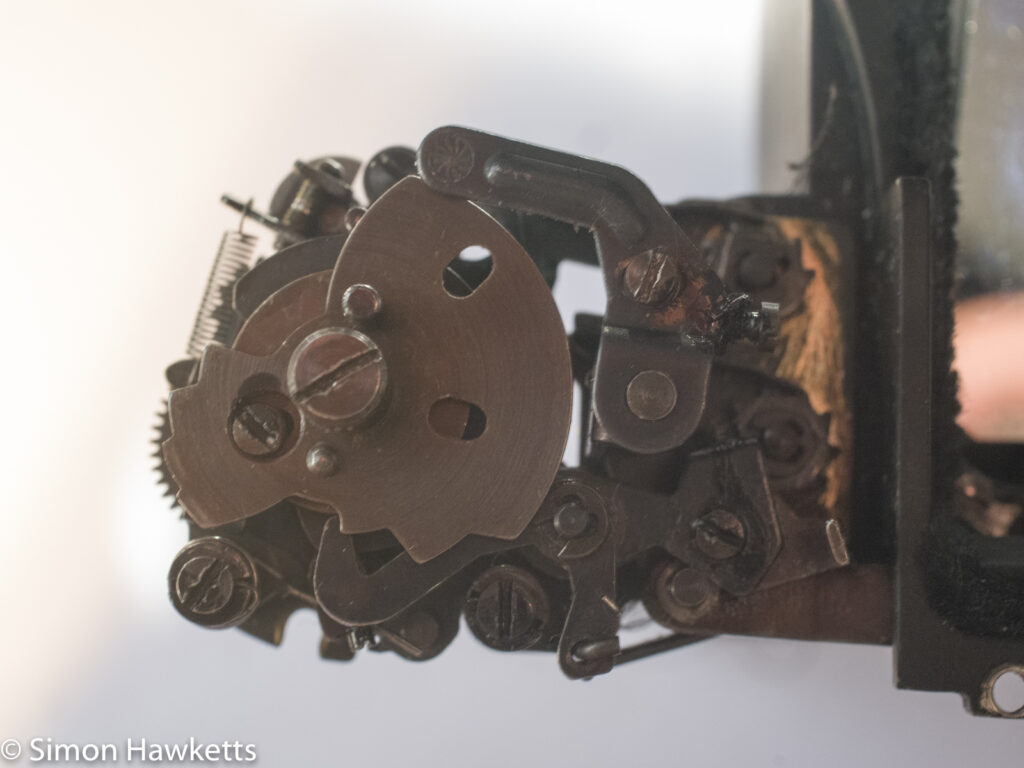
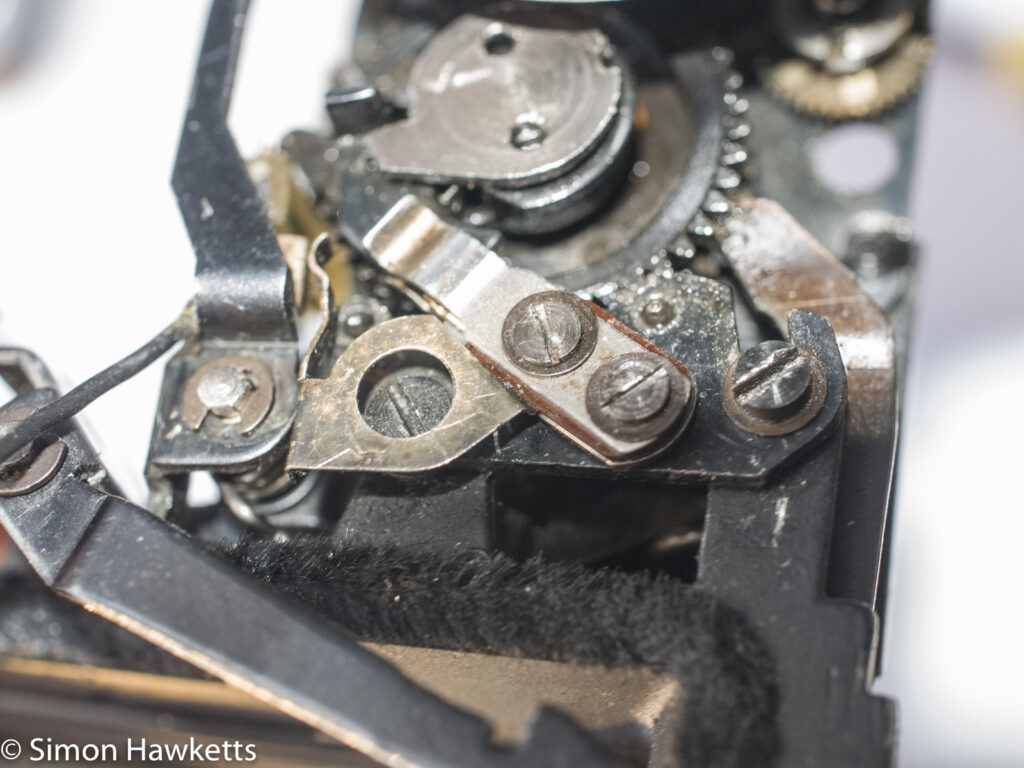
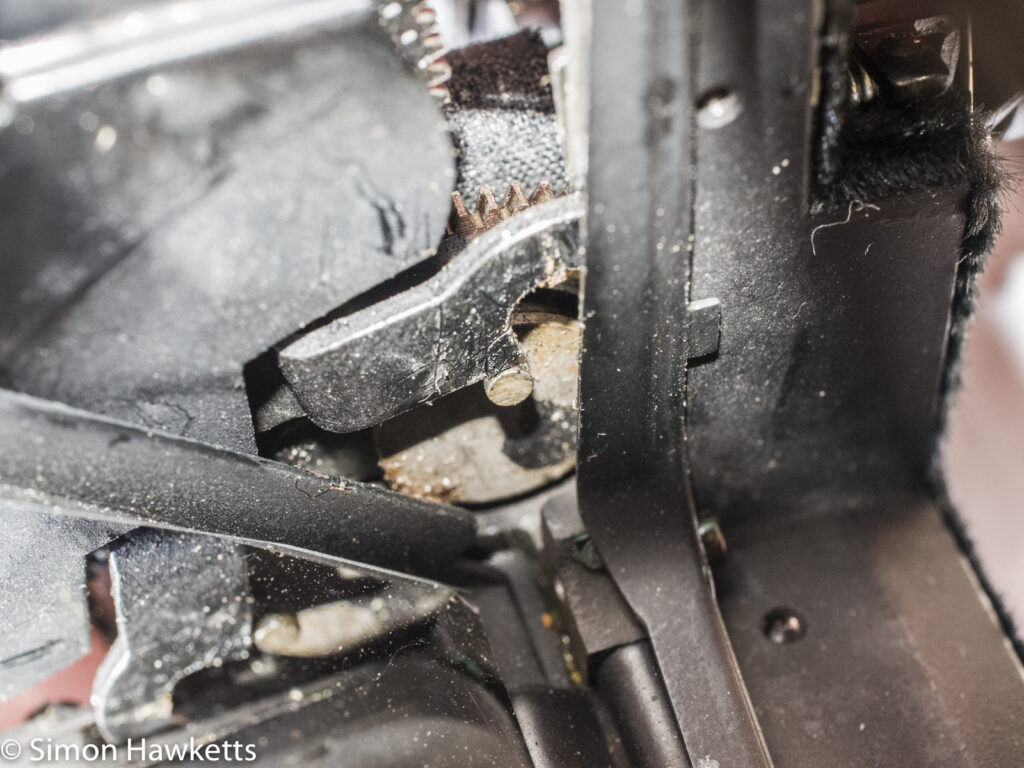
So at the moment this is where I have to stop until I can work out how to re-position the arm. It's quite frustrating, because I think if I get the start position right and reset the tension, there is a reasonable chance of setting everything working again. I did actually have a go at getting the setup done even though I know I'll have to do it again once the aperture control arm is correctly positioned, and it looks hopeful - the blinds do wind across and the shutter is obviously firing although only at a very slow speed.
Hopefully my next post will describe how I overcame this hurdle and got the shutter fully working ready for calibration.
This post is part of a series: My Pentacon six project
