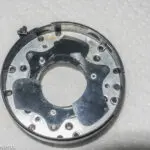
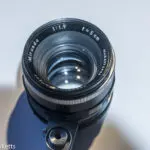
I recently bought a Miranda Fv T 35mm camera and discovered that the iris blades in the attached 50mm f/1.9 lens were a bit reluctant to stop down and open up when required, so I thought I would have a look at opening it up for repair.
Auto Miranda 50mm f/1.9 lens strip down photos
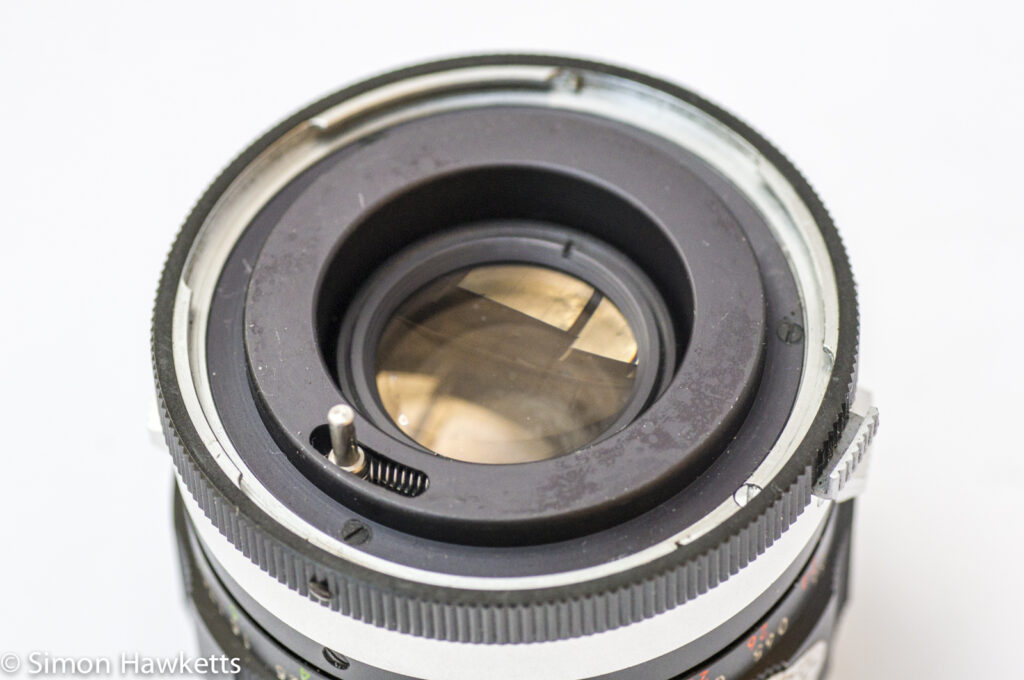
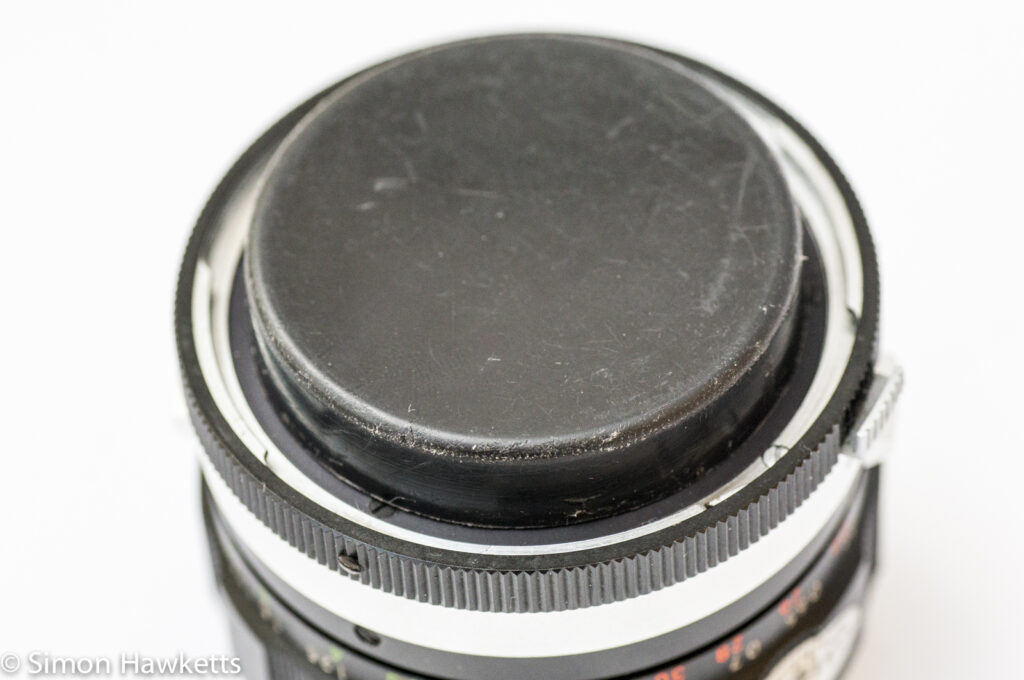
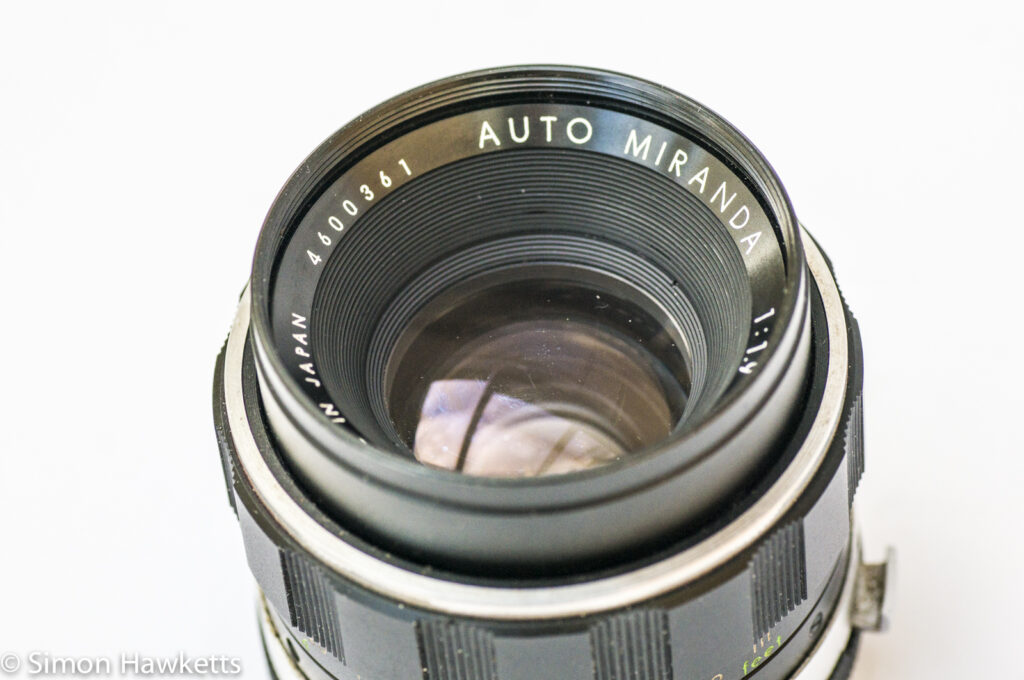
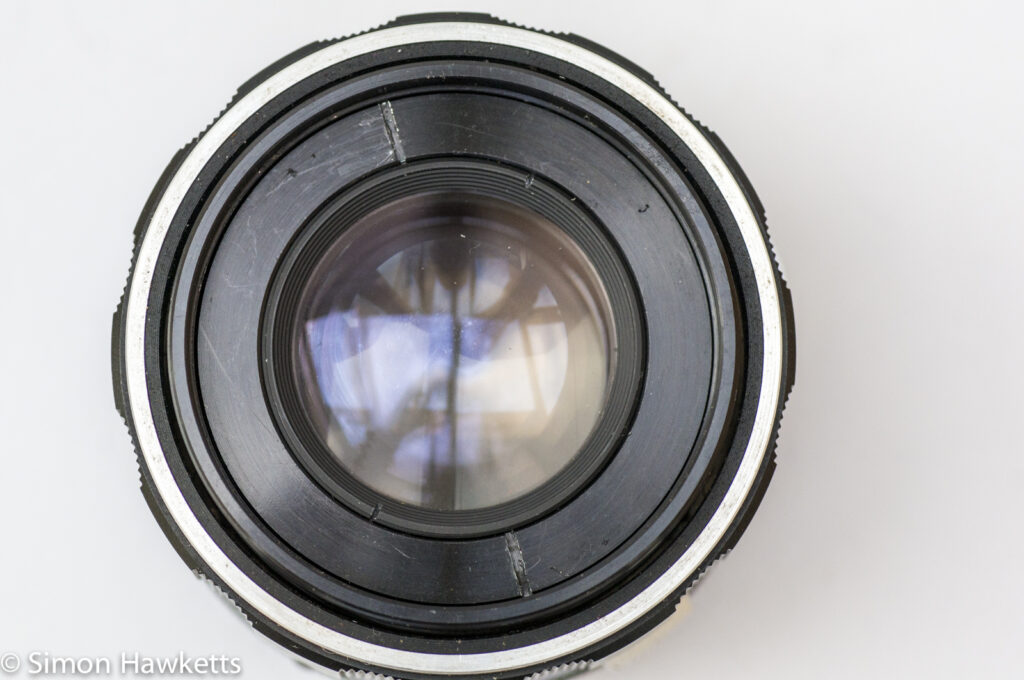
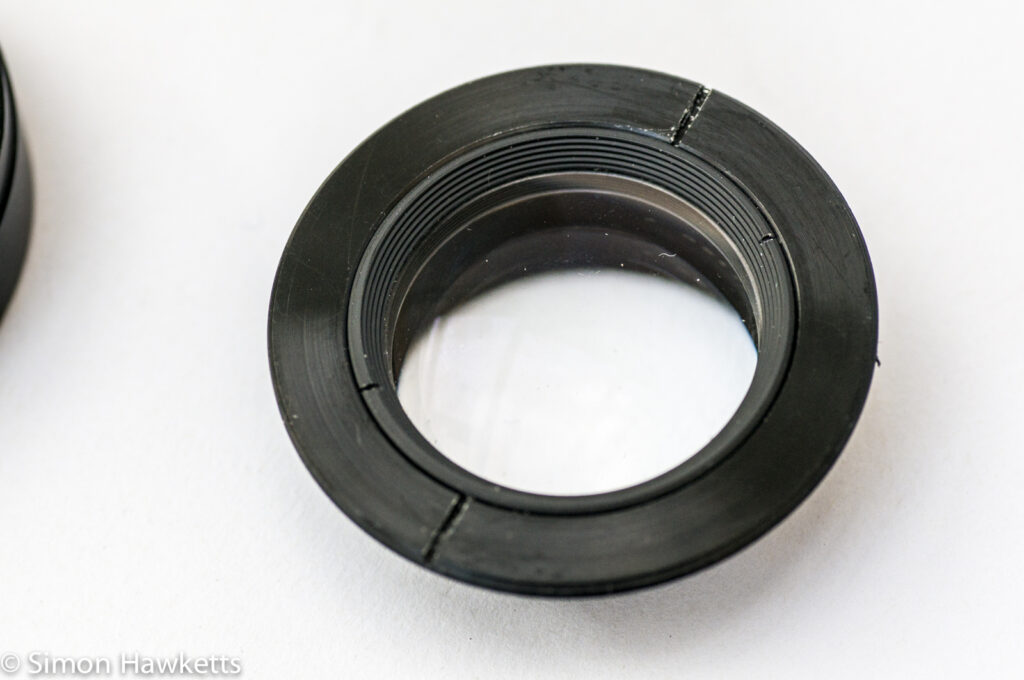
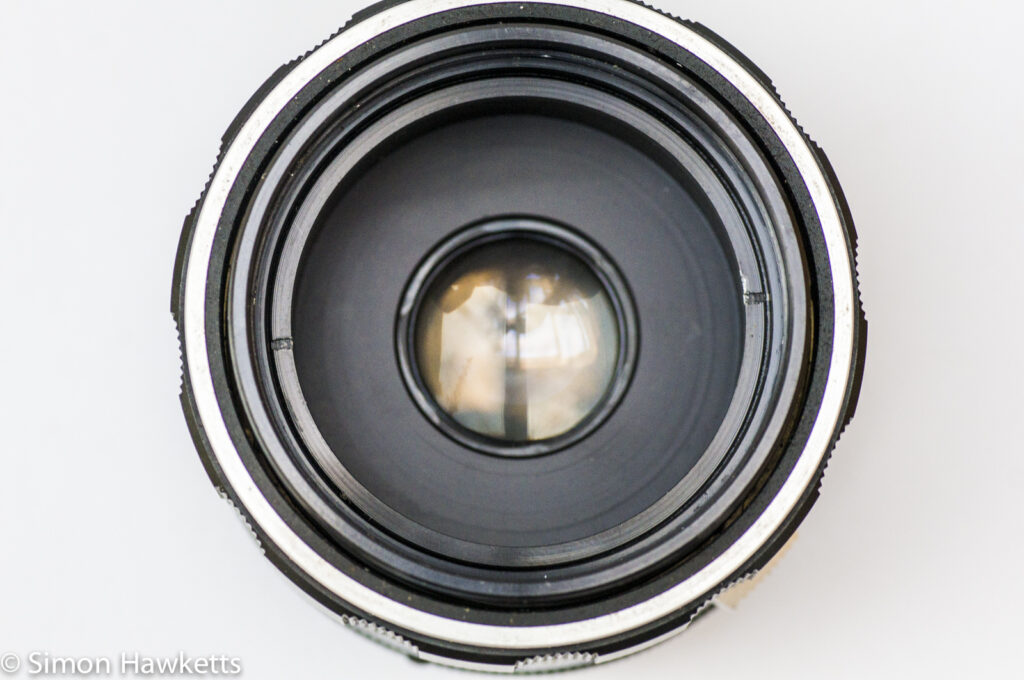
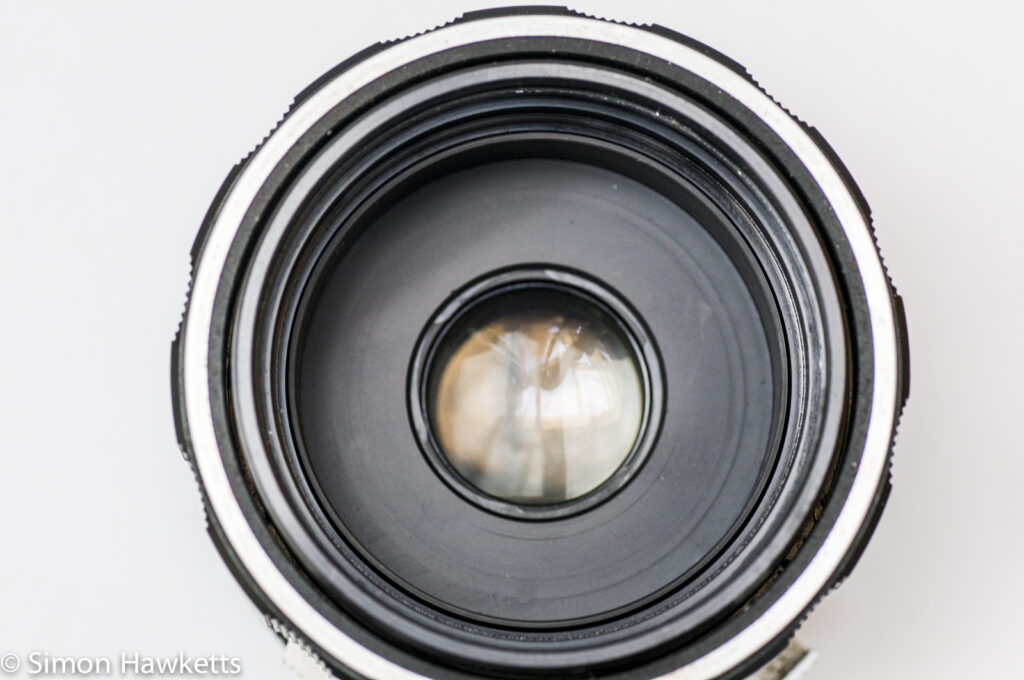
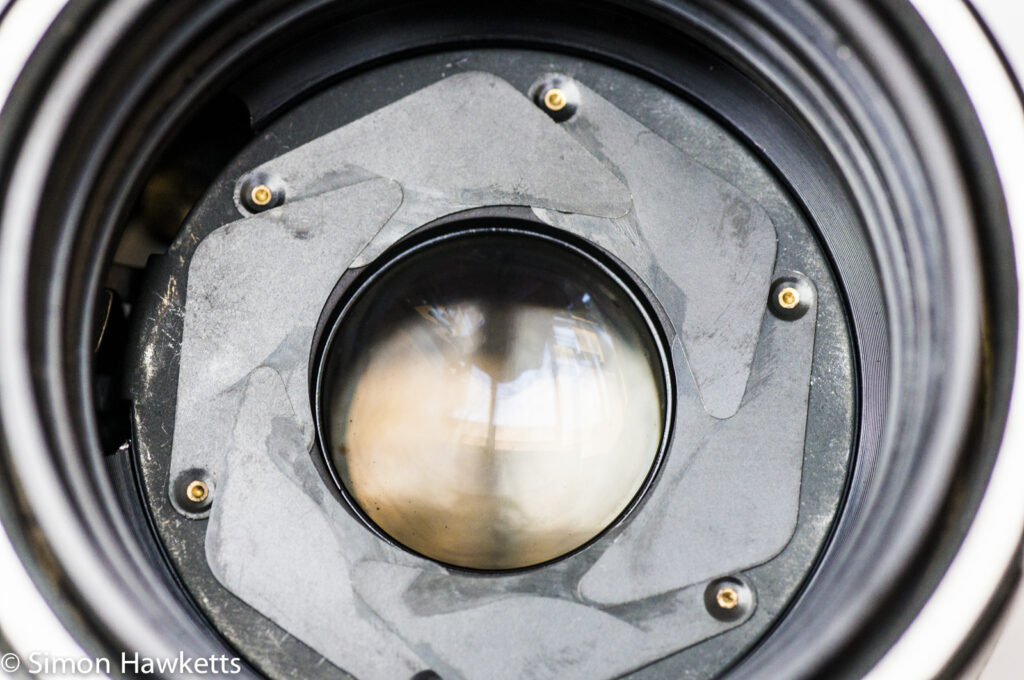
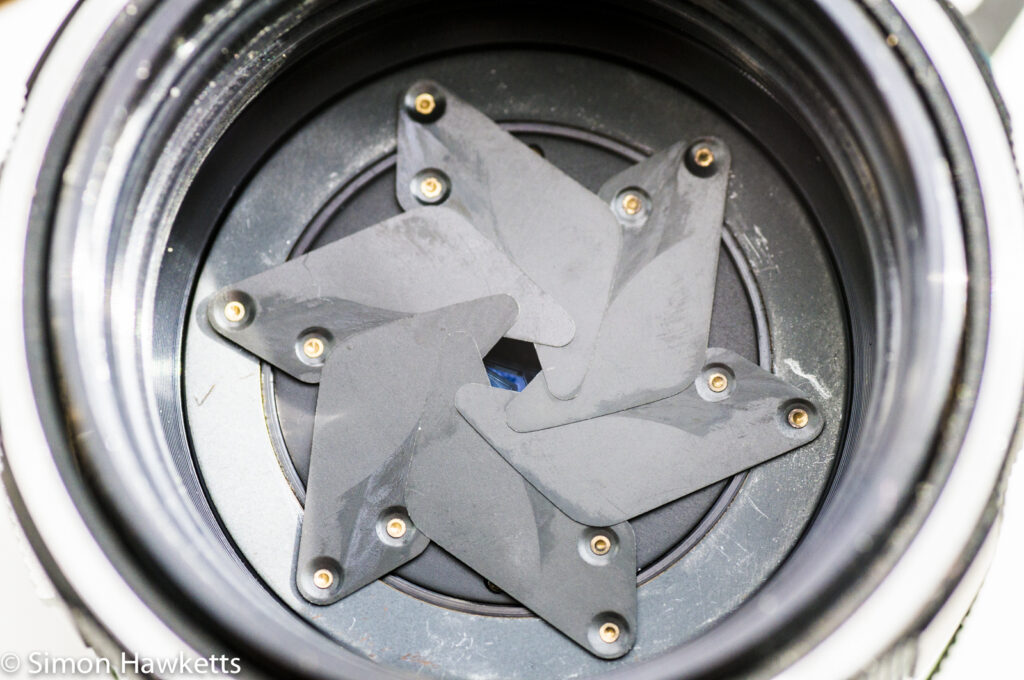
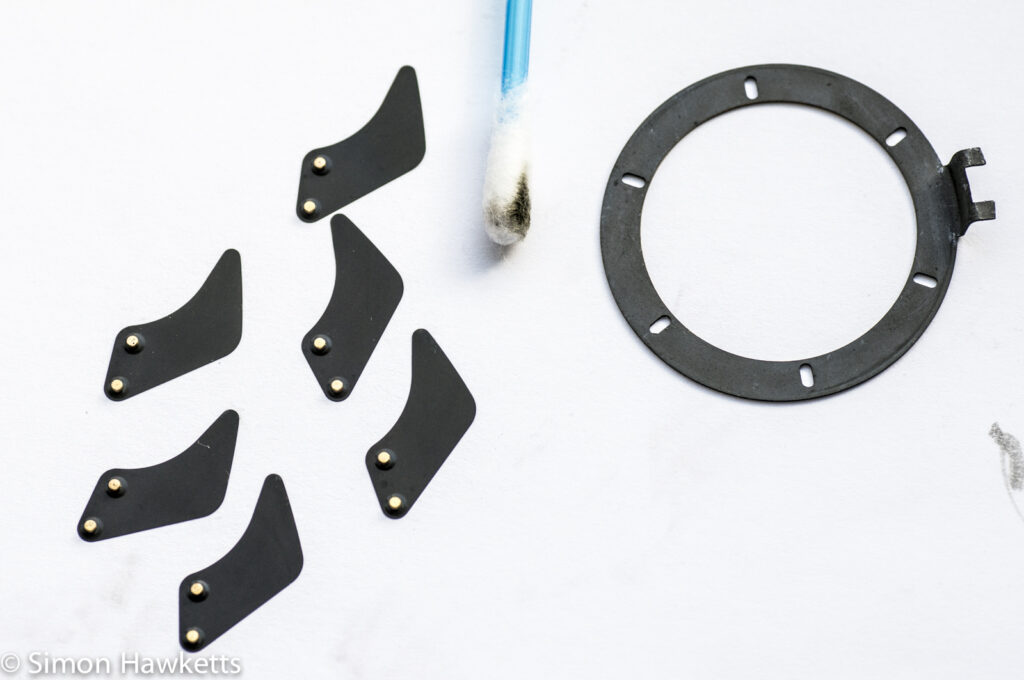
The first problem I faced was the fact that I would have to lay the lens mount side down on the worktop and I don't have a Miranda mount back lens cover. Since the aperture actuation pin was sticking out of the back of the lens and could easily get damaged, I needed to find something that would cover the bottom of the lens and protect the pin. Fortunately an M42 push on lens mount cap seemed to fit over the inner circle of the lens mount and protect the pin.
With the lens protected I unscrewed the front name plate on the lens to expose a large ring holding the front element in place. Since the ring had lens spanner slots I used my lens spanner to unscrew this ring to release the front element.
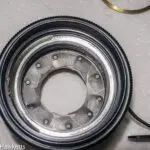
With the front element removed, there is another smaller ring with spanner slots in, so I also removed that and the cylinder it holds in place.
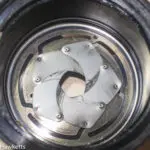
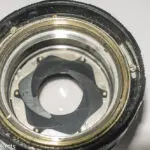
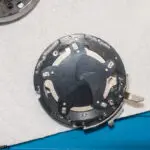
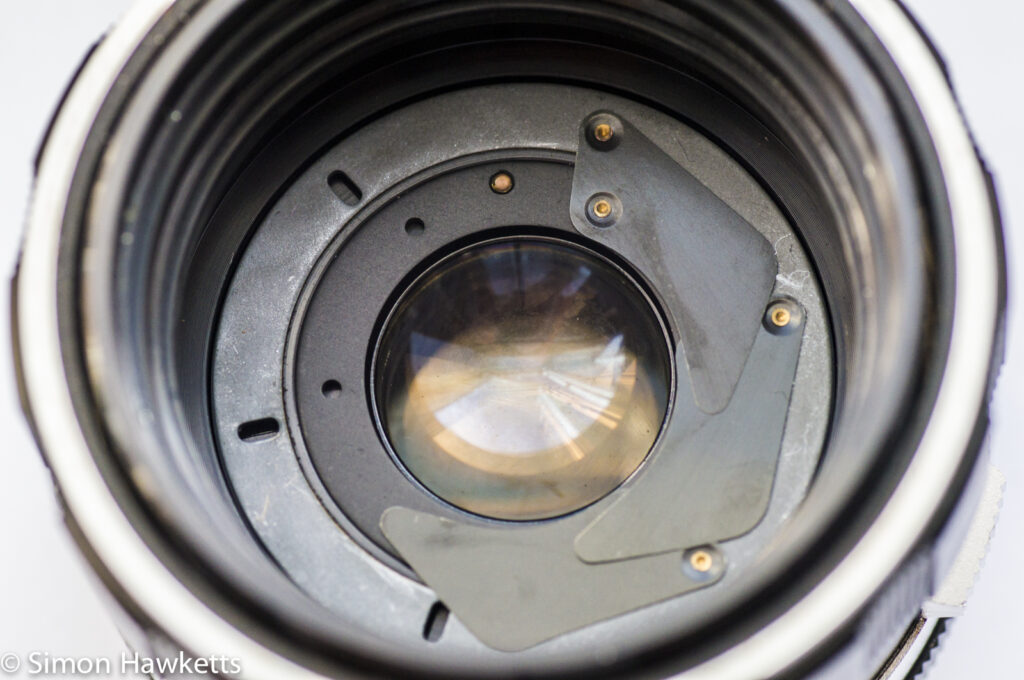
With these 4 items out, the iris blades are exposed, and I could see that there was indeed oil on the blades which was keeping them from opening and closing properly. Removing the blades was simple - I just placed a clean piece of white paper on the worktop and turned the lens over. The blades all fell out along with the actuation ring. I could then actually confirm the blades had oil on them because when I picked one blade up with tweezers, the whole group came up together!
To clean the blades I got a small glass tumbler and put about 15 mm of isopropyl alcohol in the bottom. Then all the blades and the actuation ring went into this, and I swilled it about for a few moments. Then each of the blades were removed and placed back on the clean paper to dry. It doesn't take long for the IPA to evaporate, and then I cleaned each blade in turn by holding it with tweezers against the paper and carefully wiping each blade in turn with a cotton bud soaked in the IPA to remove any traces of oil.
When the blades are being held with the metal spigot facing upwards this is easy, because the blade is perfectly flat on the paper, but you need to take particular care when you hold them the other way so that you don't bend or crease the blades. Also make sure you don't touch them with your fingers, or you could transfer oil from your skin to the blades.
Once the blades are clean and dry it's time to put them back into the lens assembly. It would be wrong to say this is anything other than fiddly and time-consuming - all aperture blade assemblies are tricky, and this one is on par with all the others.
Start by setting the lens to f/1.9 and drop the first blade in place. If you look at the picture above you can see the shape the blade should make, and I would recommend that as you add each blade in turn try to look at the shape the blade should make rather than lining the spigot up with the holes. You have to add each blade on top of the one you have just added until you get to the last one which needs to sit on top of the last one but underneath the first. That is when it can all go wrong and all the blades are suddenly all out again. The way I got the final blade in was to hold the spigot end of the first blade down with one set of tweezers as I fitted the last blade underneath it. With a bit of jiggling about it all fell into place. I then quickly got the retaining part and ring in-place, so it wouldn't all fall out again.
Once the retaining ring was in place I could fit the lens back on the camera body (without the front element in place) and confirm that the aperture blades really do snap into place when the shutter is fired. Completing the operation is simply a matter of fitting the front element in place and screwing on the front name plate.
It may be of course that you may want to also clean the lens elements before you re-assemble the lens, and unless the elements are really spotless this is probably a good opportunity to do that. This is also a simple operation with this lens. The bottom of the front element just unscrews from the top part, so the two lenses can be cleaned, and the bottom element in the lens is held in place by a ring which can be easily removed to get that element out as well. When both the front element and the back element are out you can clean the middle lens 'in-situ' with a lens pen.
My lens was fairly clean - just a small orange patch on the bottom element which I easily removed with a lens cloth. Once that was done and the front and back elements put back in place the lens was good as new. It actually turned out to be one of the easiest lenses to work on, although I didn't have to free up the focusing helicoid which may have been more difficult.
Hopefully now the iris is working again, it will last another 50 years before it needs any more servicing.
