A Guide to metering modes
This post aims to provide a simple guide to metering modes available in cameras, and to provide the photographer with the information necessary to make the right choice when taking their picture.
Introduction
Single lens reflex cameras which have built-in, through the lens light meters, have been available for a number of years now; in fact they have been available since 1964 when Pentax introduced the Spotmatic model.
On the face of it, the ability to measure light coming through the lens and use the reading to set the exposure seems to be just about everything a photographer would need to make accurate light measurements, so why confuse the issue by talking about different metering modes? Well, the reason is that understanding how the different light measuring modes work might well make the difference between a perfectly exposed shot, and one that may be difficult to recover.
So what are the different types of metering and how do they work?
Guide to Metering Modes.
Matrix metering
Matrix metering is a technique of taking meter readings at various points cross the whole picture and using those readings to try to work out the correct exposure to use. In the initial implementation of matrix metering, which was called averaged metering, there were a very small number of points measured. For example, the very first 35mm film cameras with this mode had just two sensors and averaged the reading obtained from both. Later versions added additional sensors but still averaged the results – for example my Pentax Z-1P has 8 individual segments which make measurements across the whole frame.
Later still, manufacturers started using many more sensors and compared the output of all the sensors with patterns that particular photo types would have to try to determine the best exposure to use. Nowadays on modern digital cameras the number of zones in the measurement will probably run into thousands.
There are a variety of names given to this system. Some manufacturers call it matrix metering, others may call it Pattern Metering or Evaluative Metering.
Centre weighted metering
Centre weighted metering involves making a measurement over the central portion of the frame and setting the exposure based on that portion of the frame. This was the system used by the majority of the early 35mm film cameras including, oddly, the spotmatic, which was in contrast to its name which suggested it used spot metering.
The reasoning behind centre weighted metering is that often the main point of interest lies in the centre portion of the picture and so setting the exposure on this portion seems logical – except pictures with main subject in the middle tend to look boring. It’s often better to move the subject off centre so there are techniques to overcome this central bias when using centre weighted metering.
Spot metering
Spot metering involves making a measurement over a very small area and setting the exposure based on that point. Although this sounds very like centre weighted metering, with modern auto focus cameras it is normally possible to either set the spot which is metered to be the same area as the focus point, or move the spot independently and therefore it isn’t necessarily the centre.
Which method to use.
Of course knowing how these systems work is useful but the really useful piece of knowledge is understanding when to use any of the metering modes your camera offers.
It’s probably accurate to say that in the majority of cases, with a modern digital camera, the best mode to have selected by default is the matrix metering option. In the majority of cases this will give you the best results with reasonably balanced exposures and can normally deal with quite difficult lighting situations. As an example, here are some pictures where I’ve used matrix metering and it’s produced some good results in quite challenging situations. All these pictures have had no post processing – they are just as the camera produced.

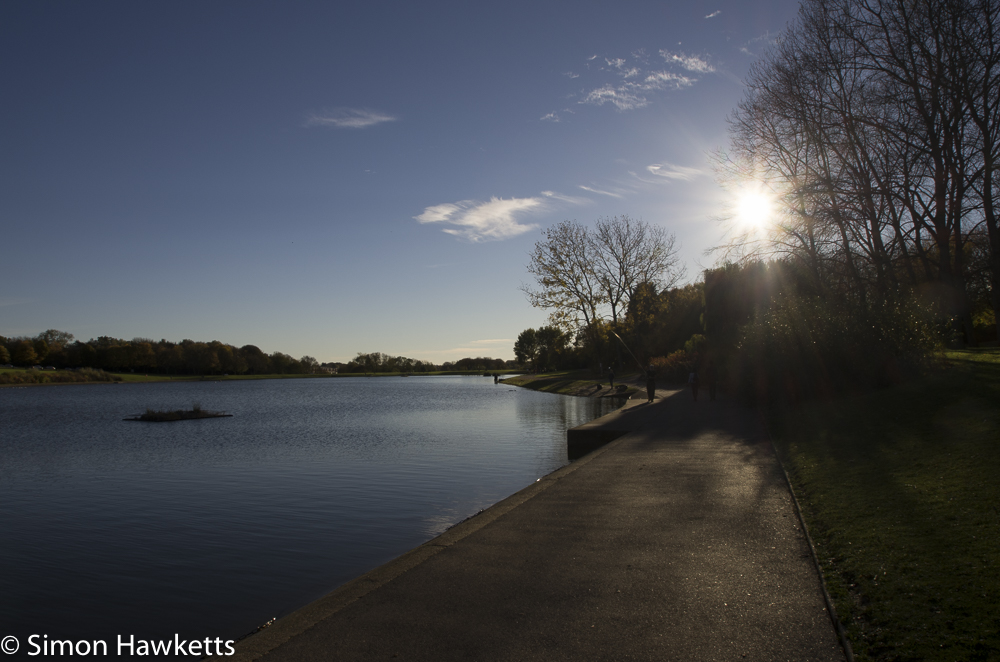
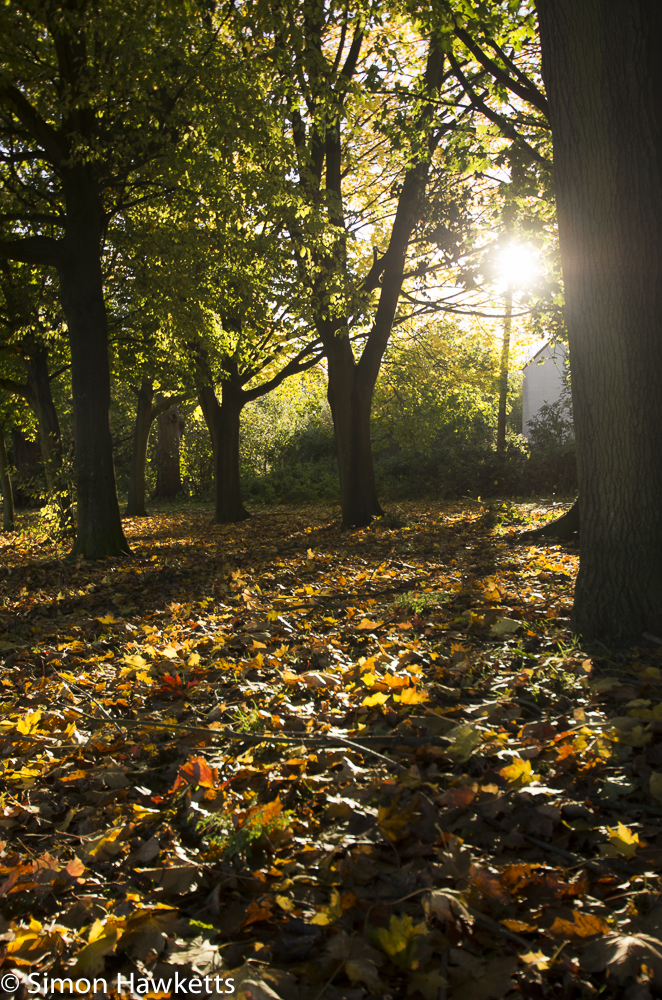
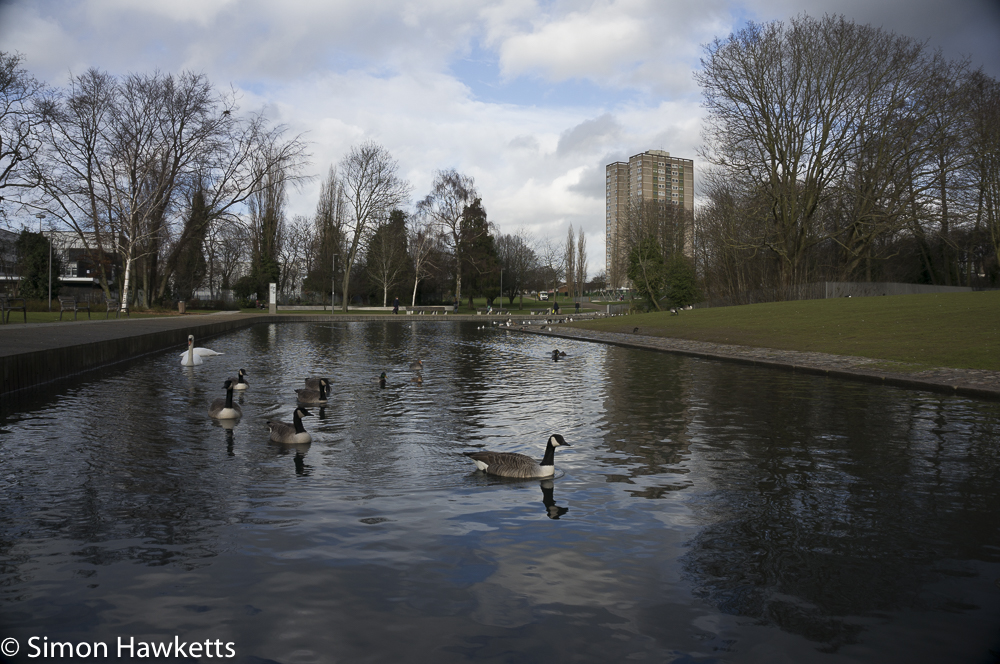
There are some situations however when you may want to consider selecting another mode. Look at this picture for example:
This picture was taken in a walkway under the road on the day the Olympic torch passed through Stevenage in 2012. I had recently bought my Pentax K5 and this was the first time I’d used it to take any pictures. It was set to Matrix metering and I snapped this as we were walking to the field where the torch was due to pass.
Obviously the exposure is not really correct and doesn’t lead to the picture I was aiming for. As it happened it was relatively easy to correct this in Lightroom to produce a workable shot but if I’d used spot metering and set the exposure on the back of the person walking in front of me I would probably have had a closer shot to the processed one from Lightroom I eventually produced, which is shown to the right.
And this is an example of the type of shot you could use spot metering for. It’s situations where there is a high contrast and you want the picture exposed correctly for one of the contrast levels. What matrix metering will try to do is to produce a result which is balanced, but in the situation above the balanced approach was not the one I wanted.
Of course it is possible to also correct this type of shot using exposure compensation, and I use that quite a lot especially when I’m using my Sony Nex 6 because it gives a ‘live view’ version of the picture and it’s easy to see when exposure compensation is required. When I’m shooting with my Pentax K5 however I tend to use matrix metering most often, and switch to centre weighted or spot metering when I’m in highly backlit situations.
Centre weighted metering is often used in similar situations where there is a subject in shade or perhaps with some bright areas. The following pictures demonstrate the typical use of centre weighted metering and again these pictures have had no post processing.


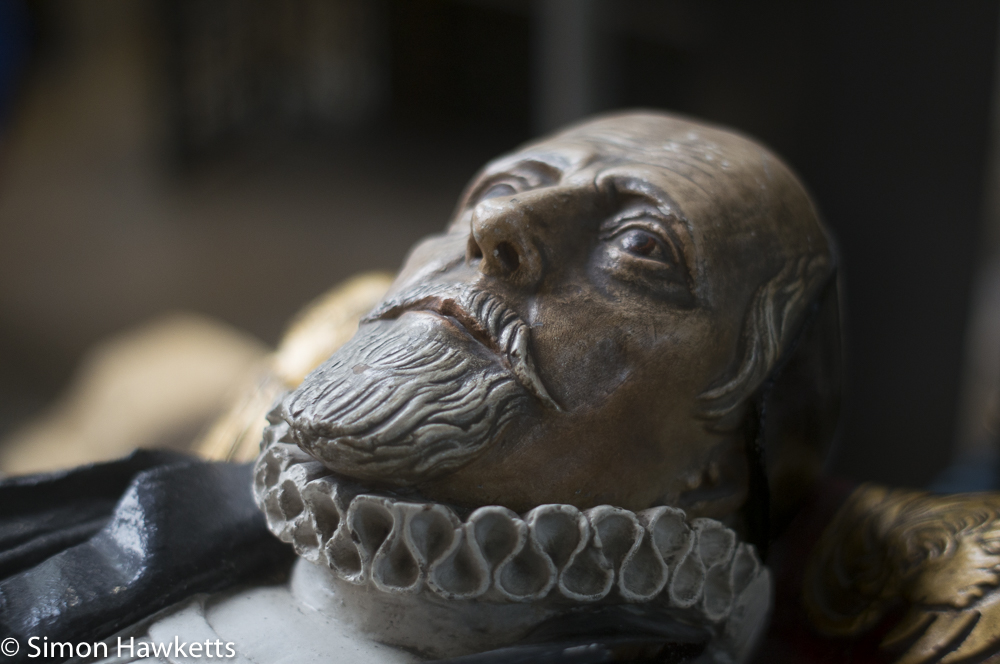
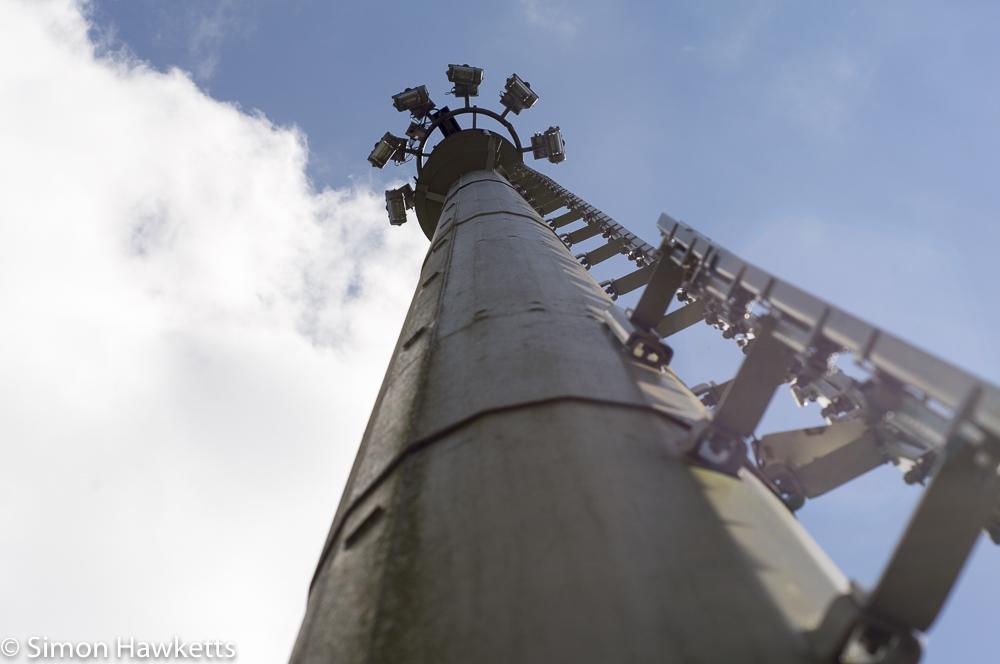
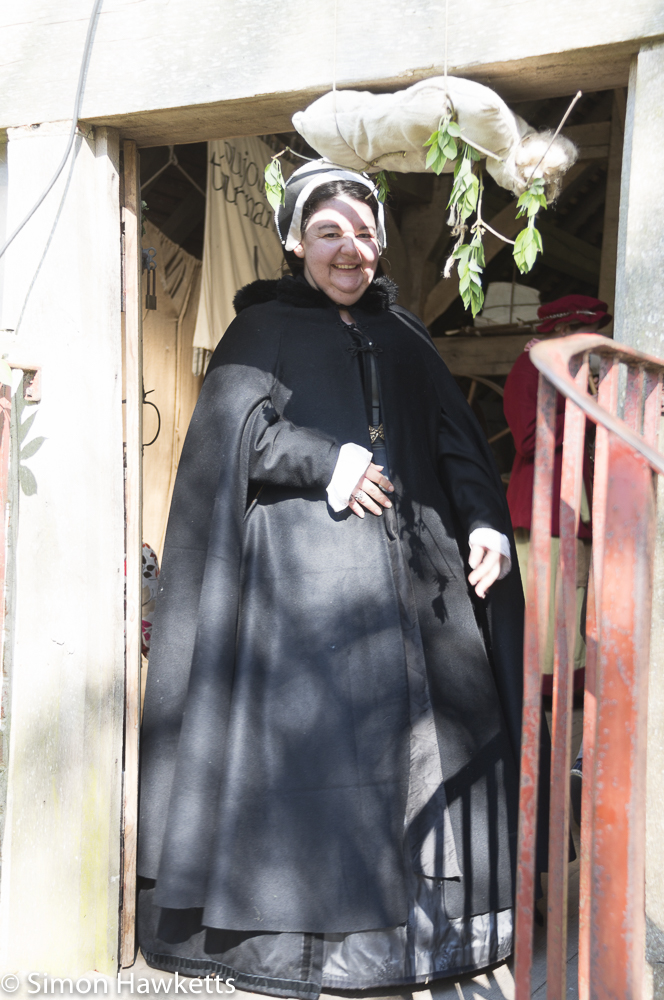
What is probably obvious in some of these pictures is that the subject isn’t always in the centre. As I said above, there is a technique for using centre weighted with the subject off centre and that is what I’ve done in some of these pictures.
The technique is this:
- Frame the picture with the subject in the middle of the frame.
- Half press the shutter release so that the exposure system takes a reading.
- Recompose the picture with the subject moved to the correct position whilst keeping the shutter button half pressed.
- Fire the shutter.
it’s possible that some cameras may need to be set up to keep the exposure information when you recompose, but I’ve always found that to work.
In a future post I’ll go into a bit more detail about using exposure lock and exposure compensation, which are other techniques to deal with challenging lighting.
As a final word I would repeat that the best mode to keep your camera in routinely is matrix metering mode – I’ve had to correct many more pictures which I’ve accidentally taken with the camera left in spot metering mode than I’ve ever had to fix because of matrix metering problems.


